
Watermarks are often added to videos by creators, platforms, or software to assert ownership or promote branding. While they serve a purpose, there are legitimate reasons you might want to remove them—such as editing your own archived footage that was auto-watermarked by an app, or preparing content for repurposing under fair use guidelines. The good news is that several free video editing tools allow you to effectively minimize or eliminate watermarks without spending a dime. However, it’s essential to proceed ethically and legally, ensuring you have the right to modify the content.
This guide walks through practical, step-by-step methods using only free software. Whether you're working with a mobile clip stamped by a social media app or a tutorial exported with a trial version logo, these techniques will help restore your video’s clean appearance—while preserving quality and avoiding legal pitfalls.
Understanding Watermarks: Types and Challenges
Before attempting removal, it helps to understand what kind of watermark you're dealing with. Watermarks vary in complexity, placement, opacity, and integration into the video frame—all of which affect how easy (or difficult) they are to remove.
- Text-based logos: Simple text overlays like “Edited on CapCut” or “TikTok.” These are usually semi-transparent and placed in corners.
- Graphic logos: Brand icons such as YouTube play buttons or app symbols embedded into the video feed.
- Motion watermarks: Animated or moving marks that shift position across frames—common in professional broadcast content.
- Embedded watermarks: Permanently baked into the video during export, making them inseparable without altering visual data.
The most common scenario users face involves static, corner-placed watermarks from free mobile editors. These can typically be addressed through cropping, scaling, or pixel replacement techniques. More complex cases may require advanced masking or AI-powered inpainting—features increasingly available even in no-cost desktop applications.
“While removing watermarks isn’t inherently illegal, redistributing copyrighted material without permission always is.” — Sarah Lin, Digital Media Law Consultant
Free Tools That Can Help Remove Watermarks
Several reputable, open-source, or freemium video editors offer built-in features to hide or erase watermarks at no cost. Below is a comparison of top options suitable for beginners and intermediate users alike.
| Tool | Platform | Key Features | Limitations |
|---|---|---|---|
| DaVinci Resolve | Windows, macOS, Linux | Advanced color grading, spatial noise reduction, Fusion VFX for object removal | Steeper learning curve; requires mid-tier PC specs |
| Shotcut | Cross-platform (Open Source) | Chroma key, filters, crop tool, supports 4K | No automated watermark removal; manual masking needed |
| HitFilm Express | Windows, macOS | VFX compositing, masking, tracking tools | Limited free effects; interface can feel cluttered |
| CapCut (Desktop & Mobile) | Windows, Android, iOS | Built-in \"Auto Remove Watermark\" feature, intuitive UI | Only works reliably on its own watermarks unless manually cropped |
| VideoPad (Free Version) | Windows, macOS | Basic cropping, blur overlay, simple timeline editing | Nag screens; watermark on exports unless upgraded |
For most personal-use scenarios, DaVinci Resolve and CapCut strike the best balance between power and accessibility. Shotcut remains a strong open-source alternative if you prefer community-driven software.
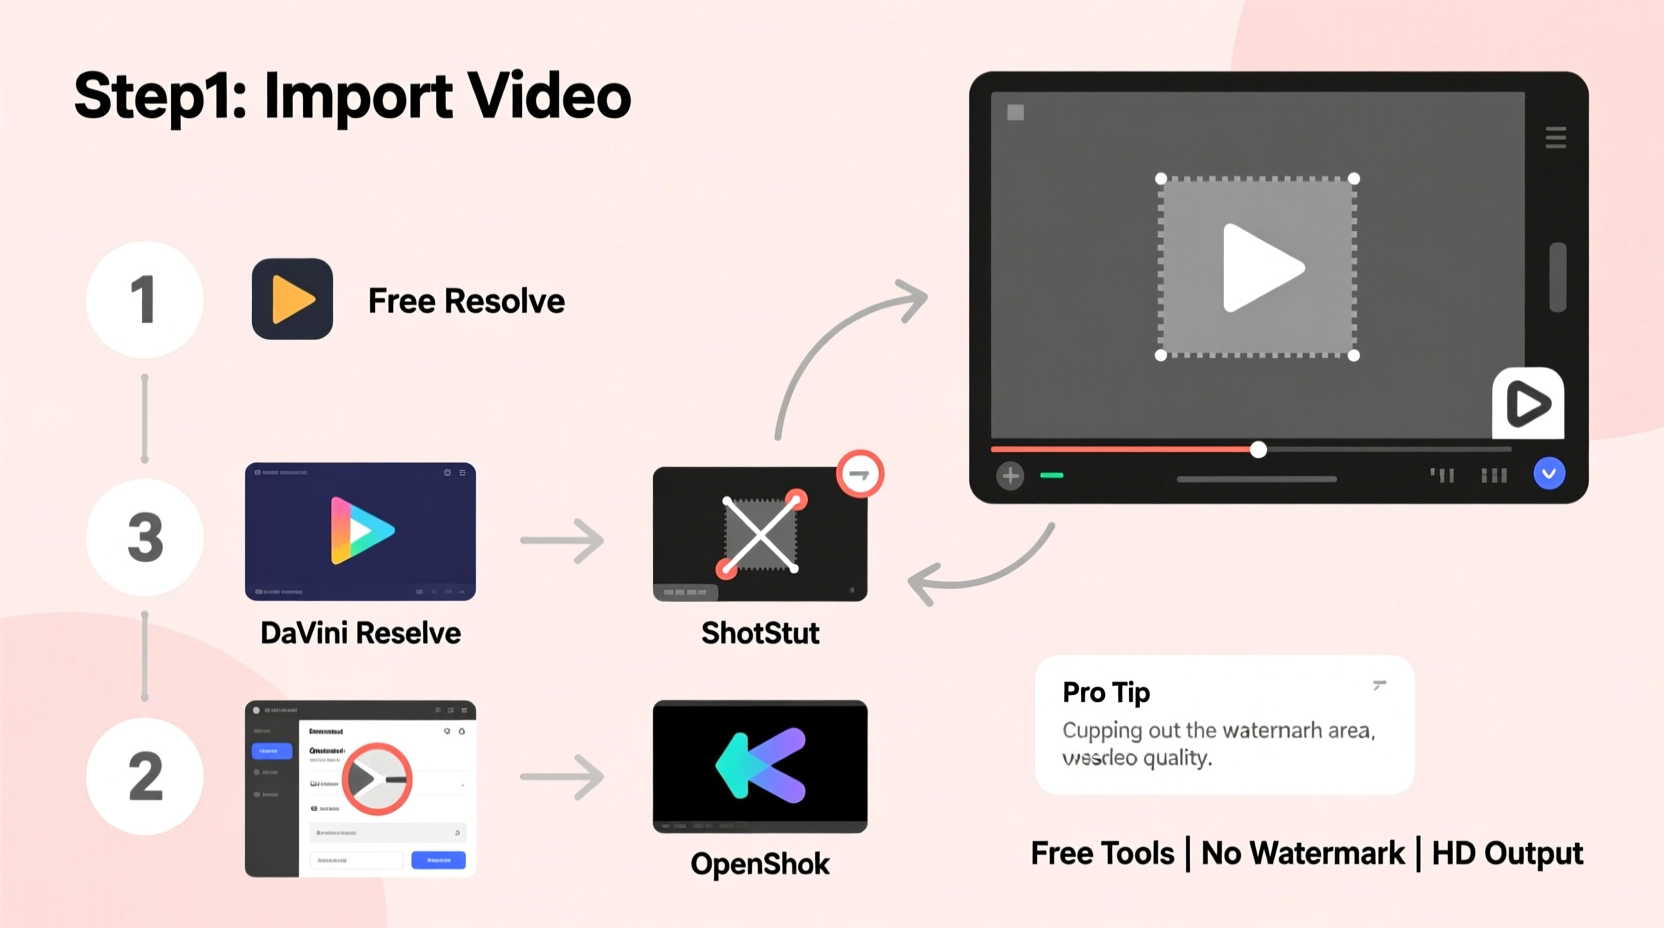
Step-by-Step Guide: Removing a Watermark Using Free Software
Let’s walk through a real-world example using DaVinci Resolve, one of the most powerful free video editors capable of handling watermark removal professionally.
- Download and Install DaVinci Resolve
Go to blackmagicdesign.com and download the free version. It includes nearly all features of the paid Studio edition except for some advanced audio and collaboration tools. - Import Your Video
Launch the program, create a new project, and import your watermarked video by dragging it into the media pool. - Add to Timeline
Drag the clip onto the timeline. Make sure it plays correctly and locate the watermark—usually in a corner. - Switch to the Fusion Tab
At the bottom of the screen, click “Fusion.” This workspace allows for visual effects and precise object manipulation. - Apply the Crop Tool (Simple Method)
Select the clip, then go to the Inspector panel > Transform. Use the Crop controls to trim the edges where the watermark appears. Adjust until the mark is fully outside the frame. - Scale Slightly to Fill Frame
After cropping, increase the Zoom value slightly (e.g., 105%) to fill empty margins. Be cautious not to over-enlarge, which degrades quality. - Alternative: Use Blur or Inpainting (Advanced)
If cropping would ruin composition, use the Polygon Mask tool to draw around the watermark. Then apply a Gaussian Blur or clone nearby pixels via the Tracker and Clone Tool to cover it seamlessly. - Preview and Render
Return to the Cut or Edit tab, preview your changes, and export via the Deliver page. Choose MP4 H.264 for broad compatibility.
Mobile Option: Quick Removal with CapCut
For users preferring smartphones, CapCut offers a fast solution:
- Open CapCut and import the video.
- Tap the clip on the timeline, then select “Overlay” > “Remove Watermark.”
- A movable box appears—resize and position it directly over the watermark.
- The app automatically blends the area using surrounding pixels.
- Export the video. Note: If the original watermark came from another app, this tool won't detect it, so use manual cropping instead.
Mini Case Study: Recovering Old Marketing Footage
Jamal, a small business owner, wanted to reuse promotional videos he created two years ago using a now-defunct app that stamped every export with a bright orange logo. He didn’t have access to the source files, only the final rendered clips. His goal was to re-upload them to LinkedIn and Instagram without looking unprofessional.
Using DaVinci Resolve, he imported the first video and noticed the watermark sat in the lower-right corner. Since the shot had extra negative space in that area (a wide-angle product display), he used the crop tool to cut 8% off the right edge. After slight zoom adjustment, the watermark disappeared without affecting the subject visibility. For tighter shots, he switched to Fusion, applied a soft blur mask over the logo, and tracked it across five seconds of motion. The result was clean enough for social media—no artifacts, no distortion.
Within three hours, Jamal processed six clips and rebuilt his content library—all using free tools. He later backed up the originals and documented the edits for compliance purposes.
Checklist: Ethical and Effective Watermark Removal
Follow this checklist before and during the removal process to ensure quality and legality:
- ✅ Confirm you have the right to edit the video (your content, public domain, or licensed under fair use)
- ✅ Back up the original file before making changes
- ✅ Assess whether cropping, blurring, or cloning is the least destructive method
- ✅ Test multiple approaches on a short segment first
- ✅ Maintain aspect ratio when resizing to avoid stretching
- ✅ Export in the highest possible bitrate to preserve clarity
- ✅ Avoid uploading removed-content to monetized channels unless authorized
Do’s and Don’ts of Watermark Editing
| Do | Don’t |
|---|---|
| Use cropping when the watermark is near the edge and extra framing exists | Crop aggressively and distort the main subject |
| Blur or clone small watermarks in static scenes | Attempt removal on high-motion footage without testing tracking stability |
| Utilize free tools like DaVinci Resolve for professional-grade results | Rely solely on third-party “watermark remover” websites—they often steal data or add malware |
| Document your edits for transparency, especially in commercial work | Reupload others’ content just because you removed the visible logo |
| Preserve metadata if required for archival or legal reasons | Assume all watermarks can be cleanly erased—some leave residual compression artifacts |
Frequently Asked Questions
Can I remove any watermark for free?
You can attempt removal on any watermark, but success depends on placement, size, and movement. Static corner logos are easiest. Fully embedded or animated marks may resist complete removal without noticeable trade-offs in quality.
Are online watermark removers safe?
Most web-based tools pose significant risks. Many upload your video to remote servers, potentially exposing private content. Some inject ads, limit resolution, or retain copies for training AI models. Stick to trusted desktop software instead.
Will removing a watermark reduce video quality?
It depends on the method. Cropping reduces resolution slightly but maintains clarity. Blurring or cloning introduces artificial pixels, which may look unnatural if poorly executed. High-bitrate encoding post-edit helps mitigate losses.
Conclusion: Take Control of Your Content Responsibly
Removing a watermark doesn’t have to mean resorting to sketchy apps or paying for premium suites. With the right approach and ethical mindset, free tools like DaVinci Resolve, Shotcut, and CapCut give you full control over your video output. Whether you’re restoring old projects or refining client work, these methods empower you to deliver polished results without compromise.
The key lies in understanding both the technical steps and the moral boundaries. Respect intellectual property, prioritize quality preservation, and document your workflow. By doing so, you not only enhance your videos—you build trust and professionalism in everything you publish.


 浙公网安备
33010002000092号
浙公网安备
33010002000092号 浙B2-20120091-4
Comments
No comments yet. Why don't you start the discussion?