
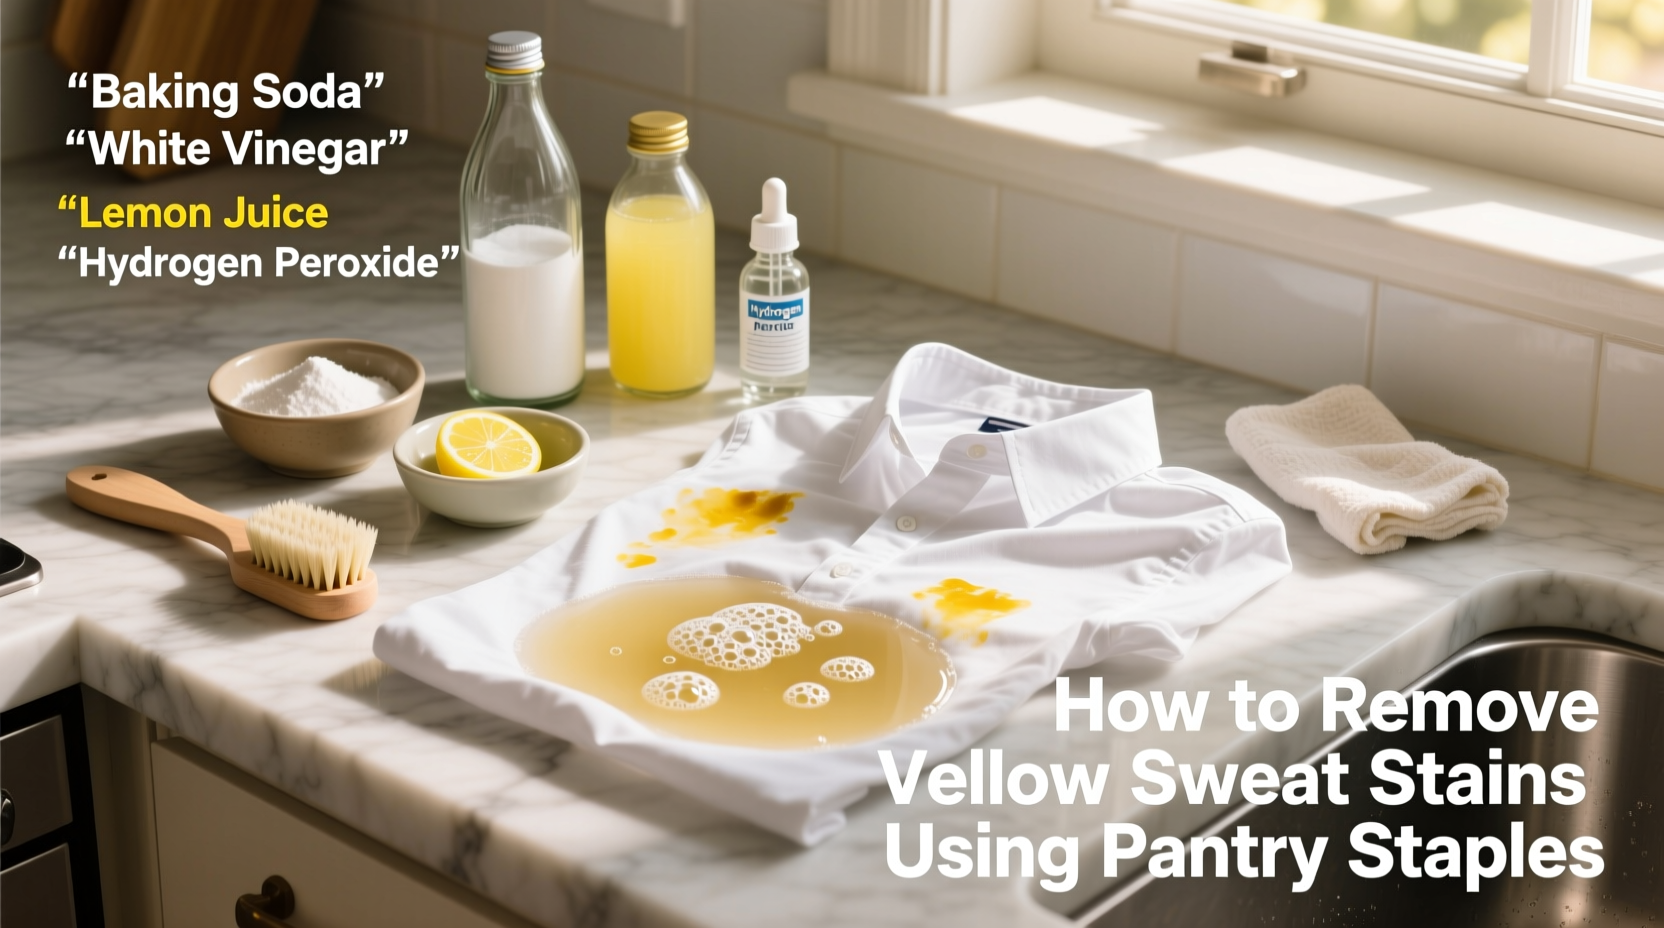
Yellow sweat stains are a stubborn reality of wearing white shirts. Whether it’s your favorite dress shirt or a casual cotton tee, repeated wear often leaves behind unsightly discoloration under the arms. While commercial stain removers exist, many contain harsh chemicals that can degrade fabric over time. The good news? You likely already have everything you need in your kitchen to tackle these stains effectively. Using common pantry staples like baking soda, white vinegar, and lemon juice, you can restore your whites without damaging the fabric or exposing yourself to toxins.
Sweat itself isn’t inherently yellow—it’s the interaction between your perspiration and antiperspirant ingredients (especially aluminum) that creates those persistent yellow marks. Over time, these compounds build up in the fibers, leading to both discoloration and odor retention. The best removal methods combine mild abrasives, natural bleaching agents, and pH-balancing solutions—all available in your pantry.
The Science Behind Sweat Stains
Understanding why sweat causes yellowing is key to removing it effectively. Human sweat is mostly water and salt, but when it mixes with aluminum-based compounds in antiperspirants, a chemical reaction occurs. This reaction forms insoluble salts that bind tightly to cotton and synthetic fibers. Heat from your body accelerates this process, making the stains more difficult to lift after multiple wears.
Additionally, bacteria thrive in damp, warm areas like underarm zones, contributing to both odor and staining. Washing alone may not break down these deposits, especially if hard water or low water temperatures are used. That’s where natural cleaning agents come in—they alter pH levels, dissolve residues, and gently bleach without weakening the fabric.
“Many people don’t realize that aluminum in antiperspirants reacts with sweat to form yellow complexes. Neutralizing this reaction with weak acids like vinegar is one of the most effective first steps.” — Dr. Lena Patel, Textile Chemist at the Institute for Fabric Care
Best Pantry Items for Removing Yellow Stains
Not all household ingredients work equally well. Some can even set stains permanently if misused. Below is a breakdown of the most effective pantry staples and how they function:
| Ingredient | Function | Best For | Caution |
|---|---|---|---|
| Baking Soda | Mild abrasive + odor neutralizer | Freshening fabric, lifting residue | Avoid on delicate silks or wool |
| White Vinegar | Acidic cleaner, dissolves mineral buildup | Breaking down antiperspirant residue | Do not mix with bleach |
| Lemon Juice | Natural bleaching agent (citric acid + sunlight activation) | Whitening yellowed areas | Can weaken fibers if overused; avoid synthetics |
| Hydrogen Peroxide (3%) | Oxygen-based bleach | Stain lifting and disinfecting | Test on colorfastness; avoid on dark threads |
| Coarse Salt | Physical scrubbing aid | Loosening dried-in grime | Use gently to avoid pilling |
Step-by-Step Treatment Methods
Different stain severities require different approaches. Here are three proven methods using only pantry ingredients, arranged by effectiveness and fabric safety.
Method 1: Baking Soda & Vinegar Paste (For Fresh to Moderate Stains)
- Lay the shirt flat on a clean surface, stain-side up.
- Mix 3 tablespoons of baking soda with 2 tablespoons of white vinegar to form a thick paste. It will fizz—this is normal.
- Apply the paste directly to the stained area using a spoon or old toothbrush, ensuring full coverage.
- Gently scrub in circular motions to lift residue from fibers.
- Let sit for 30–60 minutes. Do not allow to dry completely.
- Rinse thoroughly under cold water until no residue remains.
- Wash in the machine using cold water and regular detergent.
- Inspect before drying. If the stain persists, repeat before tumble-drying—heat sets stains permanently.
Method 2: Lemon Juice & Sunlight (For Set-In Yellowing)
This method uses nature’s bleach: ultraviolet light combined with citric acid.
- Squeeze fresh lemon juice (about 1/4 cup) directly onto the stained area.
- Let it soak for 10 minutes to penetrate the fibers.
- Place the shirt in direct sunlight, stain-side up, on a clean towel or drying rack.
- Leave for 2–4 hours, reapplying lemon juice every hour if the fabric dries out.
- After exposure, rinse thoroughly with cool water.
- Wash as usual. Avoid hot water, which can cook residual proteins into the fabric.
Method 3: Hydrogen Peroxide + Baking Soda Boost (For Tough, Old Stains)
- Check the garment label: ensure hydrogen peroxide is safe for the fabric.
- Mix 1/4 cup of 3% hydrogen peroxide with 2 tablespoons of baking soda to create a creamy paste.
- Apply to the stain and let sit for 30 minutes in a well-ventilated area.
- Use a soft-bristled brush to agitate gently.
- Rinse thoroughly with cold water.
- Wash immediately in cold water with oxygen-based detergent (like OxiClean).
- Line dry in sunlight if possible to further brighten the fabric.
Common Mistakes That Make Stains Worse
Even with the right ingredients, improper technique can lock stains in place. Avoid these frequent errors:
- Using hot water – Heat sets protein-based stains like sweat. Always use cold or lukewarm water during treatment.
- Tumble-drying before the stain is gone – Drying cycles bake in any remaining residue. Air dry until you’re certain the stain is fully removed.
- Overusing lemon juice – While effective, excessive citric acid can degrade cotton fibers, causing thinning or holes over time.
- Mixing vinegar and bleach – This creates toxic chlorine gas. Never combine acidic cleaners with chlorine-based products.
- Scrubbing too hard – Aggressive brushing can damage fabric weaves, especially in armpit seams that are already stressed.
“One of the biggest issues I see is people drying their shirts after a failed wash. Once heat hits that stain, it becomes exponentially harder to remove. Patience and cold water are your allies.” — Maria Tran, Professional Laundry Technician, Urban Clean Collective
Real Example: Reviving a Long-Stored Dress Shirt
James had a crisp white dress shirt he wore occasionally for job interviews. After storing it in a closet for nearly two years, he pulled it out only to find heavy yellowing under both arms. He tried washing it twice with regular detergent, but the stains remained. Frustrated, he turned to a home remedy using pantry items.
He applied the baking soda and vinegar paste, letting it sit for 45 minutes before rinsing. The stains lightened slightly but were still visible. He then used the lemon juice method, placing the shirt on his balcony during peak sun hours for three hours, reapplying juice twice. After a final cold-water wash, the underarms were nearly invisible. James now pre-treats all his white shirts monthly, even if they appear clean, preventing future buildup.
This case illustrates that persistence and layering methods yield better results than single treatments—especially for aged stains.
Prevention Tips to Minimize Future Staining
Removing stains is helpful, but preventing them saves time and preserves clothing longevity. Incorporate these habits into your routine:
- Rinse shirts soon after wearing – A quick cold rinse under the tap within 24 hours prevents sweat compounds from bonding deeply.
- Switch to aluminum-free deodorant – These reduce the chemical reaction that causes yellowing, though they may require more frequent application.
- Turn shirts inside out before washing – This exposes the stained side directly to detergent and water flow.
- Use distilled white vinegar in the rinse cycle – Add 1/2 cup to soften water and dissolve residue over time.
- Avoid overdosing detergent – Excess soap can trap oils and sweat in fibers, creating a breeding ground for stains and odors.
FAQ: Common Questions About Sweat Stain Removal
Can I use apple cider vinegar instead of white vinegar?
While apple cider vinegar has similar acidity, its color and residual sugars may leave faint stains or attract dust. White vinegar is clearer, stronger in acetic acid, and more effective for laundry purposes.
How often should I treat my white shirts preventively?
For frequently worn shirts, a preventive paste treatment (baking soda + water) once every 4–6 wears helps stop buildup. For rarely worn ones, inspect before storage and treat if needed.
Why do some white shirts turn gray instead of yellow?
Gray discoloration usually comes from incomplete rinsing, detergent buildup, or mixing whites with darker fabrics. It’s different from yellow sweat stains and responds better to a wash with 1/2 cup of baking soda and 1/2 cup of vinegar in the drum (without clothes) to clean the machine first.
Final Checklist: Your Action Plan
- ✅ Identify the fabric type and check care labels.
- ✅ Choose a method based on stain severity (fresh, moderate, or old).
- ✅ Gather ingredients: baking soda, vinegar, lemon juice, or hydrogen peroxide.
- ✅ Apply treatment and allow adequate dwell time (30–60 min).
- ✅ Rinse thoroughly with cold water.
- ✅ Wash in cold water with oxygen-based detergent.
- ✅ Air dry and inspect—repeat if necessary.
- ✅ Store properly: in a cool, dry place, away from direct sunlight.
Conclusion: Take Control of Your Wardrobe’s Longevity
Yellow sweat stains don’t have to mean the end of your favorite white shirts. With simple, non-toxic ingredients already in your pantry, you can reverse discoloration and extend the life of your garments significantly. The key is consistency—both in treating existing stains and adopting preventive habits. By understanding the chemistry behind the yellowing and respecting the limits of natural methods, you protect your clothes while reducing reliance on synthetic detergents.
Start today: pull out one stained shirt and apply the baking soda and vinegar method. See the difference firsthand. Share your results, try combining techniques, and build a routine that keeps your whites looking crisp and confident. Your wardrobe—and your nose for sustainability—will thank you.


 浙公网安备
33010002000092号
浙公网安备
33010002000092号 浙B2-20120091-4
Comments
No comments yet. Why don't you start the discussion?