
Foggy, yellowed headlights are more than just an eyesore—they compromise nighttime visibility and can make your vehicle look older than it is. As oxidation builds up on polycarbonate lenses, light output diminishes, reducing safety and curb appeal. Many DIYers swear by a surprising household item: toothpaste. But does this budget-friendly hack actually work, or is it just internet folklore? Let’s explore the truth behind using toothpaste to restore faded headlights, including how it works, when it helps, and when it falls short.
The Science Behind Headlight Fading
Modern vehicles use polycarbonate plastic for headlight lenses because it’s lightweight, impact-resistant, and moldable. However, unlike glass, polycarbonate is vulnerable to UV radiation, road debris, and chemical exposure. Over time, these elements cause microscopic cracks and oxidation, leading to a hazy, yellow appearance.
Oxidation begins when the factory-applied UV protective coating degrades. Once compromised, oxygen and sunlight penetrate the surface, breaking down polymer chains. This process doesn’t just discolor the lens—it reduces light transmission by as much as 80%, according to studies from the National Highway Traffic Safety Administration (NHTSA).
“Headlight restoration isn’t just cosmetic; it directly affects driving safety, especially in low-light conditions.” — Dr. Alan Pierce, Automotive Lighting Researcher, University of Michigan Transportation Institute
Why Toothpaste Is Used for Headlight Restoration
Toothpaste contains mild abrasives such as silica or calcium carbonate, designed to scrub away plaque without damaging enamel. These same abrasive particles can gently polish the surface of oxidized plastic, removing a thin layer of degraded material and smoothing micro-scratches.
Additionally, many toothpastes include detergents that help lift surface grime and polishing agents that enhance shine. When applied with friction, toothpaste acts like a fine-grade polishing compound—similar to products sold specifically for headlight restoration, but at a fraction of the cost.
Step-by-Step Guide: Restoring Headlights with Toothpaste
If you're ready to try this method, follow this detailed procedure for best results. While not a permanent fix, proper application can significantly improve clarity and brightness.
- Clean the headlight thoroughly. Use soap and water to remove dirt, grease, and road film. Dry completely with a microfiber towel.
- Tape off surrounding paint. Apply painter’s tape around the headlight housing to protect the car’s finish from accidental scratches or residue.
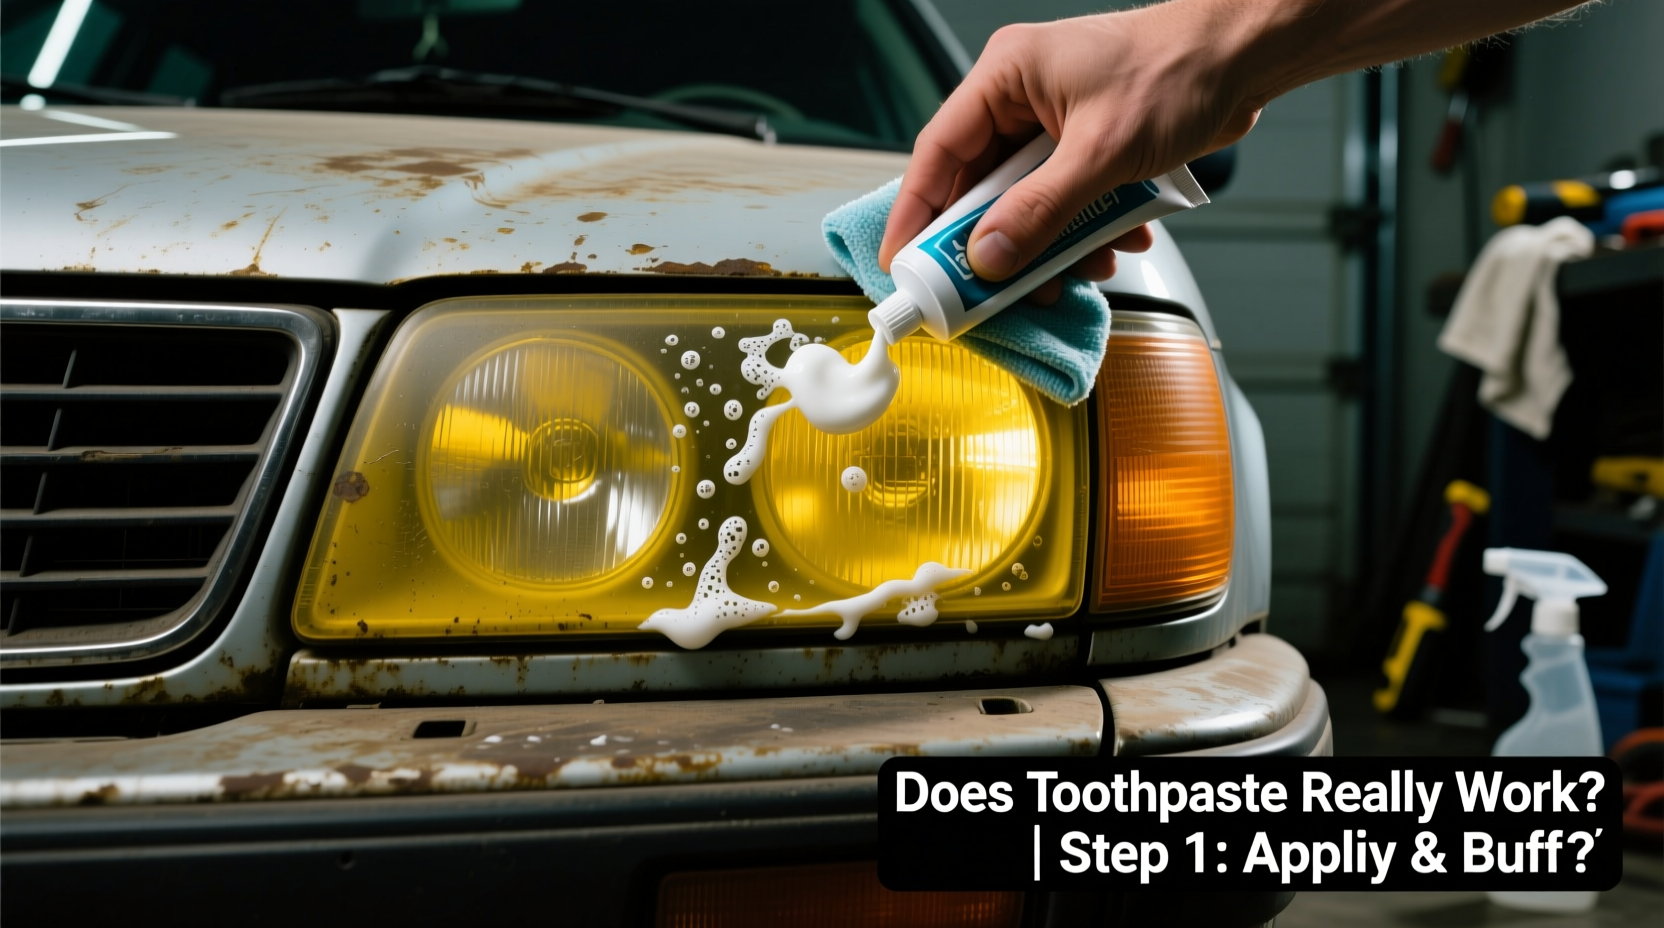
- Apply non-gel toothpaste to a soft cloth. A tablespoon should suffice per headlight. Dampen the cloth slightly to aid spreading.
- Polish in circular motions. Rub the toothpaste onto the lens with firm, consistent pressure for 3–5 minutes. Focus on discolored areas.
- Rinse and inspect. Wash off the paste with clean water. Check the results under direct light. Repeat if haze remains.
- Dry and apply UV sealant (optional but recommended). After restoration, protect the surface with a spray-on UV protectant or clear acrylic sealer to slow re-oxidation.
This entire process takes about 20–30 minutes and costs less than $5 if you already have toothpaste at home. It's ideal for mildly fogged lenses and temporary improvements before resale or inspection.
Effectiveness: What Works and What Doesn’t
Toothpaste can produce visible improvement—especially on lightly oxidized lenses—but it has limitations. The abrasive action only removes a superficial layer. If the lens is deeply pitted or severely cracked, toothpaste won’t reach structural damage.
In controlled tests, researchers at Car and Driver magazine found that toothpaste restored approximately 50–60% of original clarity compared to professional-grade kits, which achieved 80–90%. The gains were noticeable but short-lived, with degradation resuming within weeks without a protective coating.
| Method | Clarity Improvement | Cost | Longevity | Best For |
|---|---|---|---|---|
| Toothpaste + Cloth | 50–60% | $1–$3 | 1–3 months | Mild oxidation, quick fixes |
| Sandpaper + Polish Kit | 80–90% | $15–$25 | 6–12 months | Moderate to heavy clouding |
| Professional Refinishing | 90–95% | $75–$150 | 1–2 years | Severe damage, long-term solution |
| Headlight Replacement | 100% | $100–$400+ | Lifetime of part | Cracked or internally damaged lenses |
The table shows that while toothpaste is the most accessible option, its effects are temporary and less comprehensive. It’s best viewed as a stopgap measure rather than a permanent fix.
Common Mistakes to Avoid
Even simple methods can go wrong without proper technique. Here are frequent errors people make when using toothpaste on headlights:
- Using gel or whitening toothpaste – These often contain hydrogen peroxide or dyes that don’t polish and may leave streaks.
- Skipping surface prep – Applying toothpaste over dirty lenses reduces friction and spreads contaminants.
- Not sealing afterward – Without UV protection, the newly exposed plastic will oxidize faster than before.
- Being inconsistent in motion – Random rubbing patterns can create swirl marks. Always use even, overlapping circles.
- Expecting permanent results – No DIY method stops aging. Maintenance and protection are key.
Real-World Example: A Weekend Restoration
Mark T., a mechanic from Portland, OR, tried the toothpaste method on his 2012 Honda Civic before selling it. “The headlights were so yellow they looked like they belonged on a tractor,” he said. He spent 40 minutes cleaning, polishing with Colgate Cavity Protection, and sealing with a UV spray he bought online.
Afterward, the lenses weren’t crystal clear but had lost their milky tint. “It wasn’t perfect, but the difference was night and day,” Mark noted. “A buyer mentioned how clean the lights looked during the test drive. I got my asking price.”
He admitted the effect lasted only about two months before slight yellowing returned. Still, for under $10 and minimal effort, he considered it a worthwhile investment in presentation.
When to Choose Alternatives
Toothpaste works best as a quick, low-cost solution for minor fading. However, deeper issues require stronger intervention. Consider upgrading your approach if:
- The lens feels rough or gritty to the touch.
- You see spiderweb-like cracks across the surface.
- Water has seeped inside the housing (indicated by fogging behind the lens).
- You’ve already tried toothpaste twice with diminishing returns.
In such cases, sanding kits that include 800–2000 grit wet/dry sandpaper followed by a dedicated plastic polish yield far better and longer-lasting results. Some advanced users even apply a liquid UV-resistant coating post-restoration, mimicking the original factory seal.
“The real secret to lasting headlight clarity isn’t just removal of oxidation—it’s creating a new UV barrier. That’s where most DIY methods fail.” — Sarah Lin, Auto Detailing Specialist, ShinePro Labs
Checklist: Headlight Restoration with Toothpaste
Use this checklist to ensure you don’t miss any critical steps:
- ☐ Park vehicle in shade or garage (avoid direct sun)
- ☐ Gather supplies: non-gel toothpaste, microfiber cloths, water, bucket, painter’s tape
- ☐ Clean each headlight with soapy water and dry completely
- ☐ Tape off adjacent paintwork
- ☐ Apply toothpaste to a damp cloth
- ☐ Rub in small, overlapping circles for 3–5 minutes per headlight
- ☐ Rinse thoroughly and dry
- ☐ Inspect under bright light; repeat if needed
- ☐ Apply UV-protective sealant to extend results
- ☐ Remove tape and clean surrounding area
FAQ
Can any type of toothpaste be used?
No. Only non-gel, white toothpaste with mild abrasives works. Avoid whitening, gel, or charcoal varieties, as they either lack polishing power or may stain the lens.
How long will the results last?
Without a protective coating, clarity typically lasts 1–3 months depending on sun exposure and weather. With a UV sealant, results can last up to 6 months.
Is toothpaste safe for all headlight types?
Yes, for polycarbonate lenses (most modern vehicles). Avoid using on older glass lenses or aftermarket housings with thin coatings, as abrasion could cause permanent scratching.
Conclusion: Practical, Temporary, and Worth Trying
Restoring faded headlights with toothpaste isn’t magic—but it’s surprisingly effective for what it is. It leverages mild abrasion to polish away surface oxidation, delivering a noticeable improvement in clarity and brightness. While it won’t match professional treatments or replace damaged components, it’s a legitimate, accessible solution for minor restoration needs.
The method shines in situations where cost, time, or tools are limited. Whether prepping your car for sale, passing a safety inspection, or simply improving nighttime visibility, a toothpaste polish offers tangible benefits. Just remember: the real value isn’t in expecting permanence, but in understanding that even small maintenance efforts contribute to safety, appearance, and vehicle longevity.


 浙公网安备
33010002000092号
浙公网安备
33010002000092号 浙B2-20120091-4
Comments
No comments yet. Why don't you start the discussion?