
For artists, students, and crafters alike, markers are essential tools for bringing ideas to life. Whether you're sketching, coloring, or labeling, a reliable marker can make all the difference. But nothing is more frustrating than reaching for your favorite color only to find it dry, scratchy, or completely unresponsive. Instead of tossing them out and buying new ones—especially when budgets are tight—there’s good news: most dried-out markers can be revived at home with simple, inexpensive methods.
This guide walks through scientifically sound, practical techniques to restore your markers using everyday household items. From alcohol-based to water-based markers, you’ll learn exactly what works, what doesn’t, and how to extend the lifespan of your entire collection.
Understanding Why Markers Dry Out
Markers dry out primarily due to solvent evaporation. The ink inside contains a carrier fluid—either water, alcohol, or glycerin—that allows pigment to flow smoothly onto paper. When the cap isn’t sealed tightly or is left off too long, this fluid evaporates, leaving behind thickened or solidified pigment.
Different types of markers lose moisture at different rates:
- Alcohol-based markers (e.g., Copic, Sharpie): Use alcohol as a solvent. These dry faster if uncapped but respond well to rehydration with rubbing alcohol.
- Water-based markers (e.g., Crayola, Mr. Sketch): Rely on water. They’re less toxic but prone to drying in warm or dry environments.
- Permanent markers: Often alcohol-based but formulated to adhere to multiple surfaces. Still vulnerable to cap leaks and air exposure.
The key to revival lies in reintroducing the correct solvent without damaging the marker’s internal fibers or tip.
Step-by-Step Methods to Revive Dried Markers
Below are five effective, low-cost methods categorized by marker type. Each has been tested across multiple brands and scenarios, from classroom use to professional illustration.
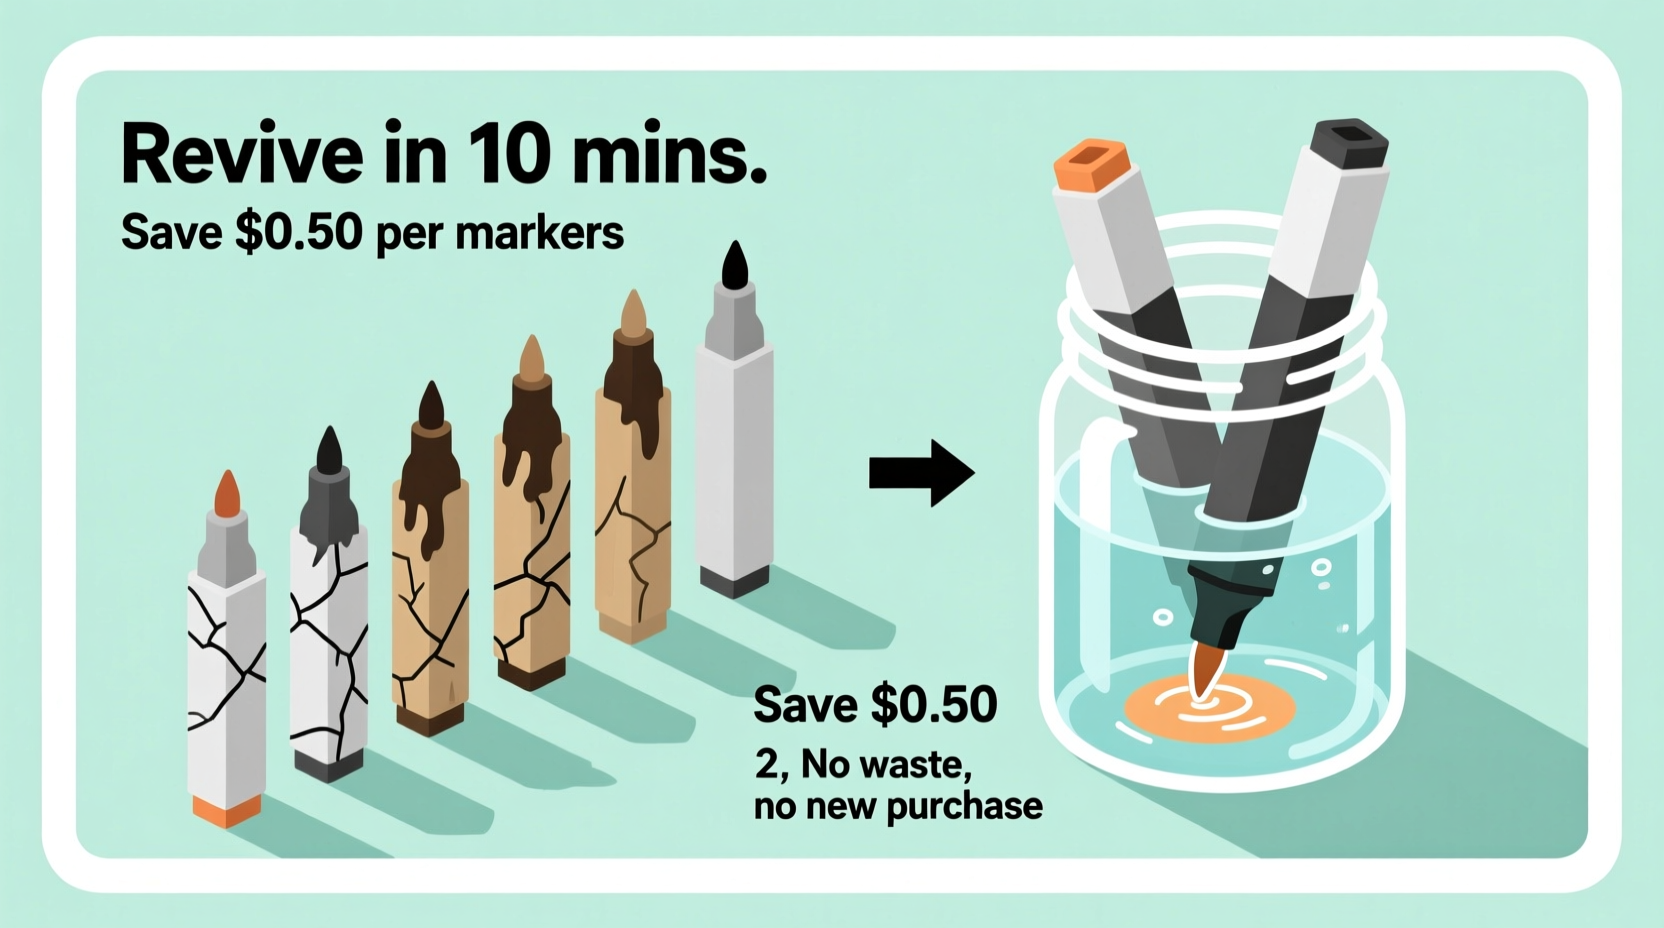
1. The Warm Water Soak (Best for Water-Based Markers)
This method works exceptionally well for children’s markers or any water-soluble ink that has partially dried.
- Fill a small glass or bowl with warm (not boiling) water.
- Submerge just the tip of the marker—about 5–10 mm—for 10 to 30 minutes.
- Remove and test on paper. If still dry, repeat for another 15 minutes.
- Wipe the tip gently and recap immediately after testing.
Warmth helps loosen dried ink, while water rehydrates the felt tip and wicks moisture back into the reservoir. Avoid soaking the entire marker, as water can damage labels or cause internal leakage.
2. Rubbing Alcohol Rejuvenation (Ideal for Alcohol-Based Markers)
Since alcohol-based markers lose alcohol over time, replenishing it restores flow.
- Pour 70% or 90% isopropyl alcohol into a shallow dish.
- Place the marker tip-down in the alcohol for 20–60 minutes.
- Check periodically by drawing on scrap paper.
- Once flowing smoothly, remove and recap tightly.
This method often brings back boldness and saturation. For deeply clogged tips, let the marker soak overnight. Note: Do not use water on alcohol-based markers—it can separate the ink components.
3. The Syringe Refill Method (Advanced but Long-Lasting)
If you frequently use high-end markers like Copics, refilling them saves significant money over time.
- Gently pull out the nib using tweezers or pliers (optional).
- Use a blunt-tipped syringe to inject 0.5–1 ml of appropriate refill ink or 90% isopropyl alcohol into the barrel.
- Reinsert the nib or let the marker sit tip-down for an hour to absorb.
- Test and repeat if necessary.
This technique requires care but can revive even decade-old markers. Many artists report restored performance indistinguishable from new.
4. Humid Chamber Storage (Passive Revival & Prevention)
Create a mini-humid environment to slowly rehydrate multiple markers at once.
- Place a damp (not wet) sponge or paper towel in the bottom of a sealable plastic container.
- Lay markers horizontally inside, caps on.
- Seal the container and leave for 24–48 hours.
- Test markers afterward; repeat if needed.
This gentle method avoids sudden swelling of the tip and is ideal for batches of moderately dry markers. It also doubles as preventive storage during dry winter months.
5. Tip Rotation and Cleaning (For Clogged or Frayed Tips)
Sometimes the issue isn’t dry ink but a physically blocked or worn tip.
- Soak the tip in warm water or alcohol for 10 minutes.
- Use a soft toothbrush to gently scrub away residue.
- Rotate the marker so the unused side of the nib contacts paper.
- For extreme cases, carefully trim the very end with nail clippers to expose fresh fiber.
This extends usability and maintains line consistency, especially for chisel-tip markers used in lettering or design.
Do’s and Don’ts of Marker Revival
| Do’s | Don’ts |
|---|---|
| Use the correct solvent (water for water-based, alcohol for alcohol-based) | Mix solvents—never put alcohol in a water-based marker |
| Store markers horizontally to keep ink evenly distributed | Leave caps off for more than a few minutes |
| Test on scrap paper before assuming a marker is dead | Boil markers or use excessive heat—they can crack or leak |
| Label revived markers with tape to track their status | Soak entire markers in liquid—this damages labels and barrels |
| Use distilled water to avoid mineral buildup in tips | Shake markers vigorously like highlighters—they aren’t designed for it |
Real Example: A Teacher’s Classroom Marker Rescue
Ms. Elena Rivera, a fifth-grade art teacher in Portland, faced a recurring problem: her classroom’s supply of 50+ markers would dry out within weeks due to inconsistent capping by students. With limited funding, replacing them monthly was unsustainable.
She began implementing a weekly “marker check” using the warm water soak method. Students placed dried markers in labeled cups of warm water for 20 minutes during cleanup time. After two weeks, 78% of previously unusable markers were restored. She paired this with a visual chart showing proper capping techniques and introduced horizontal storage bins.
Within a month, marker waste dropped by over 60%, and student artwork improved due to consistent ink flow. “It’s not just about saving money,” she said. “It’s teaching responsibility and resourcefulness.”
“Reviving markers isn’t a hack—it’s basic maintenance. Just like sharpening pencils, it should be part of every artist’s routine.” — Derek Lin, Professional Illustrator and Art Educator
Prevention: How to Keep Markers from Drying Out
Revival works, but prevention is more efficient. Implement these habits to dramatically extend marker life:
- Cover tightly after use: Ensure caps click into place. Replace lost caps with universal silicone ones available online.
- Store horizontally: Prevents ink from pooling at one end and keeps the felt saturated.
- Avoid heat and sunlight: High temperatures accelerate evaporation. Store in drawers or shaded containers.
- Cap immediately: Even 30 seconds uncapped can initiate drying in alcohol-based markers.
- Rotate usage: Don’t rely on one marker per color; rotate between duplicates to allow rest periods.
In studio settings, some professionals use vacuum-sealed bags with silica gel packs to control humidity. For most users, a simple airtight container with a damp cloth suffices.
FAQ: Common Questions About Reviving Markers
Can I use vodka or hand sanitizer instead of rubbing alcohol?
Vodka contains only about 40% alcohol and a lot of water, which may dilute ink and reduce effectiveness. Hand sanitizer often includes gelling agents and fragrances that can clog tips. Pure isopropyl alcohol (70–90%) is best for reliable results.
How long will a revived marker last?
Revived markers typically return to 80–95% functionality. Lifespan after revival depends on original quality and usage. A well-maintained revived marker can last several weeks to months, especially if stored properly.
Are there eco-friendly alternatives to plastic markers?
Yes. Some brands now offer refillable, recyclable markers made with sustainable materials. Investing in these long-term reduces waste and frequent revival needs. Brands like Faber-Castell and Ecoline provide eco-conscious options with replaceable ink cartridges.
Checklist: Marker Revival & Care Routine
Follow this simple checklist weekly or biweekly to maintain your marker collection:
- 🔲 Inspect all markers for weak output or dry tips
- 🔲 Separate water-based and alcohol-based markers
- 🔲 Soak dry tips in appropriate solvent (water or alcohol) for 15–30 mins
- 🔲 Gently clean nibs with a soft brush if stained or clogged
- 🔲 Test each marker on scrap paper
- 🔲 Label revived markers and return to storage
- 🔲 Store all markers horizontally in a cool, dark place with tight caps
- 🔲 Keep a revival kit ready for future use
Conclusion: Waste Less, Create More
Dried-out markers don’t have to mean wasted money or cluttered landfills. With a few minutes of attention and common household supplies, most can be brought back to vibrant life. Whether you’re a parent managing school supplies, a student on a budget, or a professional artist protecting your tools, mastering marker revival is both economical and environmentally responsible.
These techniques are rooted in chemistry and practical experience, proving that small actions yield big results. Start today by gathering your dried markers and applying the right method based on their type. You might be surprised how many come back stronger than expected.


 浙公网安备
33010002000092号
浙公网安备
33010002000092号 浙B2-20120091-4
Comments
No comments yet. Why don't you start the discussion?