
Dry lipstick is a common frustration—especially when it’s your favorite shade or a high-end product you don’t want to replace. The good news? You don’t need specialty tools or expensive products to bring it back to life. With just a few everyday household items and less than five minutes, you can restore your dried-out lipstick to a smooth, creamy texture. Whether it’s cracked, crumbly, or simply too stiff to apply, these practical techniques will save time, money, and your makeup routine.
Why Lipstick Dries Out: The Science Behind the Problem
Lipstick dries out due to exposure to air, heat, and changes in humidity. Most lipsticks contain waxes, oils, and pigments that balance firmness and glide. Over time, the volatile oils evaporate, leaving behind a harder, brittle formula. This process accelerates if the cap isn’t sealed tightly or if the lipstick is stored in warm environments—like a car dashboard or near a bathroom sink with steam.
Additionally, repeated use introduces bacteria and moisture, which can degrade the product over time. While expired lipstick should be discarded (typically after 12–24 months), many “dry” sticks are still chemically sound—they’ve just lost their emollient balance. That’s where revival comes in.
“Most dry lipsticks aren’t spoiled—they’re dehydrated. Reintroducing moisture and softening agents can restore functionality without compromising safety.” — Dr. Lena Patel, Cosmetic Chemist & Formulation Specialist
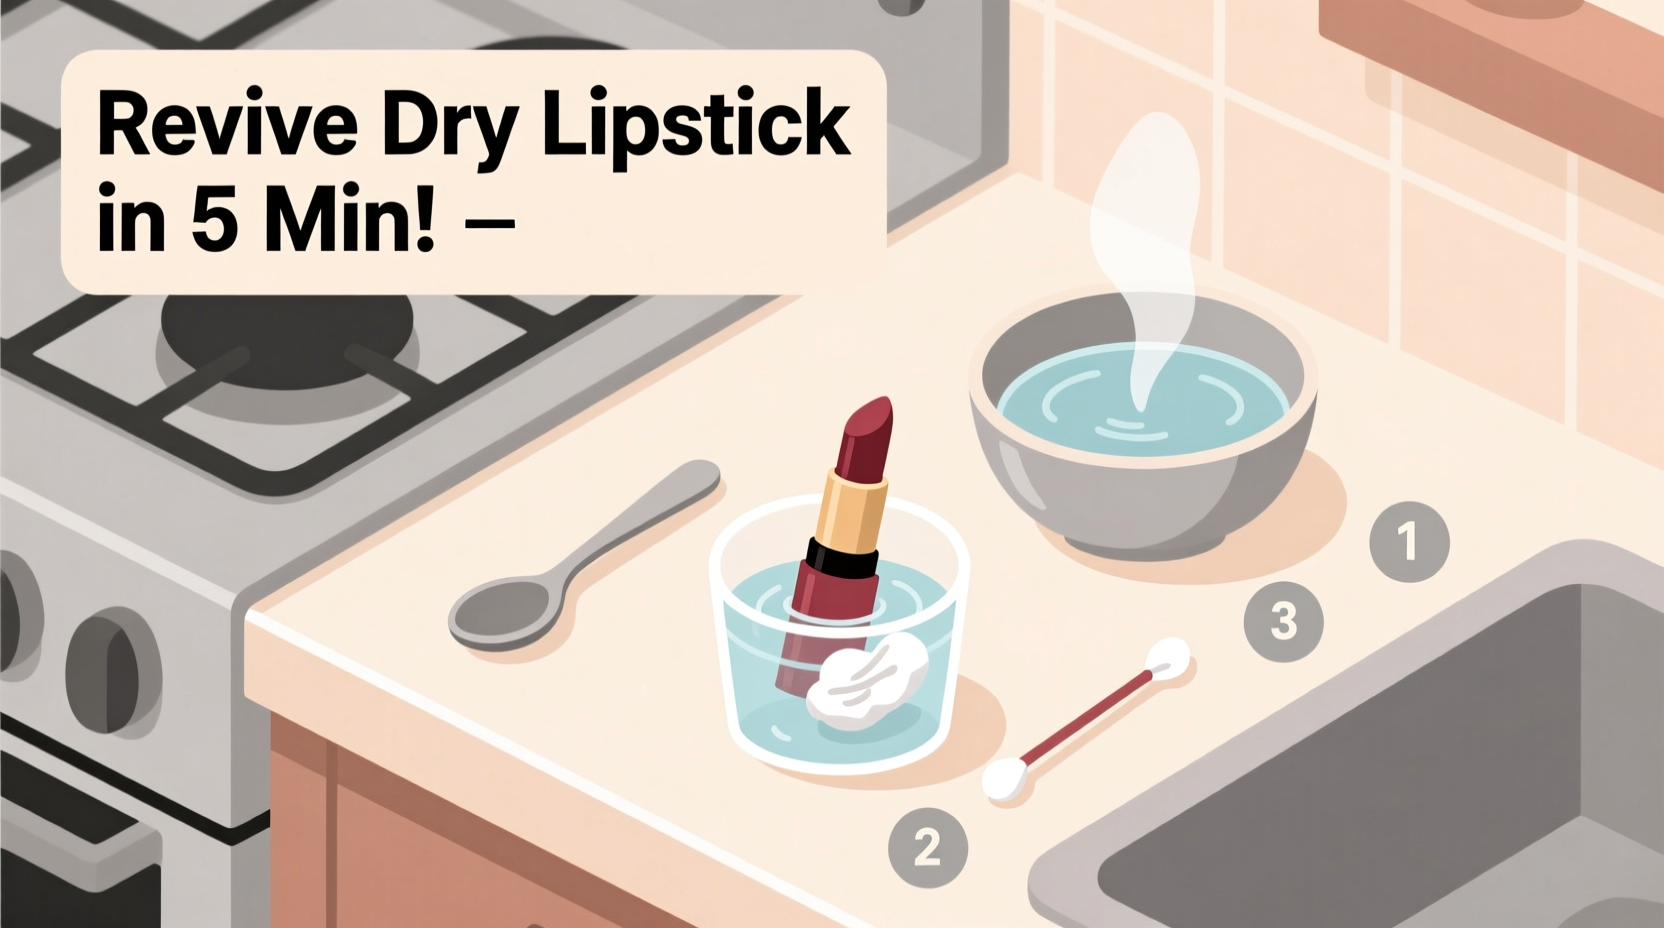
Step-by-Step Guide: Reviving Dry Lipstick in Under 5 Minutes
The following method uses only common household items and takes less than five minutes from start to finish. It works best for bullet-style lipsticks in standard tubes but can be adapted for pots or compacts.
- Gather supplies: You’ll need a clean spoon, a heat source (microwave or kettle), a cotton swab, and optionally, a few drops of oil (like coconut, olive, or jojoba).
- Prepare the lipstick: Remove the lipstick from its casing. If it’s stuck, gently twist until it loosens. Avoid forcing it, as this may break the base.
- Apply gentle heat: Hold a metal spoon over steam from a recently boiled kettle for 10–15 seconds. Alternatively, microwave a teaspoon of water for 30 seconds and hold the spoon above the rising steam.
- Melt the surface: Gently press the warm (not hot) spoon onto the surface of the lipstick. Rotate slightly to distribute heat evenly. Do not submerge or overheat—this can separate oils and alter texture.
- Smooth and reset: Use the back of the spoon to lightly press and flatten the softened surface. Let it cool at room temperature for 60–90 seconds before replacing the cap.
- Optional conditioning: Dip a cotton swab in one drop of natural oil and swirl it into the surface. This adds moisture and improves glide.
Alternative Household Methods for Different Situations
Not every dry lipstick responds the same way. Depending on severity and available tools, try one of these variations:
1. The Hairdryer Quick Fix
If you don’t have access to a stove or kettle, a hairdryer works surprisingly well. Hold it 6 inches from the lipstick and blast warm air for 10–15 seconds. Rotate the tube to heat evenly. Once softened, smooth with a clean fingertip or cotton swab.
2. The Oil Infusion Method
For severely dry or flaky lipstick, adding a tiny amount of oil restores emollience. Use a sterilized pin or needle to poke small holes into the surface, then add 1–2 drops of coconut or jojoba oil. Warm gently with a spoon or hairdryer, then let set. This method extends usability but may slightly alter the original finish (e.g., matte becomes satin).
3. The Microwave Melt (For Broken or Crumbled Lipstick)
If your lipstick has broken off or crumbled inside the tube, remove it completely. Place it in a microwave-safe container (like a small ceramic bowl or aluminum foil tray). Heat in 5-second bursts until just melted. Stir gently with a clean toothpick, then pour back into the mold or an empty compact. Let cool for 3–4 minutes before use.
Do’s and Don’ts of Lipstick Revival
| Do’s | Don’ts |
|---|---|
| Use clean tools to avoid contamination | Use dirty spoons or fingers that introduce bacteria |
| Apply minimal heat—warmth, not boiling | Submerge lipstick in water or expose to open flame |
| Add oils sparingly (1 drop max for standard size) | Over-oil, which can make lipstick greasy or slide off lips |
| Store revived lipstick upright in a cool, dark place | Leave it in humid areas like bathrooms or hot cars |
| Test on hand first if altering formula with oil | Revive lipstick that shows mold, odd smell, or discoloration |
Real Example: A Last-Minute Rescue Before a Big Meeting
Sophie, a marketing executive, reached for her go-to berry-red lipstick before a client presentation—only to find it cracked and chalky. With 10 minutes to spare, she grabbed a teaspoon, boiled water in the office kitchen, and held the spoon over the steam. After two gentle presses, the lipstick surface smoothed out. She added a single drop of almond oil from her desk drawer (kept for cuticle care), warmed it briefly, and reapplied. The result? A rich, even application that lasted through her 90-minute pitch. “I was ready to throw it away,” she said later. “But now I use this trick all the time—it’s saved me at least three lipsticks this year.”
When Not to Revive: Signs It’s Time to Toss
While most dry lipsticks can be revived, some should be discarded for hygiene and performance reasons. Replace your lipstick if you notice any of the following:
- Foul odor: A rancid or sour smell indicates oil degradation or bacterial growth.
- Mold or fuzz: Visible spots or webbing mean microbial contamination.
- Major texture separation: Oily pools around a hard core suggest irreversible breakdown.
- Change in color: Faded or darkened pigment may signal chemical instability.
- Expired by date: Most lipsticks last 12–24 months unopened, 6–12 months after first use.
Revival is not recommended for lip products showing these signs. Health risks outweigh cost savings.
Checklist: How to Safely Revive Dry Lipstick at Home
Follow this quick checklist before attempting revival:
- ☐ Check expiration date or first-use mark
- ☐ Inspect for odor, mold, or discoloration
- ☐ Gather clean tools (spoon, cotton swab, optional oil)
- ☐ Use indirect heat (steam or hairdryer)
- ☐ Apply minimal oil if needed (max 1–2 drops)
- ☐ Smooth surface and allow cooling before capping
- ☐ Label if reused long-term
- ☐ Test on inner wrist or hand for texture and reaction
FAQ: Common Questions About Reviving Dry Lipstick
Can I use Vaseline to revive dry lipstick?
Yes, but sparingly. A tiny dab of petroleum jelly can soften dry lipstick when mixed gently with heat. However, too much will dilute pigment and reduce wear time. Use only if other oils aren’t available.
Will heating the lipstick change its color?
Not if done correctly. Gentle warming doesn’t alter pigment chemistry. However, overheating can cause separation or slight oxidation, especially in cream formulas. Stick to brief, low-heat exposure.
How long will a revived lipstick last?
A properly revived lipstick can last several weeks to months, depending on storage and usage. Keep it capped tightly and stored in a cool, dark place to maximize longevity. If it dries again, repeat the process once—but avoid multiple revivals beyond that.
Conclusion: Waste Less, Wear More
Reviving dry lipstick isn’t just a clever hack—it’s a smart habit that reduces waste, saves money, and keeps your beauty routine running smoothly. With simple tools you already own, you can restore function to a seemingly dead product in under five minutes. The key is acting quickly, using gentle methods, and knowing when revival isn’t safe. By mastering these techniques, you extend the life of your cosmetics while minimizing environmental impact.


 浙公网安备
33010002000092号
浙公网安备
33010002000092号 浙B2-20120091-4
Comments
No comments yet. Why don't you start the discussion?