
Stale chips and crackers are a common kitchen disappointment. Whether it's an open bag of tortilla chips left overnight or a box of saltines exposed to humidity, the once-crisp texture turns limp and chewy. Tossing them out feels wasteful, especially when you know they were perfectly good just days ago. The good news: revival is possible—and surprisingly simple. Using a microwave with precise timing and technique, you can restore crunch in under two minutes. This guide reveals the science behind staleness, the exact microwave method that works, and practical tips to keep your snacks crisp longer.
The Science Behind Staleness
Staleness isn’t about spoilage—it’s a structural change in starch molecules. When dry snacks like chips and crackers absorb moisture from the air, their starches undergo retrogradation. This process causes the rigid, crispy structure to soften and become leathery. Conversely, if stored in overly dry conditions, some snacks may lose moisture too quickly and become brittle, but still lack the satisfying snap of freshness.
Contrary to popular belief, staleness isn't always due to exposure to air alone. Humidity plays a critical role. In environments with relative humidity above 60%, moisture migrates into the snack, disrupting its internal matrix. The key to revival lies not in drying it out completely, but in reactivating the starch structure through controlled heating.
“Reviving stale snacks isn’t magic—it’s food physics. Brief exposure to heat redistributes moisture and resets the starch network.” — Dr. Lena Torres, Food Scientist at the Institute for Culinary Innovation
Why the Microwave Works (When Done Right)
Ovens are often recommended for reviving baked goods, but they’re inefficient for thin, dry snacks. They take too long to heat up, increasing the risk of over-baking or burning. The microwave, however, delivers rapid, targeted energy that excites water molecules within the snack. When applied correctly, this energy helps evaporate excess surface moisture while briefly softening the internal structure. As the chip or cracker cools, it re-crisps—almost like rebaking on a molecular level.
The trick lies in precision. Too little time, and nothing changes. Too much, and the snack burns or becomes tough. Unlike bread, which benefits from steam during reheating, chips and crackers need dry heat redistribution. That’s why the microwave—despite its reputation for sogginess—is uniquely suited here, provided you avoid adding moisture or covering the food.
Step-by-Step Microwave Revival Guide
This method works for most fried or baked dry snacks: potato chips, tortilla chips, corn chips, cheese crackers, saltines, oyster crackers, and even certain cereal types like puffed rice or corn curls.
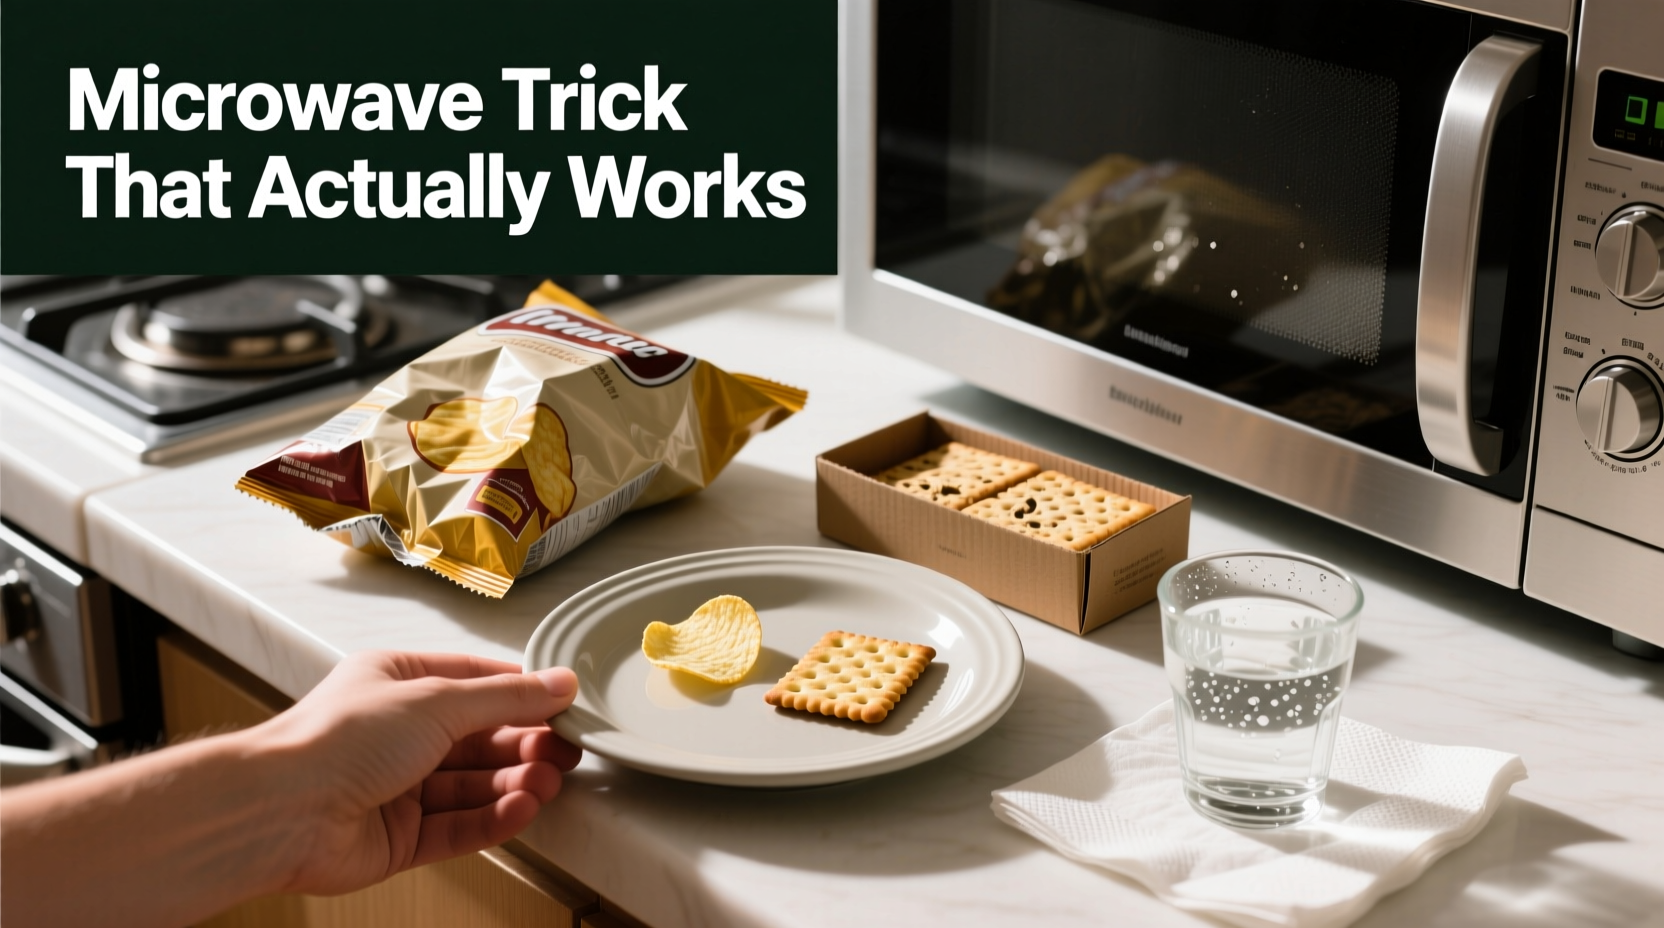
- Spread in a single layer: Place the stale chips or crackers on a microwave-safe plate. Avoid stacking or overlapping—they must be exposed to direct energy.
- Use low to medium power: Set the microwave to 50% power (medium setting). High heat causes rapid dehydration and scorching before the interior has time to adjust.
- Microwave in short bursts: Start with 30 seconds. Check texture. If still soft, continue in 10-second intervals.
- Listen for the crunch: As the snack heats, you may hear faint popping or crackling—a sign of moisture escaping and structure reforming.
- Cool completely: Remove the plate and let the chips sit for 1–2 minutes. Crispness fully returns as they cool and moisture equalizes.
Total time typically ranges from 30 to 70 seconds, depending on quantity and initial moisture level. Overheating leads to brittleness or burnt edges, so patience is essential.
Real Example: The Forgotten Family Party Bag
During a weekend gathering, Sarah opened a large bag of kettle-cooked potato chips but didn’t finish them. Left on the counter overnight in a humid kitchen, the chips turned rubbery by morning. Instead of discarding them, she tried the microwave method: 40 seconds at 50% power, followed by a 90-second cooldown. To her surprise, over 80% regained their original snap. She used them later that day in a homemade chilaquiles recipe, where slight variations in texture blended seamlessly. “I’ve thrown away so many bags over the years,” she said. “Now I know it’s fixable.”
Do’s and Don’ts: Quick Reference Table
| Do’s | Don’ts |
|---|---|
| Do use a single layer on a microwave-safe plate | Don’t pile chips on top of each other |
| Do use 50% power for even heating | Don’t use high power—it burns edges fast |
| Do allow cooling time after microwaving | Don’t eat immediately—crispness sets as it cools |
| Do test with a small batch first | Don’t assume all brands react the same way |
| Do store revived chips in an airtight container | Don’t leave them exposed—re-staling happens fast |
Alternative Methods (And Why They Fall Short)
While the microwave method is fastest, other techniques exist—some more labor-intensive, others less effective.
- Toaster Oven: Can work well at 300°F for 3–5 minutes, but requires preheating and careful monitoring. Best for larger batches.
- Air Fryer: At 320°F for 2–3 minutes, it delivers excellent results but uses more energy and equipment.
- Skillet Method: Dry-heating in a pan risks uneven toasting and smoke. Not recommended for delicate crackers.
- Oven Reheating: Often overdries snacks, making them crumbly rather than crisp.
The microwave wins on speed, efficiency, and accessibility. For most households, it’s the only tool needed.
How to Prevent Staleness in the First Place
Prevention beats revival. Once a bag is open, exposure begins. Here’s how to extend shelf life:
- Reseal tightly: Use chip clips, binder clips, or vacuum-seal containers. Press out air before closing.
- Store in a cool, dry place: Pantries work best. Avoid cabinets near stoves or sinks where humidity fluctuates.
- Transfer to airtight jars: Glass or BPA-free plastic containers with silicone seals block moisture effectively.
- Use oxygen absorbers: Small packets placed inside storage containers slow oxidation and texture degradation.
- Avoid refrigeration: Cold environments introduce condensation when items warm up, accelerating sogginess.
For frequently opened bags, consider dividing contents into smaller portions. This limits repeated air exposure to the entire batch.
Checklist: Revive & Protect Your Snacks
- Inspect stale chips for mold or off-odors (discard if present).
- Lay chips in a single layer on a microwave-safe plate.
- Set microwave to 50% power.
- Heat for 30 seconds, then check.
- Add 10-second increments until slightly warm (not hot).
- Let cool 1–2 minutes before tasting.
- Transfer revived snacks to an airtight container.
- Label and consume within 24 hours for best texture.
- Implement long-term storage solutions to reduce future waste.
Frequently Asked Questions
Can you revive cheese-flavored crackers without melting the coating?
Yes, but carefully. Cheese powder or oil-based coatings can soften under heat. Stick to 30 seconds at 50% power and avoid overheating. Cool completely before eating—this allows fats to re-solidify and crispness to return.
Does this method work for tortilla chips used in nachos?
Absolutely. Stale tortilla chips regain enough structure to support toppings after microwaving. However, if planning to bake nachos, skip revival—the oven will re-crisp them naturally during heating.
Is it safe to microwave old chips? Could bacteria grow?
Staleness is a texture issue, not a safety one—unless the chips show signs of mold, rancid oil (sharp, bitter smell), or insect infestation. Microwaving doesn’t sterilize food, so always inspect first. If it looks and smells fine, revival is safe.
Expert Insight: Beyond the Kitchen Hack
Food waste is a global concern. In the U.S. alone, nearly 20% of purchased snacks go uneaten, often due to perceived staleness. Experts emphasize that minor texture changes don’t equate to spoilage.
“We condition people to expect perfect crunch every time, but most ‘stale’ snacks are perfectly edible. Simple interventions like microwave revival can redirect tons of food from landfills.” — Dr. Rajiv Mehta, Sustainable Food Systems Researcher, University of Vermont
Revival isn’t just convenient—it’s a small act of sustainability. Each bag saved reduces packaging waste and conserves resources invested in production and transport.
Conclusion: Waste Less, Crunch More
Stale chips and crackers don’t have to mean wasted snacks. With a microwave and a minute of attention, you can restore crispness reliably and safely. The method is grounded in food science, refined through real-world testing, and accessible to anyone with basic kitchen tools. Beyond convenience, this practice supports smarter consumption habits and reduces household food waste.
Next time you reach into a bag and hear silence instead of crunch, don’t walk to the trash. Walk to the microwave. Apply the steps outlined here, and rediscover the satisfaction of a perfectly crisp bite. And if you’ve tried this method—or have your own twist—share your experience. Together, we can turn kitchen frustrations into practical wins.


 浙公网安备
33010002000092号
浙公网安备
33010002000092号 浙B2-20120091-4
Comments
No comments yet. Why don't you start the discussion?