
Camera lenses are precision instruments designed to capture sharp, high-quality images. Over time, dust, fingerprints, smudges, and moisture can accumulate on the lens surface, degrading image clarity and potentially damaging coatings. While cleaning seems straightforward, improper methods can lead to micro-scratches, haze, or permanent coating damage. The key is not just removing debris—but doing so without introducing new risks. This guide provides a detailed, step-by-step approach to cleaning your camera lenses safely, preserving optical integrity and extending equipment life.
Why Proper Lens Cleaning Matters
Lens coatings—such as anti-reflective, hydrophobic, or scratch-resistant layers—are engineered at microscopic levels. These delicate films enhance light transmission and reduce glare but are vulnerable to abrasives, solvents, and rough handling. A single scratch may seem minor, but it can scatter light, create flare, or degrade contrast in images. Worse, repeated use of unsuitable materials (like paper towels or clothing) compounds surface wear over time.
Moreover, dust particles aren’t inert—they often contain silica or other hard minerals that act like sandpaper when rubbed across glass. Cleaning improperly doesn't just risk scratches; it can also leave behind residue, oils, or streaks that affect performance under bright lighting conditions.
“Many photographers don’t realize that most lens damage occurs during cleaning, not from normal use.” — Daniel Reeves, Professional Camera Technician & Optics Specialist
Essential Tools for Safe Lens Cleaning
Using the right tools is non-negotiable. Never rely on improvised solutions like shirt sleeves, napkins, or breath-and-wipe techniques. Instead, invest in a dedicated lens cleaning kit with components designed specifically for optical surfaces.
Must-Have Items:
- Blower brush or rocket blower: Removes loose dust and debris without contact.
- Lens cleaning solution: Formulated for coated optics (e.g., Eclipse, ROR). Avoid alcohol-based cleaners or household glass cleaners.
- Microfiber cloth: High-thread-count, lint-free fabric used only for lenses. Replace when worn.
- Cotton swabs (foam-tipped): For cleaning around the lens barrel and edges.
- Lens pen: Features a soft brush and carbon pad for quick touch-ups (use cautiously).
Step-by-Step Guide to Safely Clean Your Lens
Cleaning should be done only when necessary. Frequent cleaning increases the risk of accidental damage. Follow this sequence to minimize contact and maximize safety.
- Turn off and remove the lens: Power down your camera and detach the lens in a low-dust environment if possible. Point the mount downward to prevent internal dust entry.
- Use a blower first: Hold the lens with the front element facing down. Use a rocket blower to dislodge loose particles. Do not use compressed air cans—they may contain propellants or moisture.
- Brush gently (if needed): With a clean, soft brush, lightly sweep the surface in one direction only. Never press down. This removes stubborn dust after blowing.
- Apply cleaning solution: Place 1–2 drops of lens fluid onto a fresh section of your microfiber cloth—never directly on the lens. Excess liquid can seep into the barrel and damage internal elements.
- Wipe in a spiral motion: Starting from the center, move outward in slow, circular motions. Apply minimal pressure. Use a dry area of the cloth to buff if streaks remain.
- Clean the rear element (optional): If removing the lens frequently, check the rear glass. Repeat the same process with extra care near electrical contacts.
- Inspect under light: Hold the lens up to a bright source and rotate slowly. Look for remaining smudges or haze.
Do’s and Don’ts of Lens Maintenance
Avoiding common mistakes is as important as knowing the correct method. The following table outlines best practices versus risky behaviors.
| Do’s | Don’ts |
|---|---|
| Use a microfiber cloth stored in a sealed pouch | Use tissues, paper towels, or clothing |
| Blow away dust before wiping | Rub the lens immediately when dirty |
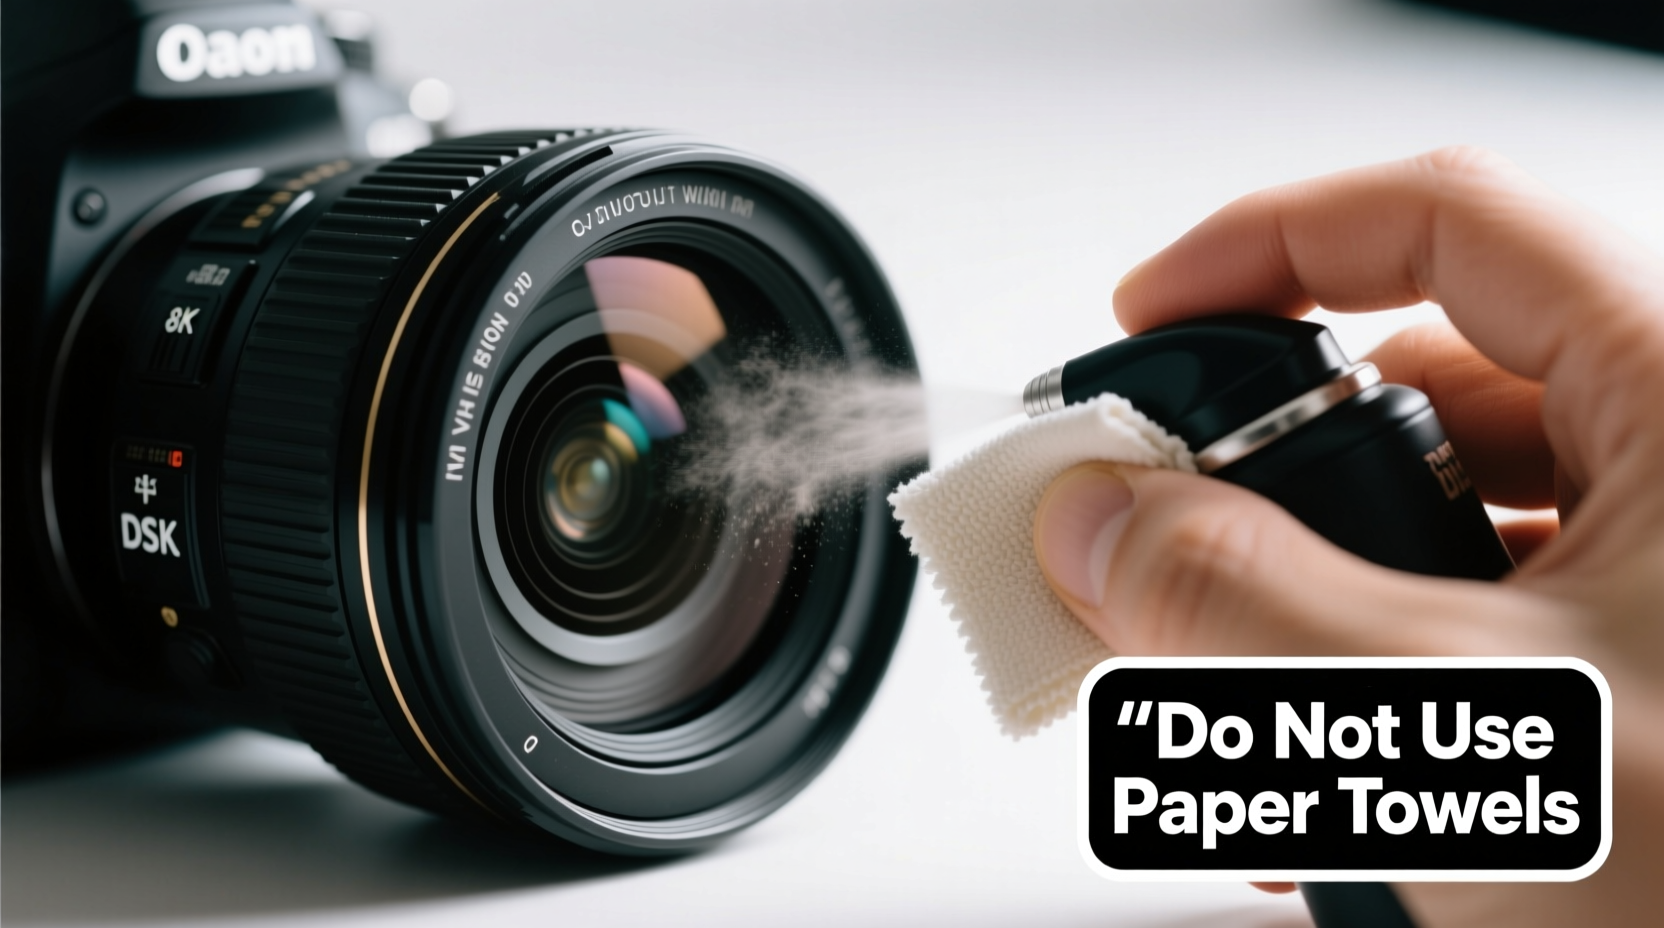
| Apply cleaning fluid to the cloth, not the lens | Spray liquid directly onto the glass |
| Clean only when visibly necessary | Clean daily “just in case” |
| Replace worn microfiber cloths regularly | Use the same cloth for months without washing |
Real Example: When Improper Cleaning Damaged a $1,200 Lens
A wildlife photographer in Montana routinely wiped his telephoto lens with a cotton handkerchief after shoots. He noticed increasing haze and reduced contrast over several months. After sending it to a repair center, technicians discovered hundreds of fine scratches across the front element—caused by tiny sand particles embedded in the fabric. The cost to refinish the coating exceeded $350, and full optical restoration wasn’t guaranteed.
The lesson? Even soft-looking fabrics can harbor abrasives. Regular use of improper materials leads to cumulative damage that’s irreversible. Switching to a proper cleaning routine afterward prevented further degradation, but the initial oversight had lasting consequences.
When to Skip DIY Cleaning
Not all lens issues require wiping. Some situations demand caution or professional help:
- Fungus inside the lens: Appears as web-like patterns or spots deep within elements. Caused by humidity and cannot be cleaned externally. Requires disassembly and UV treatment.
- Internal dust: Specks between lens elements usually don’t affect image quality. Attempting to open the lens risks misalignment and voids warranties.
- Coating peeling: Flaking or rainbow discoloration indicates advanced deterioration. No cleaning solution can fix this—only replacement or professional recoating (rarely cost-effective).
“If you see something inside the lens that you can’t reach, leave it alone. Most internal contaminants don’t impact photos unless they’re large or numerous.” — Lena Park, Senior Optician at ProLens Repair Services
Checklist: Safe Lens Cleaning Routine
Follow this checklist every time you clean a lens to ensure consistency and safety:
- ✅ Work in a clean, still-air environment (avoid windy or dusty areas)
- ✅ Remove the lens from the camera body
- ✅ Use a blower to remove loose particles
- ✅ Gently brush if needed (one-direction sweeps only)
- ✅ Apply 1–2 drops of lens fluid to a clean microfiber cloth
- ✅ Wipe from center to edge in slow spirals with no pressure
- ✅ Inspect under bright light for streaks or residue
- ✅ Store the lens with caps on and in a dry place
FAQ: Common Questions About Lens Cleaning
Can I use alcohol or household cleaners on my lens?
No. Isopropyl alcohol, Windex, or similar products can dissolve anti-reflective coatings and leave residues. Only use cleaning fluids specifically formulated for camera lenses, such as those from Zeiss, Purosol, or ROR.
How often should I clean my lens?
Only when necessary—typically when you see visible smudges, fingerprints, or dust affecting image quality. For most users, this means every few weeks or after shooting in challenging environments (beaches, deserts, rain). Daily cleaning increases wear unnecessarily.
Is it safe to use a lens pen?
Lens pens are generally safe for quick field touch-ups but should be used sparingly. The carbon pad can collect grit over time and become abrasive. Replace the tip every 6–12 months depending on usage, and never press hard when using it.
Protecting Your Investment Beyond Cleaning
Cleaning is just one part of lens care. Prevention reduces the need for frequent maintenance:
- Use lens hoods: They shield the front element from accidental bumps, stray light, and splashes.
- Keep filters on: A high-quality UV or clear protector filter acts as a sacrificial layer. Replace the filter instead of risking the lens surface.
- Store properly: Keep lenses in a dry, temperature-stable environment. Use silica gel packs in storage bags to control humidity.
- Cap lenses when not in use: Front and rear caps prevent dust, scratches, and exposure to environmental pollutants.
Conclusion: Care Today Prevents Costly Repairs Tomorrow
Knowing how to safely clean camera lenses without scratching the surface isn’t just about maintaining clarity—it’s about protecting your investment. Every lens represents significant financial and creative value. By adopting disciplined, gentle cleaning habits and using only appropriate tools, you preserve optical performance and extend the usable life of your gear.
You don’t need to clean after every shot. You do need to clean correctly when the time comes. Start today by auditing your current supplies: replace worn cloths, discard household cleaners, and assemble a proper kit. Your future self—and your image quality—will thank you.


 浙公网安备
33010002000092号
浙公网安备
33010002000092号 浙B2-20120091-4
Comments
No comments yet. Why don't you start the discussion?