
Over time, AirPods—like any frequently used personal audio device—accumulate earwax, dust, and oils from skin contact. These buildups can muffle sound, reduce volume, or even cause connectivity issues. While the temptation is strong to grab a damp cloth or sharp tool to clear the grime, improper cleaning can permanently damage the delicate speaker mesh and internal components. The good news: with the right tools and techniques, you can restore crystal-clear audio without risking harm to your investment.
Cleaning your AirPods isn’t just about hygiene—it’s critical for maintaining optimal sound performance. Apple designs its AirPods with precision-engineered speaker drivers protected by fine metal mesh. This mesh prevents debris from entering, but it also traps particles that degrade acoustics over time. A careful, methodical approach ensures longevity and preserves the balanced audio profile Apple delivers out of the box.
Why Speaker Cleanliness Matters for Sound Quality
The tiny openings in your AirPods’ speaker grilles are designed to allow sound waves to pass through freely while blocking foreign material. When these pores become clogged, sound output is restricted. High frequencies may dull, bass response can weaken, and overall clarity diminishes. In extreme cases, one earbud might appear quieter than the other due to uneven buildup.
Beyond audio degradation, trapped moisture and wax create an environment conducive to bacterial growth. Regular cleaning reduces the risk of ear irritation or infections, especially for users who wear their AirPods for extended periods.
Apple explicitly warns against using abrasive materials, compressed air, or liquids directly on AirPods. Doing so can compromise water resistance (where applicable), dislodge internal parts, or corrode sensitive electronics. The goal isn’t sterilization—it’s gentle removal of surface and grille debris using safe, non-invasive methods.
Step-by-Step Guide to Safely Cleaning AirPod Speakers
Cleaning your AirPods should be a deliberate process. Rushing increases the risk of damage. Follow this sequence to ensure thorough yet safe maintenance.
- Power Off and Remove from Case
Start by turning off your AirPods and removing them from the charging case. This prevents accidental input during cleaning and protects the charging contacts. - Gather Approved Tools
Use only soft, non-abrasive materials:- Dry microfiber cloth (like the kind used for eyeglasses)
- Soft-bristled brush (a clean toothbrush with ultra-soft bristles or a specialized electronics brush)
- Wooden or plastic dental pick (never metal)
- Isopropyl alcohol (70% concentration, for external use only)
- Cotton swabs (use sparingly and gently)
- Remove Surface Debris
Wipe the exterior of each AirPod with a dry microfiber cloth. Focus on the stem, touch controls, and back of the earbud. This removes fingerprints, oils, and loose particles before addressing the speaker area. - Clean the Speaker Mesh Gently
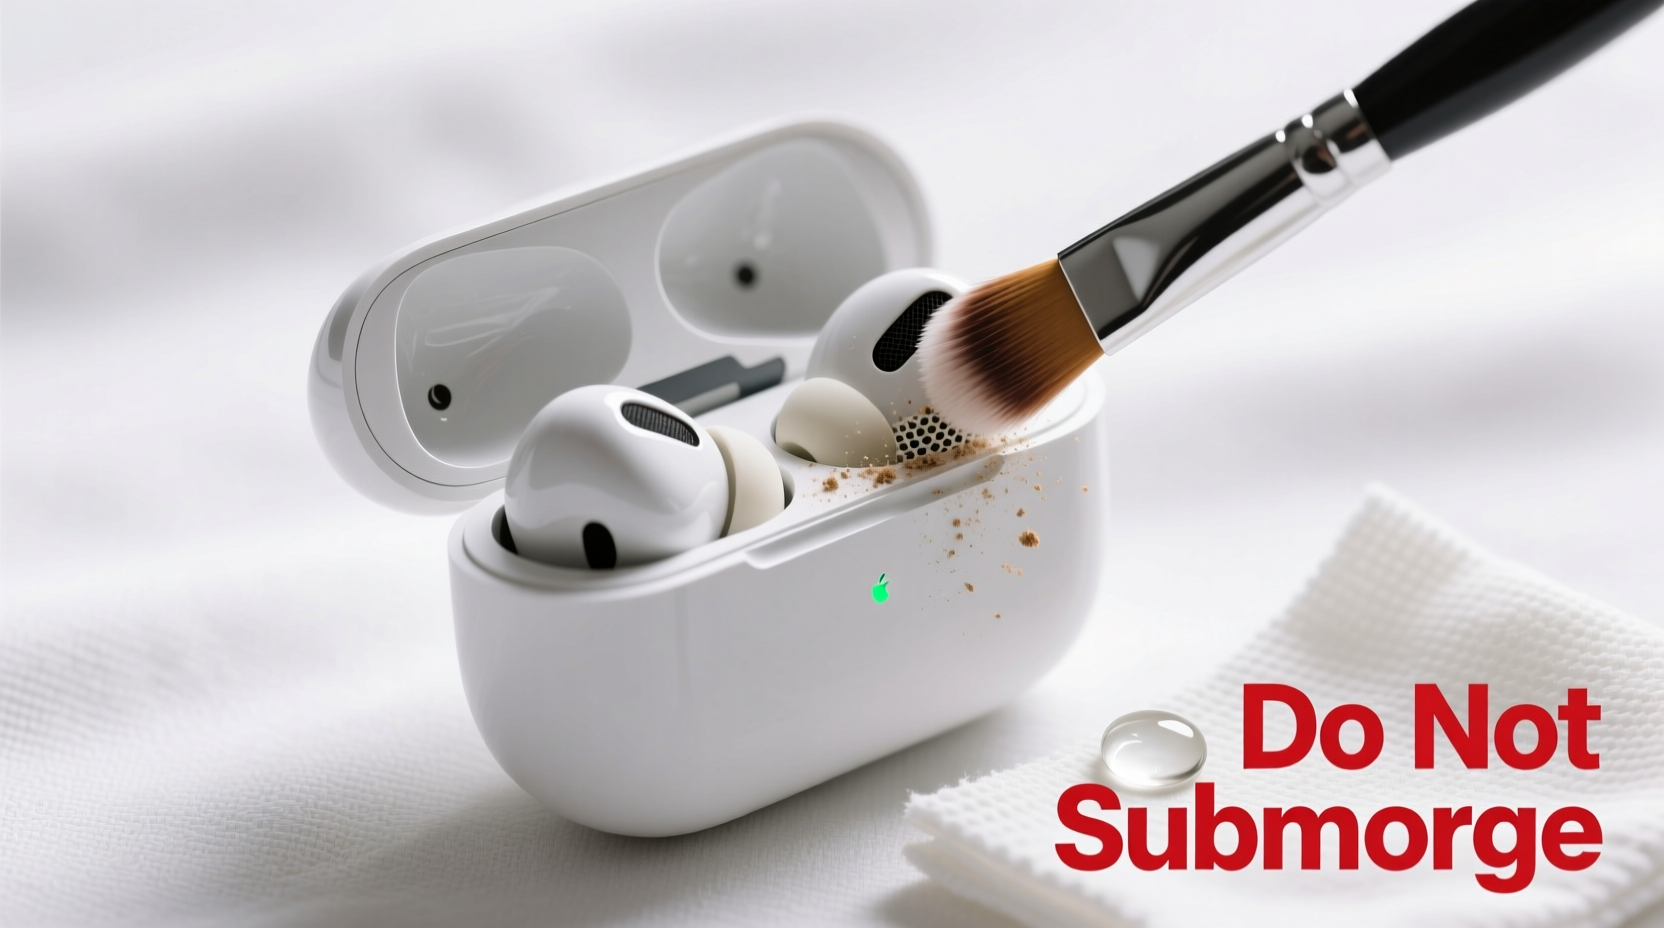
Hold the AirPod with the speaker grille facing upward. Using the soft-bristled brush, lightly sweep across the mesh in one direction. Avoid pressing down—let the bristles lift debris through friction. Rotate the AirPod and repeat from different angles. - Dislodge Stubborn Wax Buildup
If visible wax is lodged in the mesh, use a wooden dental pick. Gently glide the flat edge *across* the surface—not into it—to coax out compacted residue. Never poke or scrape aggressively. - Spot-Clean with Alcohol (Exterior Only)
Dampen a corner of the microfiber cloth with isopropyl alcohol. Wring it thoroughly—no dripping. Wipe only the outer surfaces, avoiding microphone ports and speaker grilles. Do not submerge or spray liquid near the device. - Dry Completely Before Use
Let the AirPods sit at room temperature for 5–10 minutes. Ensure no moisture remains, especially around seams and ports, before placing them back in the case or wearing them.
Do’s and Don’ts: Best Practices for AirPod Maintenance
To reinforce safe habits, here’s a clear comparison of recommended versus harmful actions.
| Do’s | Don’ts |
|---|---|
| Use a dry microfiber cloth daily | Use wet wipes or household cleaners |
| Brush speaker mesh gently with soft bristles | Insert metal objects or sharp tools |
| Clean every 1–2 weeks based on usage | Expose to direct water or steam |
| Use isopropyl alcohol on a cloth—not directly | Use compressed air cans (can force debris deeper) |
| Store in a clean, dry case | Leave in pockets or bags where lint accumulates |
Expert Insight: What Engineers Say About Speaker Care
The internal construction of AirPods is more fragile than most users realize. According to audio hardware specialists, the speaker mesh is not a replaceable filter—it’s integrated into the enclosure. Once damaged, sound distortion becomes irreversible.
“Many people think they’re ‘digging out’ wax, but they’re actually pushing it deeper or tearing the diaphragm. Even slight dents in the mesh alter airflow and resonance. Prevention and gentle brushing are far safer than corrective cleaning.” — Dr. Marcus Lin, Acoustic Engineer & Wearable Tech Consultant
This insight underscores why patience and proper tools matter. Over-cleaning or aggressive methods do more harm than good. Instead, regular light maintenance prevents the need for deep intervention later.
Real Example: How One User Restored Lost Audio Clarity
Jamal, a remote worker from Austin, noticed his left AirPod sounded muffled after three months of daily use. He initially thought it was a software issue and reset his Bluetooth settings. When that failed, he considered buying a replacement. Instead, he followed a cautious cleaning method using a soft brush and wooden pick.
After five minutes of gentle brushing and lateral scraping, a small clump of wax emerged from the mesh. Upon reinserting the AirPod, he immediately noticed improved treble and balance. “It sounded like I’d upgraded,” he said. “I’d been living with bad audio for weeks when all it needed was a proper clean.”
This case illustrates two key points: first, audio degradation is often physical, not digital; second, correct cleaning can fully restore performance without cost or replacement.
Checklist: Monthly AirPod Speaker Maintenance Routine
Stay ahead of buildup with this simple monthly checklist:
- ☑ Visually inspect both AirPods for visible debris in speaker grilles
- ☑ Wipe exteriors with a dry microfiber cloth
- ☑ Brush speaker mesh in one direction using a soft-bristled tool
- ☑ Use a wooden dental pick to gently remove stubborn residue (if needed)
- ☑ Clean the charging case interior and magnetic connectors
- ☑ Test audio balance by playing a stereo track with distinct left/right channels
- ☑ Store in a dedicated pouch if carrying in bags or pockets
For heavy users—those who wear AirPods more than four hours daily—consider repeating this routine every two weeks.
Frequently Asked Questions
Can I use tape to clean my AirPod speakers?
While some recommend using adhesive tape (like masking or Scotch tape) to lift debris, this method carries risks. If the tape snags or pulls too hard, it can deform the mesh. If attempted, use only a small piece, press lightly, and peel slowly. However, a soft brush is safer and more reliable.
Is it safe to clean AirPods Pro with alcohol?
Yes, but only on external surfaces and with caution. Apply 70% isopropyl alcohol to a cloth—not directly to the device—and avoid the speaker and microphone ports. AirPods Pro have sweat and water resistance (IPX4), but this doesn’t mean they’re immune to liquid damage, especially internally.
Why does my AirPod still sound muffled after cleaning?
If audio remains dull after cleaning, the issue might not be debris. Possible causes include software glitches, outdated firmware, or hardware failure. Try resetting your AirPods via Bluetooth settings, updating your connected device, or contacting Apple Support if the problem persists.
Protect Your Investment with Consistent Care
AirPods represent a significant convenience and audio upgrade for millions. Yet their performance hinges on meticulous care. Unlike larger speakers, there’s no user-replaceable mesh or serviceable parts. Every cleaning session either preserves or compromises their lifespan.
By adopting a routine of gentle, informed maintenance, you protect not just sound quality but also hygiene and device longevity. The methods outlined here—approved by engineers and tested by users—ensure your AirPods deliver rich, balanced audio for years, not just months.


 浙公网安备
33010002000092号
浙公网安备
33010002000092号 浙B2-20120091-4
Comments
No comments yet. Why don't you start the discussion?