
Noise cancelling earbuds are precision-engineered audio tools that combine advanced microphones, speakers, and digital processing in a compact design. Over time, they accumulate earwax, sweat, dust, and oils from skin contact—especially around the speaker mesh. While cleaning is essential for hygiene and sound quality, improper techniques can permanently damage the fragile mesh or internal components. Many users unknowingly compromise their earbuds by using cotton swabs too aggressively or exposing them to moisture. This guide provides a thorough, safe approach to maintaining your earbuds while preserving their performance and longevity.
Understanding the Speaker Mesh and Why It’s Delicate
The speaker mesh on noise cancelling earbuds serves two critical functions: it protects the internal driver from debris and allows sound to pass through with minimal distortion. Typically made of fine metal or fabric-like material, this mesh is tightly woven and extremely thin. Even minor punctures or clogs can degrade audio clarity, reduce bass response, or cause uneven volume between ears.
Manufacturers like Sony, Bose, Apple, and Sennheiser use proprietary mesh designs optimized for acoustics and durability—but none are immune to wear from improper cleaning. The mesh covers tiny ports that lead directly to sensitive diaphragms and microphones. Once moisture or sharp objects breach these areas, corrosion or physical damage may follow, often voiding warranties.
“Many customers bring in earbuds that stopped working after being wiped with alcohol-soaked cloths or cleaned with toothpicks. The issue isn’t age—it’s avoidable damage.” — David Lin, Senior Technician at AudioCare Repair Labs
Step-by-Step Guide to Safe Cleaning
Cleaning noise cancelling earbuds requires patience and the right tools. Follow this methodical process to remove buildup without risking harm to the mesh or electronics.
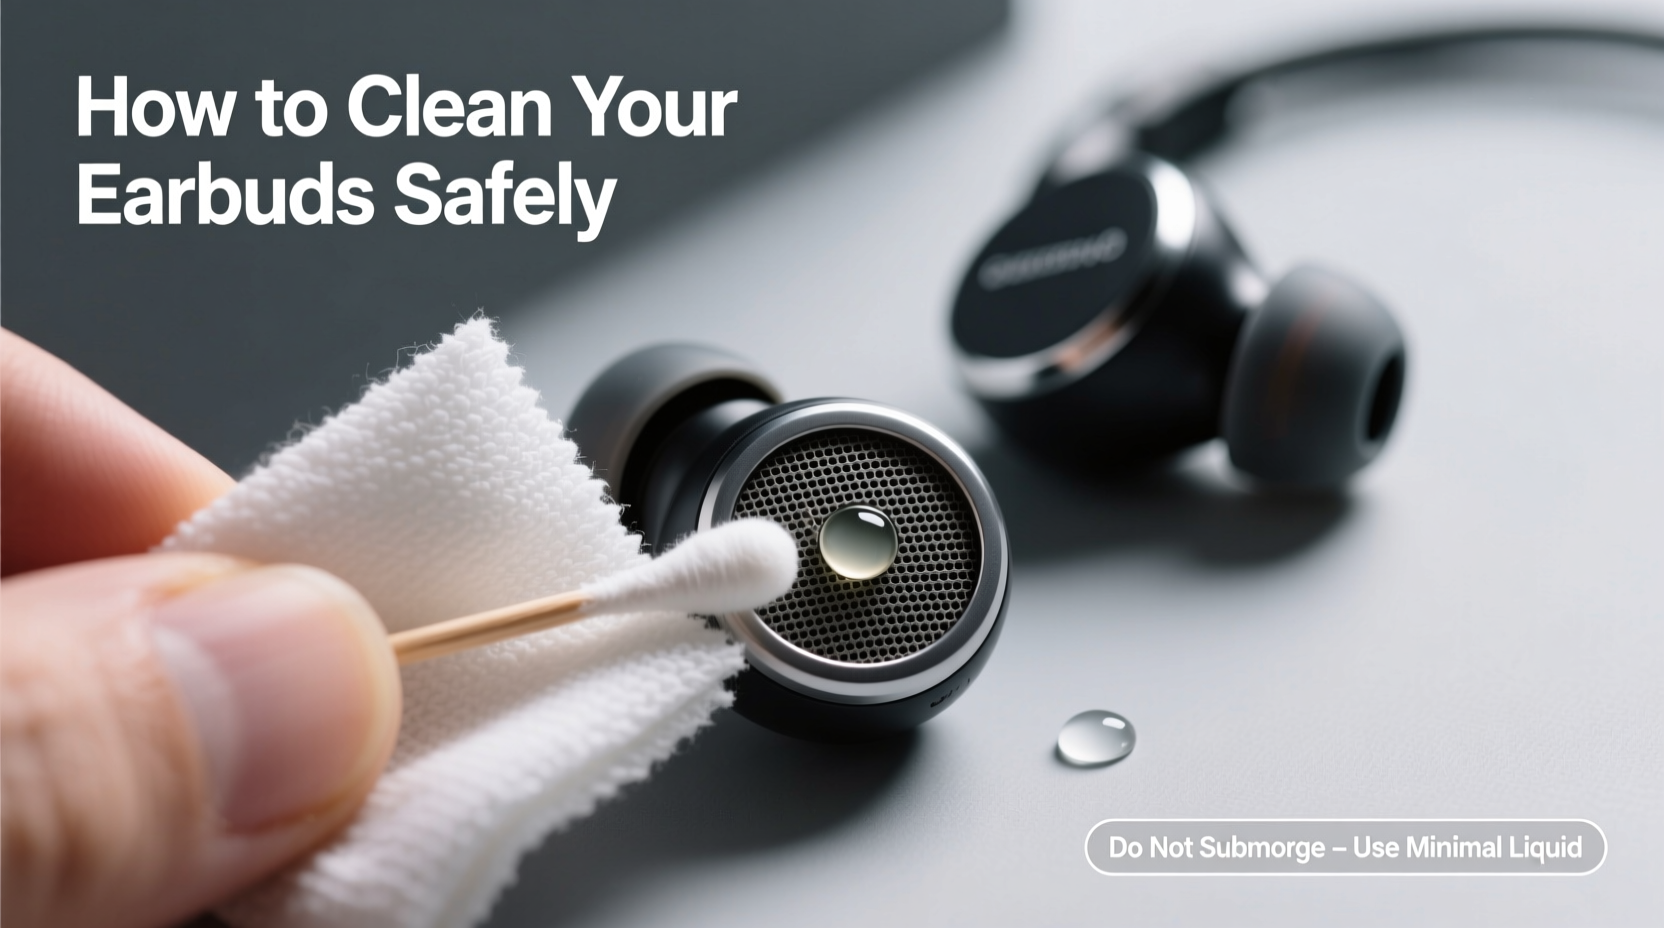
- Power off and disconnect: Turn off your earbuds and remove them from any charging case. If they’re connected via Bluetooth, disconnect them from your device to prevent accidental activation during cleaning.
- Gather supplies: Use only soft, dry, and non-abrasive materials. Recommended items include a microfiber cloth, a soft-bristled brush (such as a clean makeup or artist’s brush), compressed air (optional), and adhesive putty (like Blu-Tack).
- Wipe exterior surfaces: Gently rub the outer plastic housing with a dry microfiber cloth. Focus on areas that touch your skin. Avoid pressing into the mesh itself at this stage.
- Loosen surface debris: Use short bursts of compressed air held at least 6 inches from the earbud. Angle the nozzle to blow across the mesh rather than directly into it. This dislodges loose particles without forcing them deeper.
- Remove stubborn wax or grime: Roll a small piece of adhesive putty into a ball and press it lightly against the mesh. Lift gently—the putty will grab sticky residue without scratching. Repeat until no more debris transfers.
- Brush carefully: Using a clean, dry, soft-bristled brush, lightly sweep across the mesh in one direction. Do not scrub or apply pressure. Think of it as dusting, not scrubbing.
- Inspect under light: Hold the earbud up to a bright light. If you see shadows or dark spots on the mesh, repeat steps 5–6. Clear mesh should appear uniform and slightly translucent.
- Let sit before reuse: Allow the earbuds to rest for 5–10 minutes to ensure no residual fibers or particles remain before placing them back in your ears or the charging case.
Do’s and Don’ts of Earbud Maintenance
| Do’s | Don’ts |
|---|---|
| Use a dry microfiber cloth daily after use | Use liquids, including water or alcohol wipes |
| Clean every 1–2 weeks depending on usage | Submerge earbuds in any liquid |
| Store in a dry, ventilated case | Leave earbuds in hot environments (e.g., car dashboard) |
| Replace ear tips regularly to prevent wax buildup | Use sharp or metal objects near the mesh |
| Use adhesive putty for gentle debris pickup | Blow into the mesh with your mouth (moisture and saliva risk) |
Real Example: How One User Saved Their Premium Earbuds
Jamal, a software developer in Seattle, noticed his $280 wireless earbuds were producing muffled sound in the left ear. He initially assumed the driver had failed and considered buying a replacement pair. Instead, he researched safe cleaning methods and discovered the issue was likely clogged mesh from nightly use during workouts and commutes.
Following a careful routine involving compressed air and adhesive putty, he removed layers of compacted earwax and skin oil over two cleaning sessions spaced three days apart. After the second round, sound clarity returned completely. “I couldn’t believe something so simple fixed what I thought was broken hardware,” Jamal said. “Now I clean them every Friday without fail.”
This case illustrates how perceived hardware failure is often just accumulated debris—and how proper cleaning can extend the functional life of high-end audio gear.
Alternative Tools and When to Use Them
While the basic toolkit (microfiber, brush, putty) works for most users, some situations call for additional care. Here are specialized options and their appropriate applications:
- Interdental brushes: Tiny, cone-shaped brushes designed for dental flossing can be useful if the mesh surrounds a deep port. Choose a soft, narrow version and move it gently across the surface—never insert deeply.
- UV-C sanitizing cases: These charge and disinfect earbuds using ultraviolet light. They don’t replace physical cleaning but help reduce bacteria between washes. Ensure compatibility with your model.
- Magnifying lamp: For users with visual impairments or intricate earbud designs, a magnifier helps spot hidden debris and prevents over-cleaning.
Note: Avoid electronic cleaning devices that vibrate or heat the earbuds unless explicitly approved by the manufacturer. Unregulated frequency exposure may weaken adhesives or damage sensors.
How Often Should You Clean Your Earbuds?
Frequency depends on usage patterns. A general guideline is as follows:
- Daily wipe-down: After each use, especially post-workout or in humid climates, gently wipe the exterior with a dry cloth.
- Weekly inspection: Check for visible buildup on the mesh and ear tips.
- Deep clean every 2 weeks: Perform the full cleaning process if used daily. Extend to monthly for occasional use.
FAQ: Common Questions About Cleaning Noise Cancelling Earbuds
Can I use alcohol wipes to disinfect my earbuds?
No. Alcohol and other solvents can degrade the protective coating on the mesh and damage plastic housings. They may also seep into seams and corrode internal circuits. Stick to dry methods unless the manufacturer specifically approves a damp wipe (and even then, never apply liquid directly to the mesh).
What if the sound is still muffled after cleaning?
If audio issues persist, try resetting the earbuds via your device settings. Also test them on multiple devices to rule out software problems. Persistent muffled sound could indicate internal moisture or driver damage—contact the manufacturer or an authorized repair center instead of attempting further DIY fixes.
Are replacement ear tips worth it?
Yes. High-quality silicone or foam tips not only improve comfort and seal but also act as barriers to wax and dirt. Foam tips should be replaced every 1–2 months; silicone lasts longer but needs regular washing. Some brands offer hypoallergenic or extra-small sizes for better fit and hygiene.
Expert-Recommended Maintenance Checklist
To keep your noise cancelling earbuds in top condition, follow this actionable checklist:
- ✅ Wipe down earbuds with a dry microfiber cloth after every use
- ✅ Inspect mesh weekly for visible debris or discoloration
- ✅ Perform a full cleaning every 2 weeks (or monthly for light use)
- ✅ Replace ear tips every 1–3 months depending on material
- ✅ Store in a clean, dry case away from direct sunlight
- ✅ Avoid sharing earbuds to minimize bacterial transfer
- ✅ Keep firmware updated to maintain optimal noise cancellation performance
“The best cleaning method is prevention. Regular wiping and proper storage do more than deep cleans ever could.” — Dr. Lena Park, Audiologist and Hearing Device Specialist
Conclusion: Protect Your Investment with Smart Habits
Noise cancelling earbuds represent a significant investment in both comfort and technology. Their performance relies not just on engineering but on consistent, thoughtful maintenance. By treating the speaker mesh with care—avoiding liquids, sharp tools, and aggressive scrubbing—you preserve sound quality and extend lifespan far beyond typical expectations.
Start today by gathering the right tools and scheduling your first safe cleaning session. Small habits compound: a few minutes every week can prevent hundreds in replacement costs and protect your hearing health by ensuring clean, hygienic devices. Share your own tips or experiences in the comments—your insight might help another user avoid a costly mistake.


 浙公网安备
33010002000092号
浙公网安备
33010002000092号 浙B2-20120091-4
Comments
No comments yet. Why don't you start the discussion?