
One of the most frustrating experiences for any Nintendo Switch owner is inserting a game cartridge only to find it won’t come back out. Whether due to misalignment, dust buildup, or a manufacturing defect, a stuck cartridge can trigger immediate concern. The good news: in most cases, the issue can be resolved without causing permanent harm to your console or game. With the right approach—gentle pressure, proper tools, and patience—you can free the cartridge safely. This guide walks through proven methods, explains why cartridges get stuck, and offers preventative strategies to avoid future issues.
Why Game Cartridges Get Stuck in the Nintendo Switch
The Nintendo Switch uses a vertical cartridge slot located on the left side of the console. Unlike traditional horizontal slots found in older systems, this design relies on precise alignment and a snug fit to maintain connectivity. Several factors can cause a cartridge to become lodged:
- Improper insertion angle: Tilting the cartridge during insertion can wedge it against the internal rails.
- Dust or debris buildup: Over time, lint, pocket fluff, or environmental dust can accumulate in the slot, creating friction.
- Worn or warped cartridges: Older games with bent corners or damaged labels may not slide smoothly.
- Manufacturing tolerances: Some cartridges are slightly thicker than others due to production variations.
- Moisture exposure: Humidity or liquid contact can lead to minor swelling or corrosion.
Understanding these causes helps prevent future incidents. But when a cartridge is already stuck, the focus must shift to safe removal—without forcing, prying, or risking internal damage.
Step-by-Step Guide to Safely Remove a Stuck Cartridge
Follow this structured sequence to maximize success while minimizing risk. Each step builds on the previous one, progressing from non-invasive to carefully controlled physical intervention.
- Power down the console completely. Hold the power button for three seconds and select “Power Options” > “Turn Off.” Never attempt removal while the system is on or in sleep mode.
- Inspect the visible portion. If part of the cartridge is exposed, check for dirt, label peeling, or warping that might be catching inside the slot.
- Gently wiggle side-to-side (not up and down). Apply minimal lateral movement to loosen any binding. Avoid twisting or pulling upward, as this can damage internal contacts.
- Use compressed air to clear debris. Hold the nozzle at the base of the cartridge and fire short bursts along both edges. Tilt the console downward so dislodged particles fall out.
- Apply gentle forward pressure. Push the cartridge slightly deeper (1–2mm) to reset its position, then slowly pull straight back. Sometimes reseating helps realign internal guides.
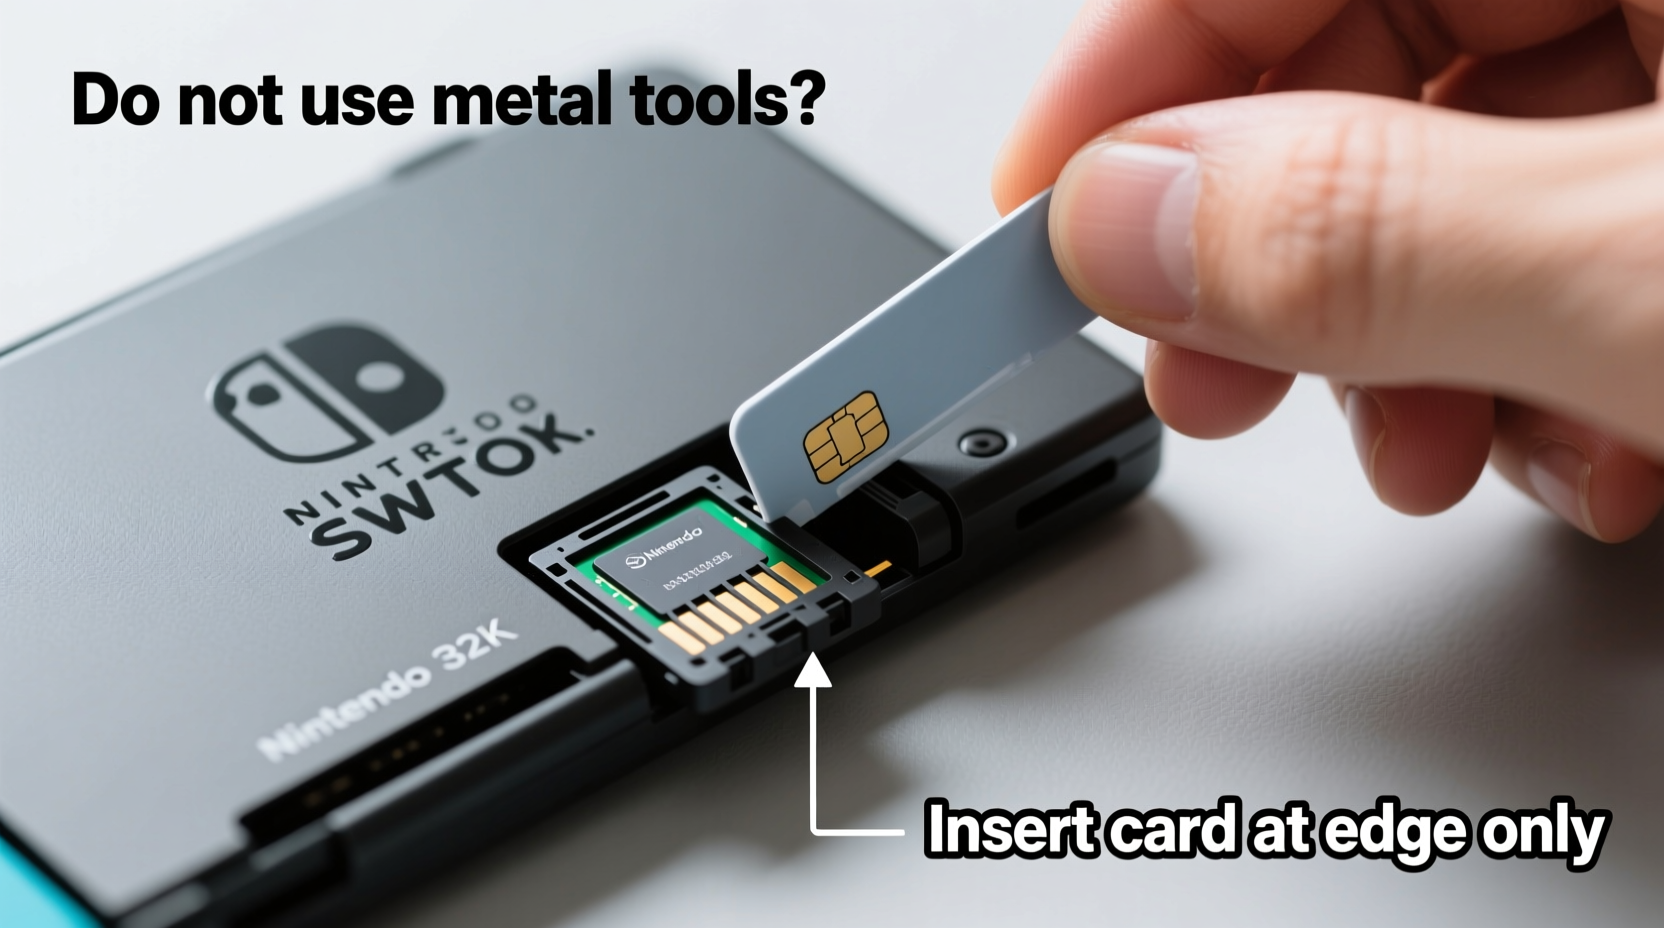
- Use thin plastic tools if needed. A guitar pick, expired credit card, or nylon spudger can be slid alongside the cartridge to break suction or release friction points.
- Try the “tweezers and tape” method (for partial exposure). Wrap the exposed end with a tiny piece of double-sided tape or sticky note corner, then grip gently with plastic-tipped tweezers and pull straight out.
If the cartridge still won’t budge after these steps, stop. Forcing it increases the risk of breaking internal latches or damaging the reader board. Consider professional repair or contact Nintendo Support.
Do’s and Don’ts: Safe Handling Table
| Do’s | Don’ts |
|---|---|
| Power off the console before removal | Never use metal tools like screwdrivers or knives |
| Clean the slot monthly with compressed air | Don’t twist or rock the cartridge aggressively |
| Insert cartridges straight and fully in one motion | Avoid using excessive force when pulling |
| Store games in protective cases | Don’t leave cartridges partially inserted for long periods |
| Use plastic or nylon tools if needed | Never heat the area with a hairdryer or lighter |
Real Example: Recovering a Deeply Lodged Zelda Cartridge
In early 2023, Sarah M., a long-time Switch user from Portland, accidentally inserted her copy of *The Legend of Zelda: Breath of the Wild* at a slight angle while traveling. It clicked in but wouldn’t eject. After panicking briefly, she followed online advice: she powered down the device, used compressed air, and attempted wiggling—none worked. Only about 1mm of the cartridge remained visible.
She then tried the tape method. Using a small piece of Scotch tape folded over the edge (sticky side out), she pressed it against the barely exposed lip. After several attempts, the tape gained enough grip to allow slow, steady backward traction. With even pressure, the cartridge slid out. Upon inspection, she noticed a tiny fiber caught near the bottom edge. After cleaning the slot with a dry microfiber swab, all subsequent games inserted and removed smoothly.
Sarah’s experience highlights the importance of patience and avoiding metal tools. She later purchased a portable dust cover for her Switch to prevent repeat incidents during commutes.
“Most stuck cartridges result from user error or environmental debris—not hardware failure. With careful technique, over 90% can be recovered without service.” — James Lin, Senior Technician at GameFix Pro Repair Lab
Essential Tools and Household Alternatives
You don’t need specialized equipment to handle a stuck cartridge. Common household items can serve effectively—if used correctly.
- Plastic spudger: Ideal for sliding beside the cartridge without scratching. Available in electronics repair kits.
- Compressed air can: Removes lint and dust from the slot. Hold upright to avoid moisture spray.
- Nylon tweezers: Provide grip on exposed edges without chipping plastic.
- Old credit card or gift card: Cut into a thin strip to use as a manual extractor.
- Double-sided tape or sticky note: Creates temporary adhesion for pulling.
Never substitute with metal tweezers, paperclips, or utility knives. These can scratch contacts, bend pins, or break off inside the slot—leading to costly repairs.
When to Seek Professional Help
There comes a point where DIY methods should end. If you notice any of the following, stop immediately and consider professional service:
- No part of the cartridge is visible.
- The console shows an error message about unreadable games after multiple attempts.
- You hear cracking or grinding when applying pressure.
- Previous attempts have already caused visible wear on the slot.
Nintendo’s official repair service can open the unit, extract the cartridge, and inspect the reader mechanism. While there’s a cost involved (typically $50–$100 USD depending on region and warranty status), it’s far less than replacing a damaged motherboard. Attempting to disassemble the Switch yourself voids warranties and risks electrostatic discharge damage.
Preventative Maintenance Checklist
Reduce the likelihood of future issues with regular care. Use this checklist monthly or after heavy travel use:
- ✅ Power off the Switch before inserting or removing games.
- ✅ Inspect cartridges for dirt, bent edges, or label damage.
- ✅ Blow out the cartridge slot with compressed air.
- ✅ Insert games in one smooth, straight motion—no hesitation or angling.
- ✅ Store the console in a case when transporting.
- ✅ Avoid exposing the Switch to dusty environments (e.g., beaches, construction areas).
- ✅ Rotate games regularly instead of leaving one inserted for months.
Cartridge-based systems require more physical maintenance than digital-only devices, but they offer lasting value and resale flexibility. A little diligence goes a long way in preserving both hardware and software integrity.
Frequently Asked Questions
Can a stuck cartridge damage my Nintendo Switch permanently?
Not necessarily. Most damage occurs from improper removal techniques—like using metal tools or excessive force. If the cartridge is extracted carefully, the console usually functions normally afterward. However, prolonged blockage can interfere with future game recognition if debris remains in the slot.
Is it safe to leave a game inserted all the time?
Yes, from a mechanical standpoint. The Switch is designed to support constant insertion. However, doing so increases exposure to dust and accidental jostling. For optimal longevity, remove games when not in use for extended periods, especially during travel.
What if the cartridge breaks inside the slot?
If a cartridge snaps during removal, do not attempt to dig out fragments with sharp tools. Turn off the console and contact Nintendo Support or a certified repair center. Internal pieces can disrupt the reader or create electrical shorts if disturbed improperly.
Final Thoughts and Action Steps
A stuck game cartridge doesn’t have to mean a trip to the repair shop or a ruined console. In most cases, calm assessment and gentle techniques yield successful results. The key is to resist panic-driven actions—no yanking, no metal, no brute force. Instead, rely on alignment correction, debris removal, and smart household hacks.
Equally important is adopting habits that prevent recurrence. Treat your Switch and its games with the same care you’d give any precision electronic device. Clean regularly, insert deliberately, and store thoughtfully. These small practices protect your investment and keep your gaming sessions uninterrupted.


 浙公网安备
33010002000092号
浙公网安备
33010002000092号 浙B2-20120091-4
Comments
No comments yet. Why don't you start the discussion?