
Accidents happen. A flickering candle adds warmth and ambiance to a room—until it tips over and spills wax onto your plush carpet. Unlike hard surfaces, plush carpets present a unique challenge: their dense, soft fibers can trap wax deep within, making removal tricky. Improper techniques like aggressive scraping or excessive heat can damage delicate fibers, leave stains, or even melt synthetic materials. The good news is that with the right approach, you can extract wax completely while preserving the integrity and appearance of your carpet.
The key lies in understanding the composition of both the wax and your carpet fibers, then applying a methodical, controlled process. Rushing or using harsh tools may do more harm than good. This guide walks you through every step—from initial cleanup to final inspection—with expert-backed strategies that protect your carpet’s texture and longevity.
Understanding the Challenge: Wax and Carpet Fibers
Candle wax is typically made from paraffin, soy, beeswax, or blends thereof. While these substances are solid at room temperature, they soften between 120°F and 160°F (49°C–71°C), which means heat can be used strategically—but carefully. Plush carpets, often constructed from nylon, polyester, or wool, have long, loosely packed fibers designed for comfort. These fibers are excellent at trapping dirt and liquids, but they also make wax removal more complex because wax can seep beneath the surface layer.
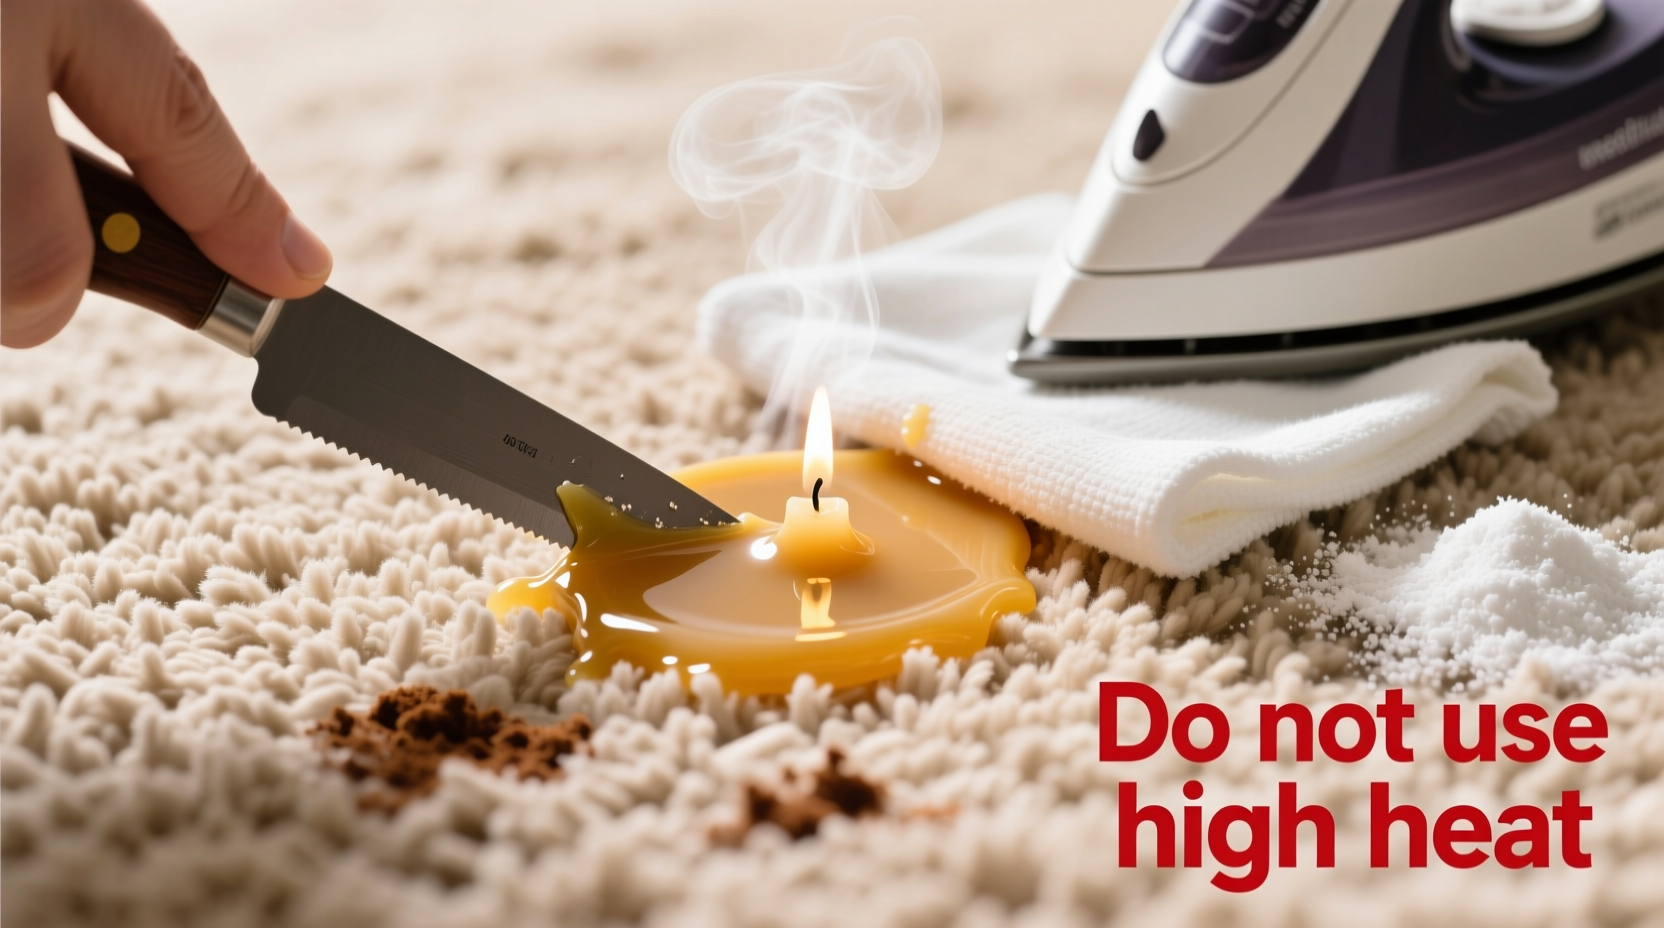
Attempting to peel or scrape hardened wax aggressively can pull up carpet fibers, leading to fraying or bald spots. Similarly, using boiling water or a direct iron on high heat risks melting synthetic fibers or setting any dye transferred by colored wax. Therefore, a measured, multi-step strategy is essential.
Step-by-Step Guide to Safe Wax Removal
Follow this detailed timeline to remove candle wax effectively without harming your plush carpet. Each stage builds on the previous one, ensuring maximum wax extraction and minimal risk.
- Let the wax harden completely. If the spill is fresh, allow it to cool naturally. Do not pour water or attempt wiping. Most waxes solidify within 30–60 minutes.
- Scrape off excess wax gently. Use a blunt edge—a butter knife, plastic scraper, or credit card—to lift large chunks. Hold the tool at a shallow angle and work from the outer edge inward to avoid pushing wax deeper.
- Place a paper towel or brown bag over the spot. Fold 2–3 layers of absorbent paper to cover the wax residue. This will act as a transfer medium during heating.
- Apply low heat with an iron. Set your clothes iron to low or medium-low (no steam). Slowly glide it over the paper for 10–15 seconds at a time. The wax will melt and adhere to the paper. Replace the paper as it becomes saturated.
- Repeat until no more wax transfers. Continue with fresh paper layers until the paper shows no new wax stains after ironing.
- Vacuum the area thoroughly. Once all visible wax is gone, use a vacuum with a brush attachment to lift any remaining debris and restore the carpet pile.
- Treat any lingering stain (if necessary). If a colored wax leaves a dye mark, apply a mild carpet cleaner according to manufacturer instructions and blot dry.
This method leverages capillary action and controlled heat—two principles endorsed by textile restoration professionals. The paper absorbs molten wax efficiently without requiring direct contact with hot metal, reducing scorching risks.
Alternative Methods for Sensitive or Delicate Carpets
If your carpet is made from natural fibers like wool or silk, or if it’s labeled “dry clean only,” avoid heat entirely. In such cases, freezing offers a safer alternative.
Freezing Method for Heat-Sensitive Carpets
- Place ice cubes in a plastic bag and apply directly to the wax for 15–20 minutes.
- Once fully hardened and brittle, use a spoon or dull knife to gently break and lift the wax.
- Use sticky tape (like packing tape) to dab the area and lift fine fragments.
- Vacuum lightly afterward.
This technique avoids thermal stress and is ideal for vintage or hand-tufted rugs where fiber integrity is paramount.
Steam Cleaning (For Deep Residue)
In rare cases where wax has penetrated deeply despite home treatment, professional steam cleaning may be necessary. The high temperature of steam melts residual wax, while the extraction system pulls it out. However, this should only be done by certified technicians familiar with carpet types and wax behavior.
“Wax removal isn’t about force—it’s about patience and precision. One aggressive scrape can ruin months of wear.” — Lena Torres, Certified Textile Restoration Specialist
Do’s and Don’ts: Best Practices Summary
| Do’s | Don’ts |
|---|---|
| Let wax harden before removal | Attempt removal while wax is still liquid |
| Use low heat with protective paper barrier | Apply direct heat or iron directly on carpet |
| Scrape gently with a dull tool | Use sharp objects or excessive pressure |
| Replace paper frequently during ironing | Reuse wax-soaked paper |
| Vacuum after treatment | Leave behind small wax particles |
| Test cleaning agents on hidden areas first | Apply solvents without patch testing |
Real-World Example: Saving a Living Room Rug After a Dinner Party Mishap
Sarah hosted a dinner party where a taper candle knocked over by a guest spilled red wax across her cream-colored plush nylon rug. Panicked, she nearly used a hairdryer on high heat—until she paused and researched proper methods. She waited two hours for the wax to harden, then scraped off large pieces with a gift card. Over the next day, she applied the iron-and-paper technique in four rounds, changing the paper each time. By the third round, no more wax transferred. After vacuuming, the spot was nearly invisible. Six months later, the area showed no signs of wear or discoloration.
Her success came down to patience and adherence to safe practices. Had she rushed with heat or chemicals, she might have melted the nylon or set the red dye permanently.
Checklist: Complete Wax Removal Protocol
Use this checklist to ensure thorough and safe removal every time:
- ☐ Allow wax to cool and harden completely
- ☐ Gather tools: plastic scraper, paper towels or brown paper, iron, ironing cloth (optional), vacuum
- ☐ Scrape off bulk wax gently, avoiding downward pressure
- ☐ Lay 2–3 layers of paper over the residue
- ☐ Iron on low heat in 10-second intervals, replacing paper as needed
- ☐ Inspect under bright light for leftover specks
- ☐ Use sticky tape to lift micro-residue
- ☐ Vacuum the cleaned area to fluff fibers
- ☐ Apply carpet cleaner only if a stain remains
- ☐ Blot dry and let air-dry fully before walking on it
Following this checklist minimizes oversight and ensures consistent results, even for beginners.
Frequently Asked Questions
Can I use a hairdryer instead of an iron?
You can, but with caution. Set the hairdryer to low heat and hold it at least 6 inches from the carpet. Move continuously to avoid overheating one spot. Place paper over the wax first so melted wax sticks to it. This method takes longer and offers less control than an iron, so proceed slowly.
What if the wax left a greasy spot after removal?
A greasy film indicates residual oil from scented or blended waxes. Dab the area with a cloth dampened with isopropyl alcohol (test in an inconspicuous spot first). Alternatively, sprinkle baking soda over the area, let sit for 30 minutes, then vacuum. Baking soda absorbs oils without damaging fibers.
Will vinegar help remove candle wax?
Vinegar does not dissolve wax effectively and may affect dye stability in some carpets. It’s not recommended for wax removal. Stick to heat-and-absorb or freezing methods for best results.
Prevention Tips for Future Candle Use
Once the carpet is clean, consider ways to prevent recurrence:
- Use candles in stable, wide-based holders placed away from foot traffic.
- Trim wicks to ¼ inch to reduce flare-ups and dripping.
- Choose container candles, which burn cleanly and contain wax within glass or metal.
- Set candles on trays or heat-resistant mats to catch spills.
- Avoid burning candles unattended or near children and pets.
Small adjustments in candle placement and type significantly reduce the risk of future accidents.
Final Thoughts: Protecting Your Investment
Your plush carpet is more than flooring—it’s a comfort feature, an aesthetic centerpiece, and often a significant investment. Treating spills with care preserves not just appearance but structural integrity. Removing candle wax doesn’t require expensive products or professional help in most cases, but it does demand attention to detail and respect for material limitations.
By mastering the iron-and-paper method, knowing when to switch to freezing, and avoiding common pitfalls, you equip yourself to handle one of the most frequent yet delicate household mishaps. A little knowledge goes a long way in maintaining a beautiful, long-lasting home environment.


 浙公网安备
33010002000092号
浙公网安备
33010002000092号 浙B2-20120091-4
Comments
No comments yet. Why don't you start the discussion?