
Smartphones are essential tools in daily life, but their screens are vulnerable to scratches from keys, coins, or accidental drops. While deep gouges may require professional repair, many light surface scratches can be minimized or even removed with simple, non-invasive techniques. With the right approach, you can restore clarity and smoothness to your display without damaging the glass or voiding warranties. This guide walks through proven, low-risk methods backed by material science and user experience.
Understanding Screen Scratches: What You’re Dealing With
Not all scratches are created equal. The effectiveness of a removal method depends on the depth, location, and type of screen material. Most modern smartphones use either Gorilla Glass (by Corning) or sapphire crystal on high-end models, both of which are highly scratch-resistant but not immune. Minor scratches often appear as fine white lines under certain lighting and are typically confined to the topmost layer of the glass.
These superficial marks don’t affect touch sensitivity or structural integrity but can be visually distracting. Deeper scratches—those you can feel with a fingernail—are more problematic and less likely to disappear completely with DIY methods. However, even these can often be polished down to reduce visibility.
“Most everyday scratches are micro-abrasions in the glass’s surface layer. With careful polishing, they can be smoothed out to scatter less light.” — Dr. Alan Zhou, Materials Scientist at Mobile Display Labs
The key is understanding that you're not “filling” the scratch but rather leveling the surrounding area to make it less noticeable. This process is similar to sanding wood: you gently abrade the surface around the defect until the difference in elevation is minimized.
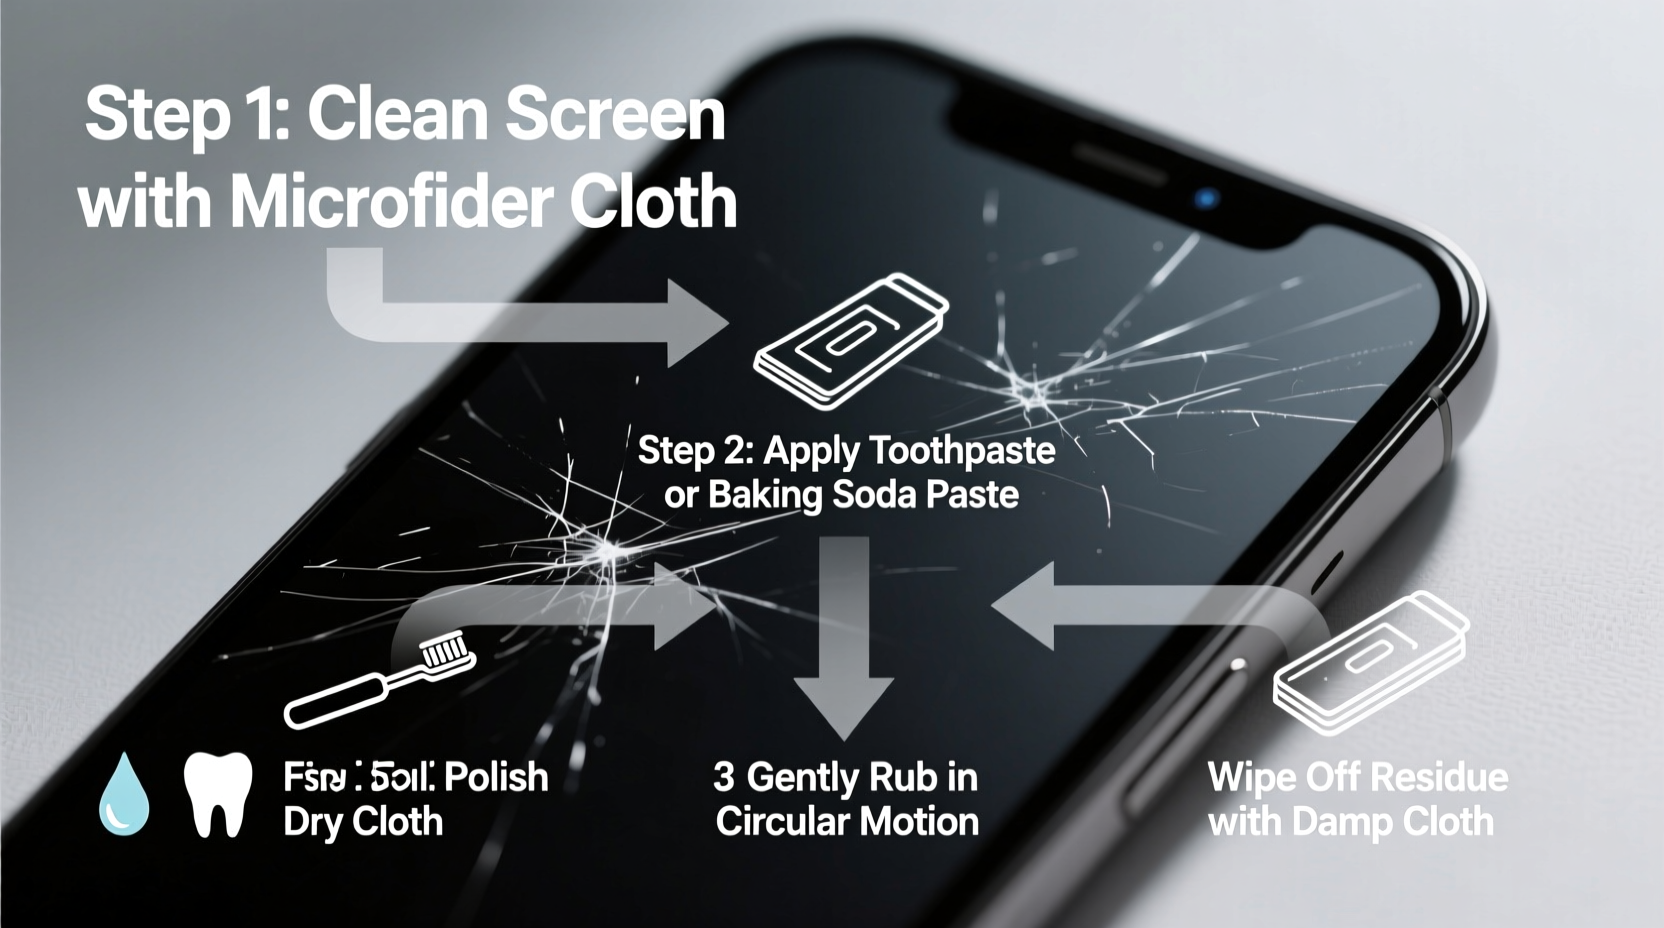
Step-by-Step Guide: Safe Home Remedies for Scratch Removal
Before attempting any treatment, power off your device and clean the screen thoroughly with a microfiber cloth to remove dust and oils. Any debris left on the surface can cause additional scratching during the polishing process.
- Assess the scratch: Run your fingernail across the mark. If it catches, the scratch is deeper. If it glides over, it's likely superficial and easier to treat.
- Choose your method: Start with the gentlest option and progress only if needed.
- Work in a controlled environment: Perform the procedure indoors, away from wind or dust.
- Apply minimal pressure: Excessive force can worsen damage or crack the screen.
- Test on a small area first: Especially when using abrasive pastes, check for adverse reactions.
- Polish in circular motions: Use consistent, even strokes for uniform results.
- Clean and inspect: After each attempt, wipe the screen and evaluate progress under different lighting.
Baking Soda Paste Method
A widely accessible solution involves creating a mild abrasive paste using baking soda and water. Baking soda has a Mohs hardness of about 2.5–3, making it softer than glass (typically 5.5–6.5), so it won't create new scratches when used correctly.
Apply the paste to a soft, lint-free cloth—not directly on the screen—and rub gently in small circles over the scratched area for 30–60 seconds. Wipe clean with a damp microfiber cloth and dry immediately. Repeat up to three times if necessary, allowing the screen to cool between sessions to prevent heat buildup.
Toothpaste Polishing Technique
Standard white toothpaste (not gel or whitening varieties) contains mild silica abrasives ideal for smoothing micro-scratches. Avoid pastes with added bleaching agents or large particles.
Place a pea-sized amount on a microfiber cloth and apply using the same circular motion. Focus only on the affected zone to minimize unnecessary wear. After 45 seconds, remove residue with a slightly damp cloth and buff dry. Many users report visible improvement after one application, especially on older devices with accumulated fine scuffs.
Commercial Scratch Removers
For more reliable results, consider specialized products like Polywatch or VuPlex, originally designed for watch crystals and cockpit windows but increasingly used for phone screens. These contain fine cerium oxide or aluminum oxide particles suspended in a polymer base, offering controlled abrasion without haze.
Follow manufacturer instructions carefully. Typically, a small amount is applied with a foam applicator pad and buffed in sections. Results are often superior to household alternatives, though cost is higher. One tube can last multiple treatments.
Do’s and Don’ts: A Quick Reference Table
| Action | Recommended? | Reason |
|---|---|---|
| Using non-gel toothpaste | ✅ Yes | Mild abrasives help polish without scratching |
| Applying baking soda paste | ✅ Yes (with caution) | Low-risk for light scratches |
| Using a magic eraser (melamine foam) | ❌ No | Too abrasive; damages oleophobic coating |
| Buffing with a cotton shirt or rough fabric | ❌ No | Can embed fibers and cause micro-tears |
| Using car wax or metal polish | ❌ No | Chemicals can degrade touchscreen layers |
| Applying screen protector afterward | ✅ Yes | Prevents future damage and seals treated areas |
Real Example: Recovering a Dropped Phone’s Screen
Sarah, a graphic designer from Portland, noticed a spiderweb of fine scratches on her iPhone 13 after dropping it in a gravel driveway. Though the screen still functioned perfectly, the visual distortion made color grading difficult. She tried the baking soda method first, applying the paste twice over two days. While the largest scratch remained faintly visible, the smaller ones disappeared entirely. Encouraged, she purchased a small tube of Polywatch and repeated the process. After a final buff with a microfiber cloth, the screen looked nearly new under normal indoor lighting. She now keeps a screen protector on at all times and stores her phone in a padded case.
This case illustrates how combining affordable home remedies with a targeted commercial product can yield significant improvements—even on moderate damage—without costly replacement.
Checklist: Preparing for Scratch Removal
- ✔ Power off the device
- ✔ Clean the screen with microfiber cloth
- ✔ Identify scratch depth (visual and tactile check)
- ✔ Gather materials: baking soda, water, toothpaste, or commercial polish
- ✔ Prepare soft cloths (preferably microfiber)
- ✔ Work in a dust-free environment
- ✔ Apply product sparingly and test on edge first
- ✔ Polish gently in circular motions
- ✔ Wipe clean and inspect under bright light
- ✔ Reapply screen protector after treatment
Frequently Asked Questions
Will these methods work on tempered glass screen protectors?
Yes, and they’re actually more effective on screen protectors than on built-in glass. Since protectors are replaceable, you can use slightly more aggressive polishing if needed. However, once a protector is heavily scratched, replacement is usually the better option.
Can I damage my phone by trying these techniques?
Potential risks exist if incorrect materials or excessive pressure are used. Avoid anything labeled “whitening” or “deep clean” in toothpaste, as these often contain larger abrasive particles. Never use sandpaper, steel wool, or harsh chemicals. Stick to soft cloths and gentle compounds to stay safe.
What if the scratch doesn’t go away?
If the mark remains after two careful attempts, it’s likely too deep for at-home correction. At this point, consider professional glass refinishing services or screen replacement. Continuing to polish increases the risk of uneven wear or reduced clarity.
Protecting Your Screen After Treatment
Once you’ve successfully minimized or removed scratches, maintaining the result is crucial. Modern smartphone screens come coated with an oleophobic layer that repels fingerprints and oils. Many DIY methods can partially strip this coating, leaving the surface more prone to smudges and future scratches.
To restore protection, apply a liquid screen sealant available online. These nano-coatings bond with the glass to recreate the slippery finish and add an extra barrier against abrasion. Alternatively, always use a high-quality tempered glass protector. It’s a small investment that prevents years of cumulative damage.
Additionally, change habits that contribute to wear. Avoid placing your phone face-down on hard surfaces, keep it separate from keys and coins in pockets or bags, and clean it regularly with a proper microfiber cloth. Prevention is far more effective than correction.
Final Thoughts and Next Steps
Removing scratches from a smartphone screen at home is possible—but only when approached with patience, precision, and respect for the delicate nature of modern displays. While no method guarantees 100% invisibility for every scratch, most light to moderate blemishes can be significantly improved using safe, accessible techniques.
The real value lies not just in restoring appearance but in extending the usable life of your device. A clear, smooth screen enhances readability, touch accuracy, and overall user satisfaction. Instead of rushing to replace a phone over cosmetic damage, try these solutions first. You might save money, reduce e-waste, and keep your device looking sharp for months longer.


 浙公网安备
33010002000092号
浙公网安备
33010002000092号 浙B2-20120091-4
Comments
No comments yet. Why don't you start the discussion?