
Stickers on laptops are more than just decorative—they can express personality, showcase brand loyalty, or mark ownership. But when it's time to remove them, whether for resale, professional use, or a clean aesthetic, doing so without damaging the surface or leaving behind sticky residue is essential. Many users resort to peeling stickers off quickly, only to be left with a stubborn, gummy mess that dulls the laptop’s appearance and attracts dust. The good news is that with the right tools and techniques, you can remove stickers cleanly and preserve your device’s finish.
The key lies in understanding adhesive behavior and selecting methods that gently loosen the bond between sticker and surface. Rushing the process or using harsh chemicals can lead to scratches, discoloration, or even permanent damage—especially on aluminum, plastic, or matte-finish laptops. This guide walks through safe, effective, and tested approaches to sticker removal, backed by real-world experience and expert insights.
Understanding Sticker Adhesives and Laptop Surfaces
Laptop stickers typically use pressure-sensitive adhesives designed to stick firmly but not permanently. These adhesives bond when pressed onto a surface and can degrade over time, especially when exposed to heat or UV light. However, prolonged exposure can also make the adhesive more tenacious, particularly if the sticker has been on for years.
Laptop surfaces vary significantly by model and manufacturer:
- Aluminum (e.g., MacBook): Durable but prone to micro-scratches if abrasive tools are used.
- Plastic (e.g., budget Windows laptops): More susceptible to cracking or chemical damage from solvents.
- Matte or textured finishes: Can trap residue in grooves, making cleaning more challenging.
- Glossy coatings: May react poorly to alcohol-based cleaners, leading to cloudiness.
Because of these differences, a one-size-fits-all approach doesn’t work. What removes residue from a MacBook might damage a Dell Inspiron’s plastic casing. Always test any method on a small, inconspicuous area first.
Step-by-Step Guide to Safe Sticker Removal
Follow this systematic approach to minimize risk and maximize effectiveness. Whether dealing with a thin vinyl decal or a thick promotional label, this timeline ensures thorough removal without residue.
- Prepare your workspace: Work in a well-lit, clean area with the laptop powered off and unplugged. Have all tools ready before starting.
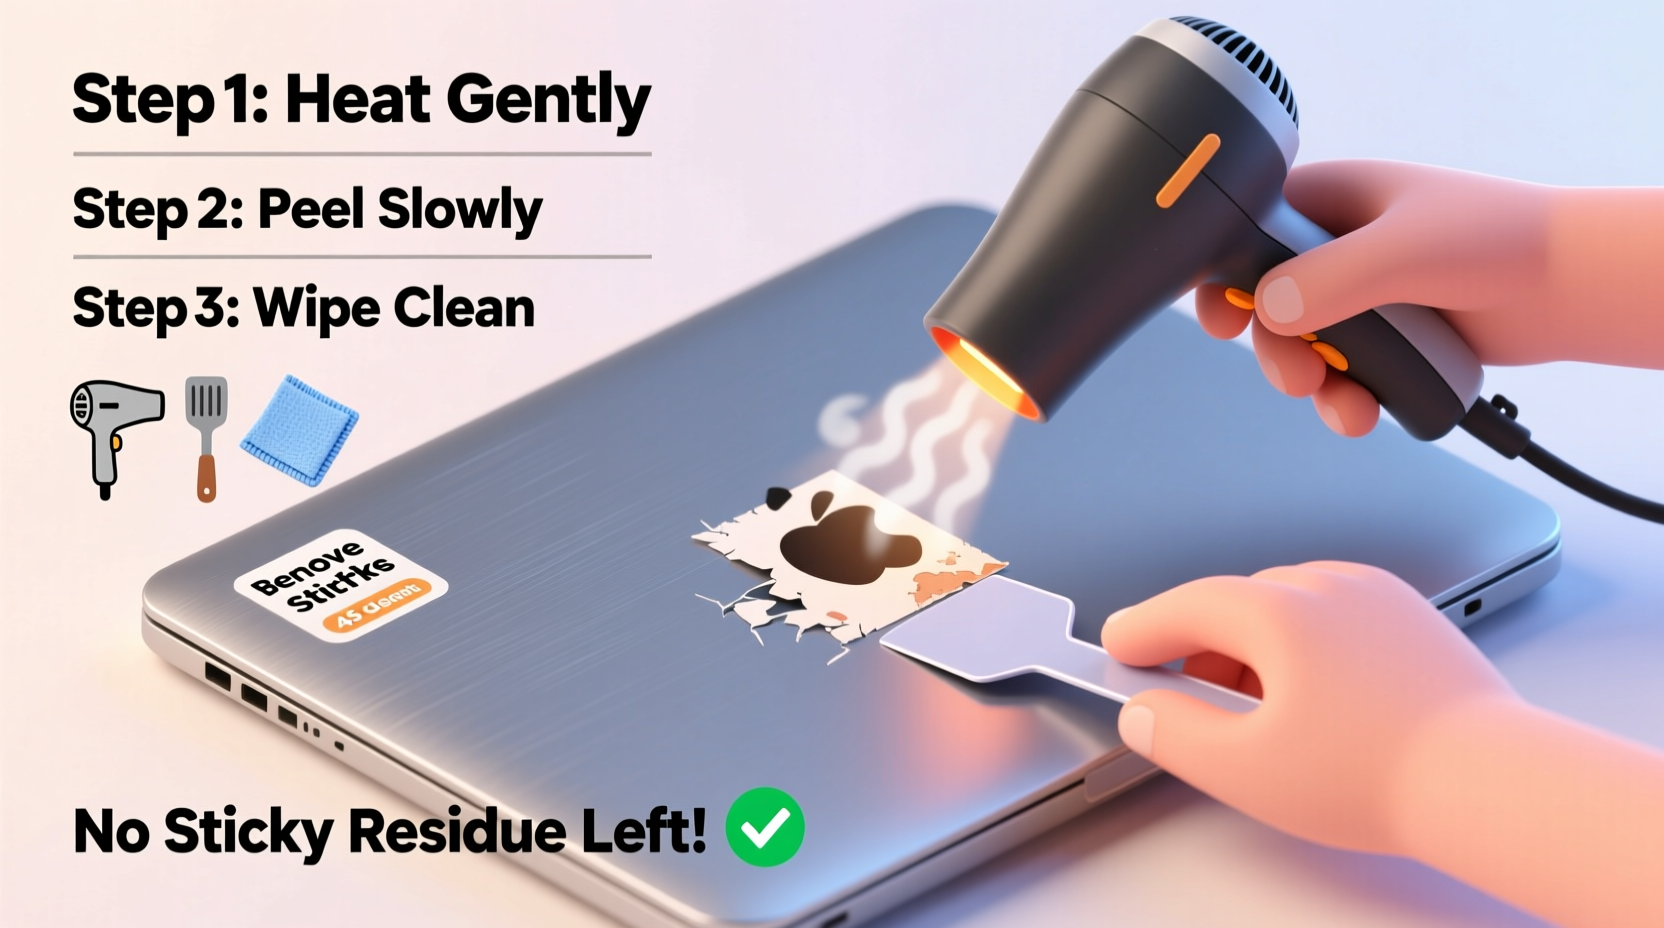
- Warm the sticker: Use a hairdryer on low heat, holding it 6–8 inches away. Warm the sticker for 30–60 seconds. Heat softens the adhesive, making it easier to peel.
- Lift an edge gently: Use a plastic card (like an old credit card) or fingernail to lift a corner. Avoid metal tools.
- Peel slowly at a 45-degree angle: Pull steadily while continuing to apply heat as needed. This reduces the chance of tearing or leaving chunks behind.
- Clean residual adhesive: Once the sticker is off, use one of the residue-removal methods outlined below.
- Final wipe-down: Use a microfiber cloth dampened with water or isopropyl alcohol (70% or less) to remove any remaining film and restore shine.
This method works best for most stickers, especially those applied directly to smooth surfaces. For layered or multi-part stickers, repeat the process for each section.
Effective Residue Removal Methods Compared
Even after peeling, adhesive often remains. Below is a comparison of common household solutions, ranked by safety and effectiveness for different laptop materials.
| Method | Suitable For | Effectiveness | Risks |
|---|---|---|---|
| Isopropyl Alcohol (70%) | Aluminum, glass, some plastics | High | Can discolor certain plastics; avoid near seams or ports |
| Adhesive Remover (e.g., Goo Gone) | Most surfaces (test first) | Very High | May leave oily film; requires thorough cleaning afterward |
| White Vinegar | Plastic, matte finishes | Moderate | Slow acting; may require multiple applications |
| Olive Oil or Coconut Oil | Delicate surfaces | Moderate | Greasy residue; must be cleaned thoroughly with soap |
| Commercial Screen Wipes | Screen areas, glossy coatings | Low to Moderate | Limited adhesive-dissolving power |
For best results, combine methods. For example, soften adhesive with heat, remove the sticker, then apply a small amount of isopropyl alcohol on a cotton swab to target leftover glue. Always apply solutions to a cloth—not directly to the laptop—to prevent liquid seepage into vents or joints.
Expert Insight: What Professionals Recommend
Electronics repair technicians emphasize caution when handling laptop exteriors. Many modern devices use thin protective coatings that can be stripped by aggressive solvents.
“Always start with the gentlest method. Heat and slow peeling solve 80% of sticker issues. When residue remains, use isopropyl alcohol sparingly—it evaporates cleanly and won’t damage most OEM finishes.” — Carlos Mendez, Senior Technician at TechCare Repair Labs
He also warns against popular hacks involving acetone or nail polish remover: “Acetone is too strong. It can melt plastic and ruin anti-reflective coatings. I’ve seen laptops come in with ‘cleaned’ surfaces that look etched because of it.”
Another expert, Lisa Tran, a product specialist at a major electronics retailer, advises consumers preparing devices for resale: “A clean laptop sells faster and for more. Taking 15 minutes to remove stickers properly can add $50 to the resale value. It’s worth the effort.”
Real Example: Removing a Decade-Old Gaming Sticker
Mark, a college student, inherited his brother’s old gaming laptop. Covered in tournament stickers from 2014, the machine looked worn despite functioning well. He wanted to sell it online but knew the cluttered appearance would deter buyers.
He started by heating a large dragon-themed sticker with a hairdryer. After 45 seconds, he lifted a corner with a guitar pick (a flexible plastic tool). As he peeled, he reapplied heat every few seconds. The sticker came off mostly intact, but thick adhesive remained.
Instead of scrubbing, Mark dabbed a cotton ball with 70% isopropyl alcohol and let it sit on the residue for 30 seconds. He then wiped in small circles with a microfiber cloth. After two passes, the surface was clean. He repeated the process for five other stickers, taking about 20 minutes total. The final result? A sleek, professional-looking laptop that sold within three days on a local marketplace.
Mark’s success came from patience and avoiding shortcuts. “I almost used a kitchen scraper,” he admitted later. “But I read up first and realized I could ruin the whole thing. Glad I didn’t.”
Essential Tips and Common Mistakes
Avoid these pitfalls that turn simple sticker removal into a repair job:
- Don’t rush the peel: Tearing the sticker leaves fragments that are harder to clean.
- Don’t soak the laptop: Excess liquid can seep into hinges or keyboards.
- Don’t use paper towels: They can be abrasive; always use microfiber cloths.
- Don’t forget ventilation: If using chemical removers, work in a ventilated area.
Checklist: Safe Sticker Removal in 7 Steps
Use this checklist before starting to ensure you have everything needed:
- ✅ Power off and unplug the laptop
- ✅ Gather tools: hairdryer, plastic card, microfiber cloth, cotton swabs
- ✅ Choose a cleaning agent: isopropyl alcohol, adhesive remover, or oil
- ✅ Test cleaner on a hidden area (e.g., underside of laptop)
- ✅ Apply heat to sticker for 30–60 seconds
- ✅ Peel slowly using a plastic edge
- ✅ Clean residue, then wipe with dry cloth
Completing each step reduces the risk of damage and increases the likelihood of a flawless finish.
Frequently Asked Questions
Can I use WD-40 to remove sticker residue?
While WD-40 can dissolve adhesive, it’s not recommended for laptops. It leaves a greasy film, attracts dust, and contains petroleum distillates that may damage plastic or rubber seals. If used in desperation, apply minimally and clean thoroughly with isopropyl alcohol afterward.
Will removing stickers void my warranty?
No, removing stickers does not void the manufacturer’s warranty. Warranties cover defects in materials and workmanship, not cosmetic modifications. However, damage caused during removal (e.g., scratches from improper tools) won’t be covered.
What should I do if the sticker tears?
If pieces remain, reapply heat and continue peeling. For small fragments, use a cotton swab with a drop of adhesive remover to lift them gently. Avoid rubbing, which can spread residue.
Protect Your Investment with Careful Maintenance
Your laptop is both a tool and an investment. Preserving its appearance enhances longevity and maintains resale value. Sticker removal might seem minor, but done incorrectly, it can leave lasting marks. By applying heat, choosing safe solvents, and working patiently, you protect the integrity of your device while achieving a clean, professional look.
Whether you're prepping for a job interview, listing your laptop online, or simply reclaiming your personal space, taking the time to remove stickers properly reflects attention to detail and care for your belongings. The process isn’t complicated—but it does require respect for the materials involved.


 浙公网安备
33010002000092号
浙公网安备
33010002000092号 浙B2-20120091-4
Comments
No comments yet. Why don't you start the discussion?