
Whether you're creating a tutorial, documenting a software bug, or saving a video call, the ability to record your screen or take a screenshot is essential in today’s digital world. With so many devices and operating systems, methods vary—but mastering them doesn’t have to be complicated. From built-in tools to third-party apps, this guide walks you through reliable, efficient ways to capture what’s on your screen across Windows, macOS, iOS, and Android.
Why Screen Recording and Screenshots Matter
Screenshots and screen recordings are more than just convenience—they’re productivity tools. Educators use them to explain complex topics, developers rely on them for debugging, and remote workers use them to communicate visually. According to a 2023 study by the User Experience Research Institute, teams that incorporate visual documentation into workflows reduce miscommunication by up to 40%.
The key is knowing which method works best for your device and use case. Some tools offer quick access with minimal setup; others provide advanced editing features. The right choice depends on your goals: capturing a single moment or recording an entire session.
“Visual documentation is the fastest way to convey digital information. A well-timed screenshot can replace paragraphs of explanation.” — Dr. Lena Torres, Digital Communication Specialist
How to Take Screenshots on Any Device
A screenshot captures a static image of your screen at a given moment. It's ideal for sharing error messages, saving receipts, or illustrating steps in a process.
Windows PC
- Entire screen: Press Print Screen (PrtScn). The image copies to your clipboard—paste it into an app like Paint or Word.
- Active window only: Press Alt + PrtScn.
- Snipping Tool: Search for “Snipping Tool” in the Start menu to capture custom regions, rectangles, or freehand shapes. You can also set a delay for timed captures.
- Game Bar (for games): Press Win + G to open the Game Bar, then click the camera icon or press Win + Alt + PrtScn to take a screenshot during gameplay.
Mac
- Entire screen: Press Command + Shift + 3. The screenshot saves to your desktop.
- Selected portion: Press Command + Shift + 4, then drag to select an area.
- A specific window: After pressing Command + Shift + 4, press the spacebar and click a window to capture it.
- Save location: Hold Control while using any shortcut to copy the screenshot to the clipboard instead of saving it as a file.
iOS (iPhone and iPad)
- Take a screenshot: Press the Side button and Volume Up button simultaneously. The screen flashes white, and a thumbnail appears in the lower-left corner.
- Edit immediately: Tap the thumbnail to mark up, crop, or share the screenshot before saving.
- Full-page screenshots: In Safari, after taking a regular screenshot, tap “Full Page” in the preview to save the entire webpage as a PDF.
Android
- Standard method: Press the Power and Volume Down buttons together.
- Alternative gestures: Some brands (like Samsung) allow palm-swipe or three-finger swipe to capture the screen via settings.
- Screenshot editor: After capture, use the markup tools to annotate or crop directly from the notification panel.
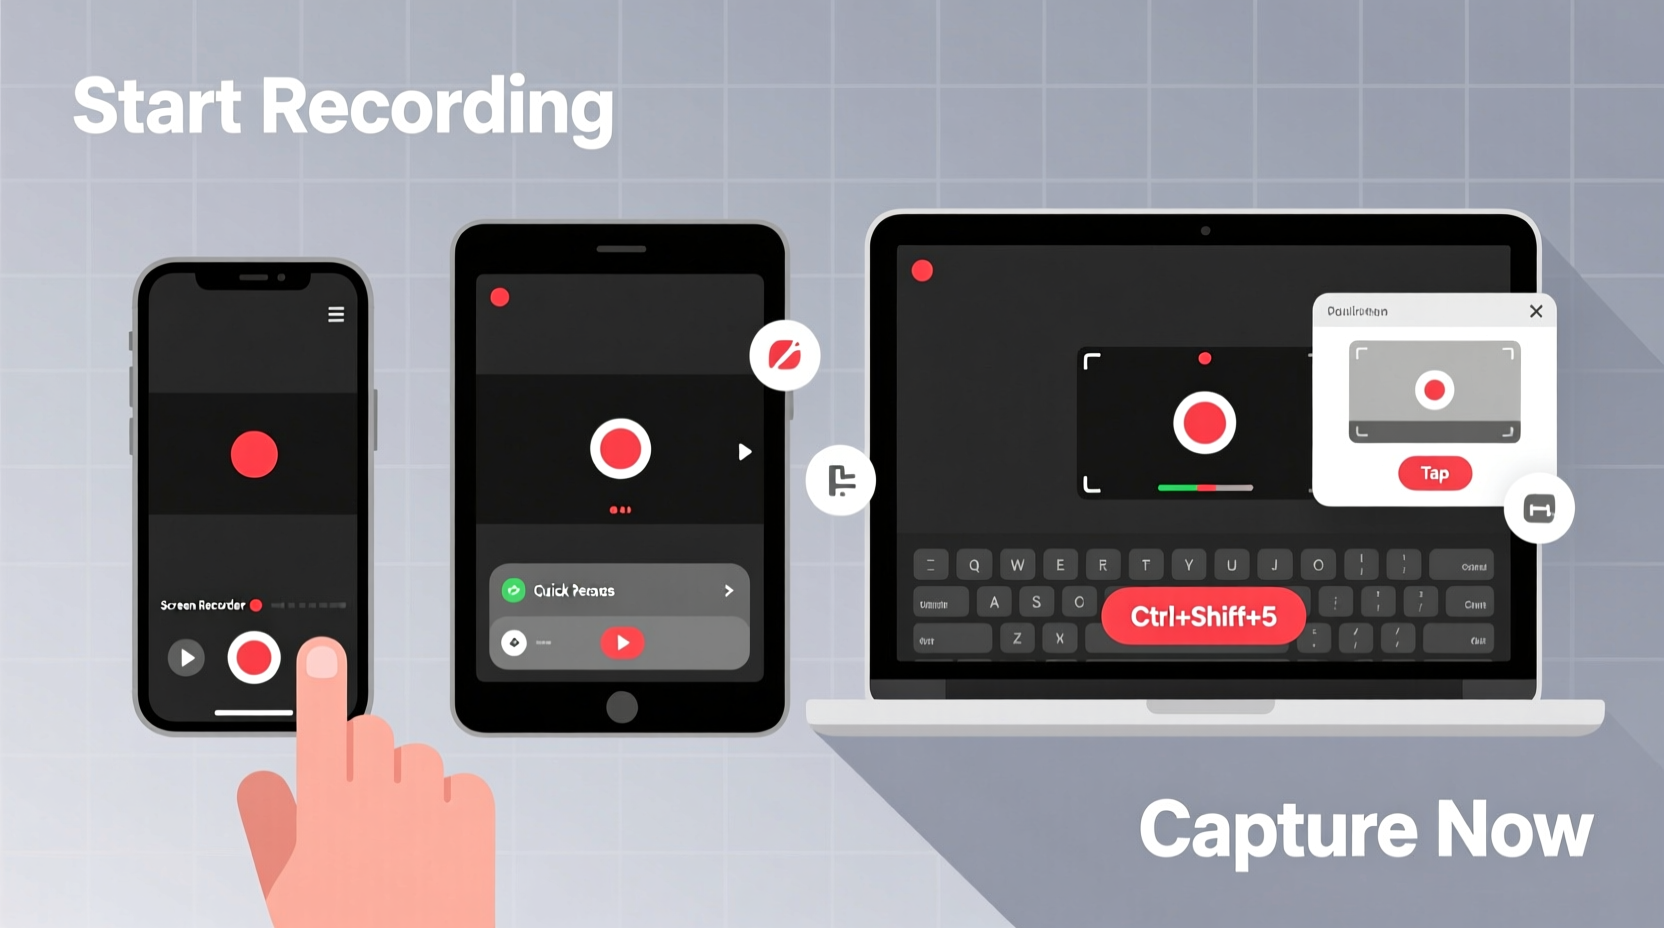
Screen Recording Made Simple Across Platforms
Screen recording captures motion, audio, and interactions over time. This is useful for demos, online classes, or preserving live streams.
Windows
Use the **Xbox Game Bar**—yes, even if you're not gaming. It works with any app.
- Press Win + G to open Game Bar.
- Click the red record button or press Win + Alt + R to start.
- Stop recording with the same shortcut. Videos save to
C:\\Users\\[YourName]\\Videos\\Captures.
Note: Enable mic input in Settings > Gaming > Captures to record your voice.
macOS
Apple includes a powerful built-in screen recorder.
- Press Command + Shift + 5 to open the screenshot toolbar.
- Choose “Record the Entire Screen” or “Record Selected Portion.”
- Click “Record,” then click anywhere to begin.
- To stop, click the stop button in the menu bar or press Command + Control + Esc.
Videos save to your desktop by default. Use QuickTime Player for more control: Open QuickTime > File > New Screen Recording.
iOS
- Go to Settings > Control Center and add “Screen Recording.”
- Swipe down (or up, depending on model) to open Control Center.
- Long-press the screen recording button (●), toggle microphone on/off, then tap “Start Recording.”
- After 3 seconds, recording begins. A red status bar appears at the top.
- End recording by swiping down and tapping the red bar, then “Stop.”
Recordings save to your Photos app.
Android
Most modern Android phones (Android 11+) have native screen recording.
- Open the Quick Settings panel (swipe down twice).
- Tap “Screen Recorder” (may require adding it first).
- Choose audio source: device audio, mic, or both.
- Tap “Start” to begin. A countdown starts.
- Stop via the notification or floating button. Video saves to Gallery.
Note: Some manufacturers (e.g., Samsung, Xiaomi) offer enhanced features like drawing during recording.
Comparison of Built-in vs. Third-Party Tools
| Feature | Built-in Tools | Third-Party Apps (e.g., OBS, Loom, Snagit) |
|---|---|---|
| Cost | Free | Paid or freemium (OBS is free) |
| Setup Time | Instant (no install) | Requires download and configuration |
| Editing Features | Limited (basic trim, markup) | Advanced (annotations, transitions, voiceovers) |
| Audio Options | Basic mic or system audio | Multitrack audio, noise suppression |
| Output Quality | Good (1080p max on most) | Up to 4K with compression options |
| Best For | Quick captures, casual use | Professional tutorials, marketing content |
Real-World Example: Solving a Tech Issue with a Screen Recording
Julie, a customer support agent, received a complaint: “The checkout button disappears when I enter my card.” Instead of asking the user to describe the issue, she asked for a screen recording. The video showed the button vanishing only on mobile browsers after form validation errors. Within minutes, her team replicated the bug, traced it to a CSS overflow issue, and deployed a fix. Without the recording, diagnosing the problem could have taken days.
This example shows how screen recordings eliminate ambiguity. They’re especially valuable in remote work, education, and technical support.
Step-by-Step Checklist for Flawless Screen Capture
Follow this checklist every time you record or screenshot to ensure quality and privacy:
- Close unnecessary apps and browser tabs to avoid distractions.
- Turn off notifications (use Do Not Disturb mode).
- Check audio levels—test your microphone if narrating.
- Ensure screen resolution is clear (avoid zoomed-in views unless intentional).
- For recordings: state the purpose at the beginning (“This video shows how to reset your password”).
- After capture: review, trim, and remove sensitive data (passwords, personal info).
- Save with a descriptive filename (e.g., “Tutorial_Setup_Process_2024.mp4”).
Frequently Asked Questions
Can I record my screen without installing software?
Yes, all major platforms—Windows, macOS, iOS, and Android—have built-in screen recording tools. No downloads are needed for basic functionality.
Why can’t I record audio from my computer during screen recording?
Due to copyright restrictions, some built-in tools (like Game Bar on Windows) don’t capture internal audio by default. Use third-party software like OBS Studio to record system sound, or enable “Stereo Mix” in Windows Sound settings as an audio source.
Where are my screen recordings saved?
It varies by device: Windows saves Game Bar videos in the “Captures” folder inside Videos. Mac uses the Desktop or a folder of your choice. iOS saves to Photos, and Android typically saves to the Gallery or “Screenshots” folder in internal storage.
Master Your Screen, Master Your Workflow
Being able to capture your screen—whether with a still image or a full-length video—is a fundamental digital skill. The tools are already on your device; it’s just a matter of knowing how to use them effectively. By leveraging built-in features and following best practices, you can create clear, professional-grade visuals in seconds. Whether you’re teaching, troubleshooting, or sharing ideas, screen capture turns abstract descriptions into actionable insights.


 浙公网安备
33010002000092号
浙公网安备
33010002000092号 浙B2-20120091-4
Comments
No comments yet. Why don't you start the discussion?