
Cast iron skillets are legendary in the kitchen—not just for their durability, but for their ability to develop a natural non-stick surface over time. That magic layer is called seasoning, and it’s not something that happens overnight. It’s built through proper care, heat, and oil. Yet many home cooks either skip seasoning altogether or do it incorrectly, leading to sticky pans, rust, or flaking buildup. The truth is, seasoning a cast iron skillet isn’t complicated, but it does require precision and consistency. When done right, it transforms your skillet into a cooking powerhouse capable of searing steaks, baking cornbread, and frying eggs without sticking.
This guide walks you through every essential detail: why seasoning matters, which oils work best, how to prepare your skillet, and a foolproof method for building long-lasting seasoning. Whether you’re reviving a family heirloom or starting fresh with a new pan, mastering this process ensures decades of reliable performance.
Why Seasoning Matters More Than You Think
Seasoning is more than just a maintenance task—it’s the foundation of cast iron performance. At its core, seasoning is a polymerized layer of oil that bonds to the iron surface when heated. This creates a smooth, semi-nonstick coating that protects against rust and improves with each use.
Without proper seasoning, cast iron becomes vulnerable. Moisture leads to rust. Acidic foods strip away protection. Food sticks and burns, making cleanup harder. Over time, neglect turns a valuable tool into a burden.
But a well-seasoned skillet behaves like a seasoned chef—reliable, responsive, and adaptable. It heats evenly, browns beautifully, and releases food cleanly. And unlike Teflon-coated pans, which degrade over time, cast iron seasoning can be repaired, renewed, and strengthened indefinitely.
“Seasoning isn’t a one-time event. It’s a relationship between cook, pan, and fire.” — Daniel Gritzer, Culinary Director at Serious Eats
Choosing the Right Oil for Seasoning
Not all oils are created equal when it comes to seasoning. The ideal oil must have a high smoke point and a high concentration of unsaturated fats, which polymerize effectively under heat. Polymerization is the chemical reaction where oil molecules link together, forming a hard, protective layer on the metal.
Using the wrong oil—like olive oil or butter—can leave a sticky, gummy residue because they break down before fully polymerizing.
The following oils are widely recommended by chefs and metallurgists alike:
- Flaxseed oil – Often praised for creating a hard, glass-like finish. However, it can flake if applied too thickly.
- Grapeseed oil – High smoke point (~420°F), neutral flavor, excellent polymerization.
- Canola oil – Affordable, widely available, and performs consistently.
- Vegetable shortening (e.g., Crisco) – A classic choice; stable and easy to apply.
- Avocado oil (refined) – Smoke point up to 520°F, though more expensive.
| Oil Type | Smoke Point (°F) | Polymerization Quality | Notes |
|---|---|---|---|
| Flaxseed | 225–330 | Excellent (but fragile) | Prone to cracking if layered too thick |
| Grapeseed | 420 | Very Good | Balances performance and cost |
| Canola | 400 | Good | Reliable and accessible |
| Crisco (Shortening) | 360–370 | Good | Solid at room temp, melts evenly |
| Refined Avocado | 520 | Excellent | Premium option, best for high heat |
Step-by-Step Guide to Seasoning Your Cast Iron Skillet
Whether your skillet is brand new or stripped bare from years of misuse, the seasoning process follows the same fundamental steps. This method uses the oven for even, controlled heating—ideal for building a uniform layer.
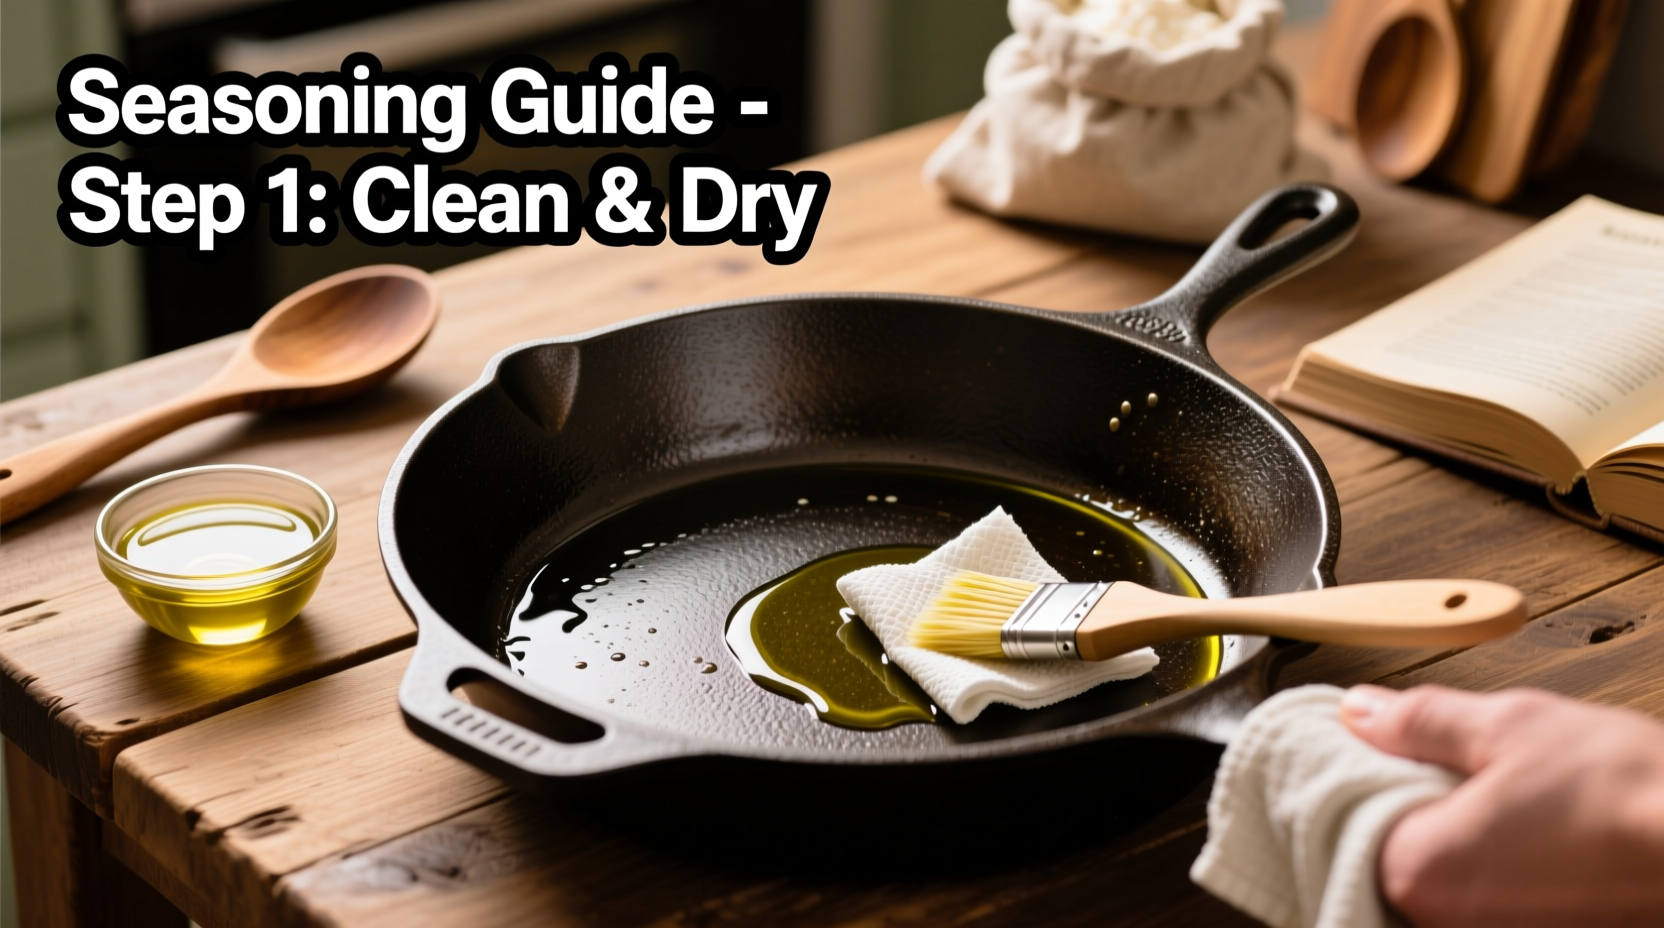
- Clean the skillet thoroughly. If new, wash with warm water and mild dish soap to remove factory wax or dust. For older pans, scrub off rust or old seasoning using steel wool or a chainmail scrubber. Rinse and dry completely.
- Preheat your oven to 450°F (232°C). Choose a temperature slightly above the smoke point of your oil to ensure full polymerization. Make sure your kitchen is ventilated—this process produces smoke.
- Apply a thin layer of oil. Pour a teaspoon of your chosen oil onto the skillet. Using a lint-free cloth or paper towel, rub the oil into every surface: interior, exterior, handle, and rim. Then, take a clean towel and wipe the entire pan as if you’re trying to remove all the oil. This “wipe-off” step is critical—too much oil leads to sticky buildup.
- Place the skillet upside down in the oven. Set it on the middle rack with a foil-lined baking sheet or tray on the lower rack to catch any drips. Positioning the pan upside down prevents oil pooling and ensures even curing.
- Bake for one hour. Let the skillet heat steadily. During this time, the oil undergoes polymerization, bonding to the iron and forming a hard, protective layer.
- Turn off the oven and let cool. Allow the skillet to cool inside the oven to room temperature. Rapid cooling can cause thermal shock and weaken the seasoning.
- Repeat 2–3 times. One layer isn’t enough. Repeat the oiling and baking process two to three times to build a robust base layer.
Maintaining and Repairing Your Seasoning
Once established, seasoning doesn’t need constant reapplication—but it does need mindful upkeep. Every time you cook with fat and heat, you’re adding to the seasoning. But improper cleaning or storage can undo your progress.
Avoid these common mistakes:
- Soaking the pan in water for extended periods
- Using harsh detergents or dishwasher cycles
- Scrubbing with abrasive pads that remove the carbonized layer
- Storing while damp, which invites rust
Instead, follow this post-cooking routine:
- While the skillet is still warm (not scorching), wipe out food debris with a paper towel.
- If needed, rinse with hot water only. Use a stiff brush or chainmail scrubber for stuck bits—never soap unless absolutely necessary.
- Dry immediately on the stovetop over low heat for 3–5 minutes until all moisture evaporates.
- While warm, apply a barely-there coat of oil with a paper towel, then wipe it off again.
- Store in a dry place with the lid off or inverted to allow airflow.
If your skillet starts looking dull, feels sticky, or shows patches of bare metal, it’s time to reseason. For minor touch-ups, a single oven cycle may suffice. For severe damage—like heavy rust or flaking—you may need to strip the pan first.
To strip old seasoning:
- Use electrolysis (recommended for deep restoration)
- Or burn off layers in a self-cleaning oven cycle
- Alternatively, use a lye bath or commercial oven cleaner (with gloves and ventilation)
Once bare metal is exposed, wash, dry, and begin the seasoning process anew.
Real Example: Reviving a Heirloom Skillet
Martha, a home cook in Ohio, inherited a 100-year-old cast iron skillet from her grandmother. The pan was covered in chipped black residue and had a faint orange tinge of rust near the rim. She tried scrubbing it with soap and steel wool, but the surface remained rough and uneven.
She researched proper restoration methods and decided to use the oven-bake technique with grapeseed oil. First, she removed loose debris and lightly sanded the worst areas with fine steel wool. After washing and drying thoroughly on the stove, she applied a whisper-thin coat of oil and baked it at 450°F for an hour. She repeated this twice more.
After the third cycle, the skillet emerged with a smooth, dark gray sheen. Her first test was scrambled eggs—cooked in a little butter—and they slid out effortlessly. Over the next few months, regular use and post-wash oiling deepened the seasoning into a glossy black finish. Today, it’s her most-used pan.
“I thought it was ruined,” she said. “But giving it time and the right process brought it back better than new.”
Frequently Asked Questions
Can I season my cast iron on the stovetop?
Yes, but it’s less consistent than oven seasoning. Heat the empty skillet on medium, add a small amount of oil, and swirl to coat. Continue heating until it starts to smoke, then reduce heat and let cool. Repeat 2–3 times. Best for touch-ups, not initial seasoning.
Why is my seasoning sticky?
Sticky seasoning means too much oil was applied. The excess didn’t polymerize and instead left a gummy residue. Strip the pan by burning off the layer in the oven or using steel wool, then re-season with thinner coats.
How often should I season my skillet?
New skillets need 2–3 foundational layers. After that, seasoning is maintained through cooking and light oiling. Most users only need a full oven re-season once or twice a year, depending on usage.
Essential Seasoning Checklist
Your Seasoning Success Checklist
- ☐ Clean and dry skillet completely
- ☐ Choose oil with high smoke point (e.g., grapeseed, canola)
- ☐ Apply oil in a thin, even layer
- ☐ Wipe off excess oil—pan should look almost dry
- ☐ Bake upside down at 450°F for 1 hour
- ☐ Cool in oven to prevent cracking
- ☐ Repeat 2–3 times for strong base
- ☐ Maintain with post-use oiling and proper drying
Conclusion: Build a Legacy in Your Kitchen
A properly seasoned cast iron skillet isn’t just a piece of cookware—it’s a lifelong companion. With the right technique, you transform raw iron into a surface that improves with age, resists corrosion, and delivers unmatched cooking performance. The process demands attention to detail, especially in oil application and temperature control, but the rewards are immediate and lasting.
Start today. Whether you’re restoring a forgotten pan or treating a new one with care, each step builds toward a stronger, smoother finish. Seasoning is not a chore—it’s craftsmanship. And once mastered, it becomes second nature, woven into the rhythm of your kitchen life.


 浙公网安备
33010002000092号
浙公网安备
33010002000092号 浙B2-20120091-4
Comments
No comments yet. Why don't you start the discussion?