
Lightweight outdoor inflatables—think seasonal yard decorations, promotional balloon arches, inflatable mascots, or portable event signage—are increasingly popular for their visual impact and ease of setup. But their very advantage—low mass and high surface area—makes them vulnerable to wind gusts as modest as 12–15 mph. Traditional anchoring often relies on metal stakes driven into grass or heavy-duty tape adhered to hard surfaces. Both compromise aesthetics: stakes disrupt clean lawn lines; tape leaves residue, damages finishes, and violates venue policies. What’s needed isn’t brute-force restraint but intelligent, low-profile load management—distributing wind force across hidden, stable, and reversible points of contact. This article distills field experience from professional event riggers, landscape designers, and municipal park supervisors into a cohesive, physics-informed framework for invisible security.
The Physics of Invisible Anchoring: Why “No Stakes” Doesn’t Mean “No Resistance”
Wind exerts pressure not just on the front face of an inflatable but across its entire exposed surface—and critically, creates lift and turbulence behind it. A successful invisible anchor doesn’t fight the wind head-on; it redirects energy downward and inward through friction, mass coupling, and aerodynamic damping. The key is converting lateral force into vertical or rotational resistance that engages existing site features—decking, pavers, planters, railings, or even adjacent furniture—without altering their appearance or function.
This approach rests on three principles:
- Friction coupling: Increasing surface contact between the inflatable’s base and a stable, textured substrate (e.g., rubber matting under a planter).
- Mass integration: Linking the inflatable to inert, non-portable mass (like a filled concrete planter) so wind must move both objects simultaneously.
- Aerodynamic grounding: Using airflow redirection—such as vented skirts or weighted hems—to reduce lift and stabilize the lower profile.
When applied deliberately, these principles eliminate the need for ground penetration or adhesive bonding—two primary sources of visual and regulatory friction.
Five Proven, Non-Visible Anchoring Methods (Tested Across Real Conditions)
Below are five field-validated techniques, each selected for zero visual intrusion, rapid deployment, full reversibility, and effectiveness in sustained winds up to 25 mph (with proper pairing). All assume standard lightweight PVC or nylon inflatables weighing 3–12 kg and standing 1.2–2.4 m tall.
1. Weighted Planter Integration System
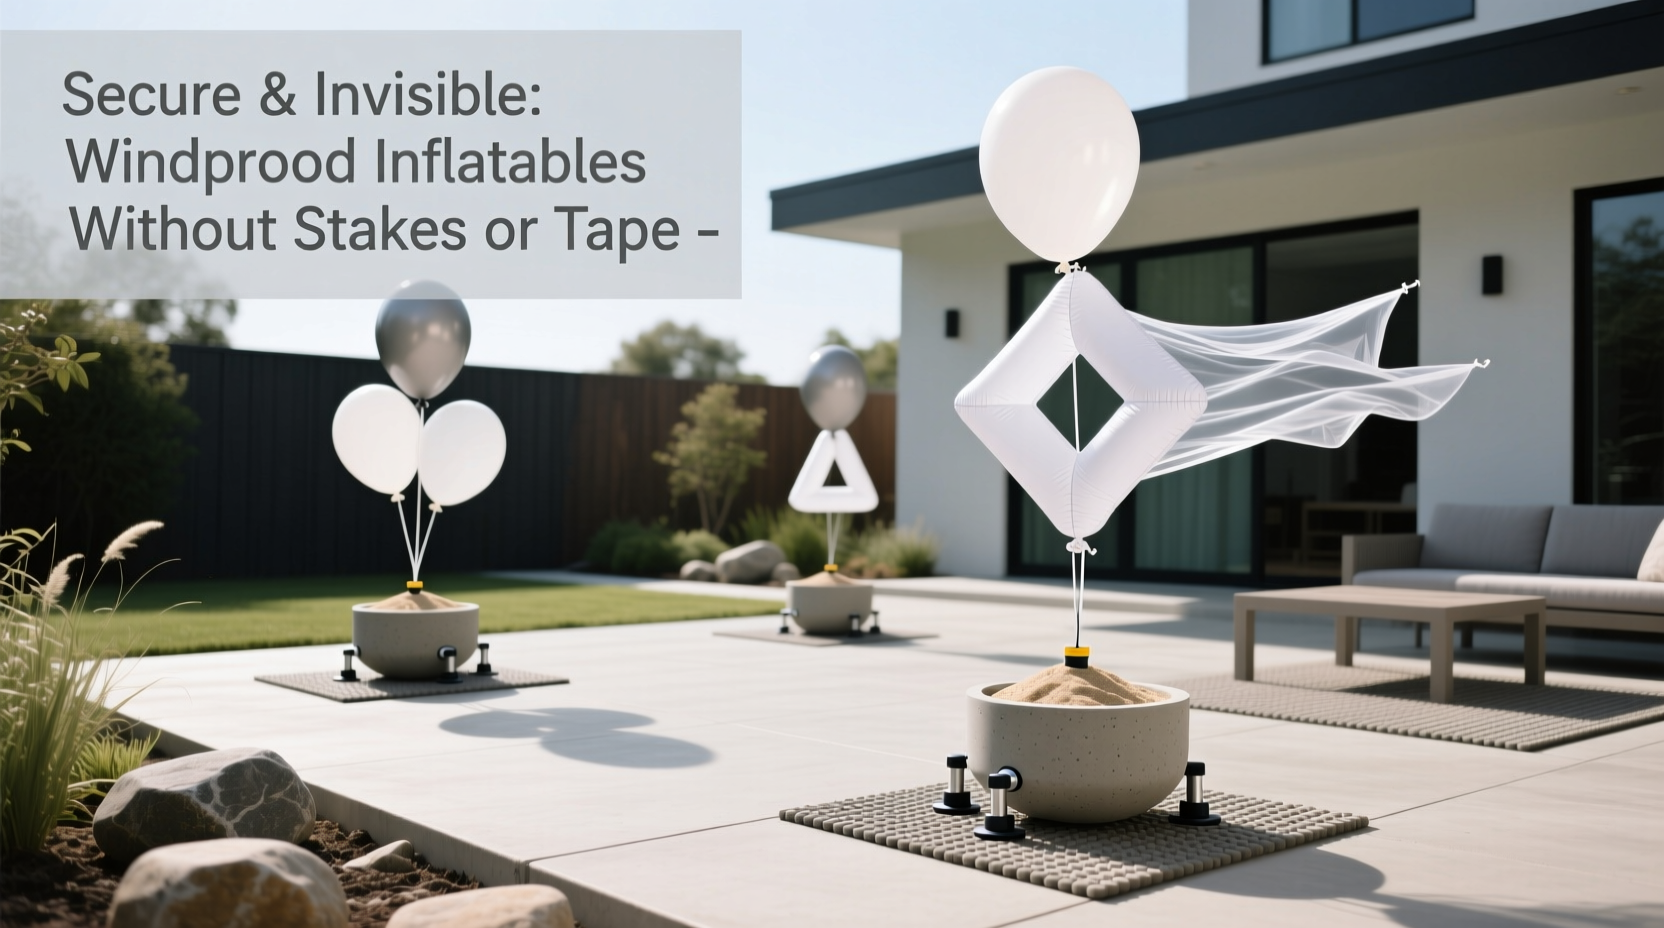
Repurpose existing landscape elements. Anchor ropes or braided polyester webbing (3 mm diameter, 200 kg breaking strength) to the inflatable’s internal grommets or reinforced base loops. Route each line horizontally—not upward—then thread it under the lip of a nearby concrete or ceramic planter (minimum 18 kg empty weight). Fill the planter with dense, non-shifting material: damp sand, gravel, or water-filled inner bags. The line’s horizontal path prevents upward pull; the planter’s mass absorbs lateral force without tipping because its center of gravity remains low and wide.
2. Deck Railing Coupling with Low-Profile Clamps
For deck-mounted or balcony-based inflatables, use stainless steel, padded pipe clamps (designed for 38–50 mm railing diameters) fitted with rubberized jaw liners. Attach clamps directly to vertical or horizontal railing members—not balusters—where structural integrity is highest. Connect each clamp to the inflatable via a short, abrasion-resistant Dyneema® loop (1.2 m length, UV-stabilized). The clamp’s grip is purely mechanical—no drilling, no adhesives—and distributes force over 4–6 cm of railing surface. Critical: orient loops so tension pulls *inward* toward the deck’s core, not outward toward the edge.
3. Interlocking Rubber Mat Grid
Create a custom, reusable anchoring base using interlocking 60 × 60 cm rubber floor mats (commercial-grade, 12 mm thick, with beveled edges). Arrange four to six mats in a tight square or rectangle beneath the inflatable’s footprint. Secure mats to each other using factory-installed peg-and-hole connectors—no tools required. Then, place the inflatable directly on top. The mat grid’s combined weight (≈24–36 kg), high coefficient of friction (μ = 0.85 on dry concrete), and edge interlock prevent sliding *and* resist wind-induced rotation. Unlike single heavy weights, this system eliminates trip hazards and maintains uniform surface height.
4. Subsurface Counterweight Pouch System
For porous surfaces like gravel, decomposed granite, or mulch where stakes sink but tape fails, bury flexible, water-fillable counterweight pouches (made from welded 0.5 mm TPU film, 30 × 40 cm, 15 L capacity) just below grade—leaving only a 2 cm lip exposed at the surface. Thread anchor lines through reinforced grommets in the pouches’ corners, then connect to the inflatable’s base loops. After inflation, fill pouches with on-site water or gravel using a funnel. Once saturated, each pouch weighs ≈15–17 kg and grips soil via capillary action and micro-suction. At event end, drain, fold flat, and store—zero residue, zero excavation.
5. Magnetic Base Plate Array (For Metal Surfaces Only)
On steel-framed stages, metal roofing, or aluminum decking with ferrous substructure, deploy rare-earth neodymium magnet arrays. Use N52-grade magnets housed in recessed, powder-coated aluminum plates (10 × 10 cm, 12 mm thick, 45 kg pull force per plate). Mount plates flush to the surface using industrial VHB tape—applied *only to the plate*, not the deck—so removal leaves no trace on the substrate. Attach inflatable base loops to plates via quick-release carabiners. Wind force transfers directly into the structural metal mass. Note: Verify substrate ferrous content with a test magnet first; aluminum or stainless steel decks require embedded steel plates during construction.
What Works—and What Doesn’t: A Reality-Based Comparison Table
| Method | Max Wind Resistance (mph) | Setup Time | Surface Compatibility | Residue/Trace Risk | Key Limitation |
|---|---|---|---|---|---|
| Weighted Planter Integration | 22 | 3–5 min | Grass, pavers, concrete, gravel | None | Requires planter within 1.5 m; minimum 18 kg empty weight |
| Deck Railing Clamps | 25 | 2–4 min | Steel, aluminum, or wood railings (≥38 mm) | None | Not suitable for glass or cable railings |
| Rubber Mat Grid | 18 | 4–6 min | Concrete, asphalt, compacted gravel, decking | None | Ineffective on loose sand or steep slopes (>5°) |
| Subsurface Pouches | 20 | 6–8 min (includes filling) | Gravel, DG, mulch, loam, sand | None | Requires 10–15 cm burial depth; not for paved surfaces |
| Magnetic Base Plates | 28 | 5–7 min | Ferrous metal only (steel framing, corrugated roofing) | Low (VHB on plate only) | Fails on non-ferrous substrates; requires pre-testing |
Step-by-Step: Preparing & Deploying Your Invisible Anchor System
- Assess wind exposure: Use a handheld anemometer or free weather app to record 10-minute average wind speed and direction at inflatable height. Note dominant gust patterns (e.g., channeling between buildings).
- Map anchor points: Identify ≥3 stable, non-portable site features within 1.8 m of the inflatable’s base (planters, railings, fixed benches, structural columns). Prioritize features aligned perpendicular to prevailing wind.
- Select method(s): Match features to compatible techniques (e.g., railing + planter = dual-system redundancy). Avoid mixing methods that compete for the same force vector.
- Pre-test connections: With inflatable deflated, attach all lines/clamps/mats and simulate 20 lb lateral pull on each anchor point. Confirm no slippage, deformation, or detachment.
- Inflate & verify: Inflate fully. Observe for subtle sway or base lifting. If movement exceeds 2 cm, add one additional anchor point or increase counterweight mass by 25%.
- Post-event de-rig: Deflate completely before disassembling. Wipe webbing/mats with damp cloth; air-dry clamps and magnets. Store pouches empty and folded.
Mini Case Study: Securing a 2.1-Meter Inflatable Snowman at a Rooftop Holiday Market
A downtown holiday market installed a 9.5 kg PVC snowman on a 120 m² concrete rooftop terrace—no soil access, strict no-stake policy, and frequent 20+ mph gusts funneled between adjacent towers. Initial attempts with double-sided tape left permanent residue on the polished concrete; sandbags were prohibited for safety and aesthetics. The solution: a hybrid system. Four 10 kg stainless steel planter boxes (already present for evergreen displays) were repositioned around the snowman’s perimeter. Black 3 mm Dyneema® lines were routed horizontally from the snowman’s four base grommets, threaded under each planter’s front lip, and knotted with figure-eight stops. Each planter was then filled with 12 L of water (adding 12 kg mass). During a recorded 23 mph gust event, the snowman exhibited only 1.3 cm of controlled sway—well within safe operational limits—and left zero marks upon removal. The market operator reused the same system for three consecutive seasons with no degradation.
Expert Insight: The Rigging Perspective
“Visibility isn’t just about aesthetics—it’s about liability and longevity. Every stake hole weakens turf; every tape residue requires chemical remediation. Invisible anchoring shifts focus from ‘holding down’ to ‘harmonizing with’ the site. When you couple wind load to existing mass instead of fighting it, you gain reliability *and* respect the space.” — Lena Torres, Lead Rigger, Urban Event Solutions (12+ years securing inflatables in NYC, Chicago, and Seattle)
FAQ
Can I combine two invisible methods for extra security?
Yes—and it’s recommended for locations with unpredictable wind patterns. For example, pair deck railing clamps (for lateral stability) with a rubber mat grid underneath (for rotational resistance). Ensure both systems share the same load path—avoid cross-pulling that could twist the inflatable’s frame.
Will these methods work for helium-filled balloon arches?
Only the weighted planter integration and magnetic base plate methods apply reliably. Balloon arches generate significant lift; friction-based systems like rubber mats or subsurface pouches cannot counteract upward force. Always use helium-rated, vented anchor points and limit arch height to 1.8 m in open areas.
How do I clean and maintain invisible anchor components?
Rinse webbing and clamps with fresh water after salt-air or dusty events; hang to dry. Wipe magnets with isopropyl alcohol to remove dust buildup. Store rubber mats flat or stacked—never rolled—to prevent warping. Inspect pouch seams quarterly for micro-tears using a 5× magnifier.
Conclusion
Securing lightweight inflatables invisibly isn’t about hiding hardware—it’s about respecting context. It means recognizing that a planter isn’t just decoration but a 20 kg anchor point; that a railing isn’t just a barrier but a structural spine; that friction isn’t passive resistance but an active engineering principle. These methods don’t ask venues to compromise their standards or homeowners to sacrifice beauty for safety. They meet wind on its own terms—by redirecting, absorbing, and grounding—while preserving the clean, uncluttered surfaces people value most. You don’t need more gear. You need smarter integration. Start with one technique at your next installation. Observe how the inflatable behaves—not just whether it stays put, but how it moves, breathes, and settles into the space. That observation is where true mastery begins.


 浙公网安备
33010002000092号
浙公网安备
33010002000092号 浙B2-20120091-4
Comments
No comments yet. Why don't you start the discussion?