
Streaming has evolved from a niche hobby into a full-fledged profession for many content creators. Whether you're broadcasting gameplay, hosting live tutorials, or running virtual events, performance is non-negotiable. One of the most effective ways to improve your streaming workflow—while keeping your primary system responsive—is by dedicating a second monitor exclusively to streaming tasks. However, doing this incorrectly can introduce lag, dropped frames, and audio sync issues that degrade viewer experience.
The key isn’t just adding another screen—it’s configuring your setup so that encoding, scene switching, alerts, and chat monitoring run smoothly without taxing your main display or gaming environment. This guide walks through every technical and practical consideration needed to build a lag-free dual-monitor streaming station.
Why a Dedicated Streaming Monitor Matters
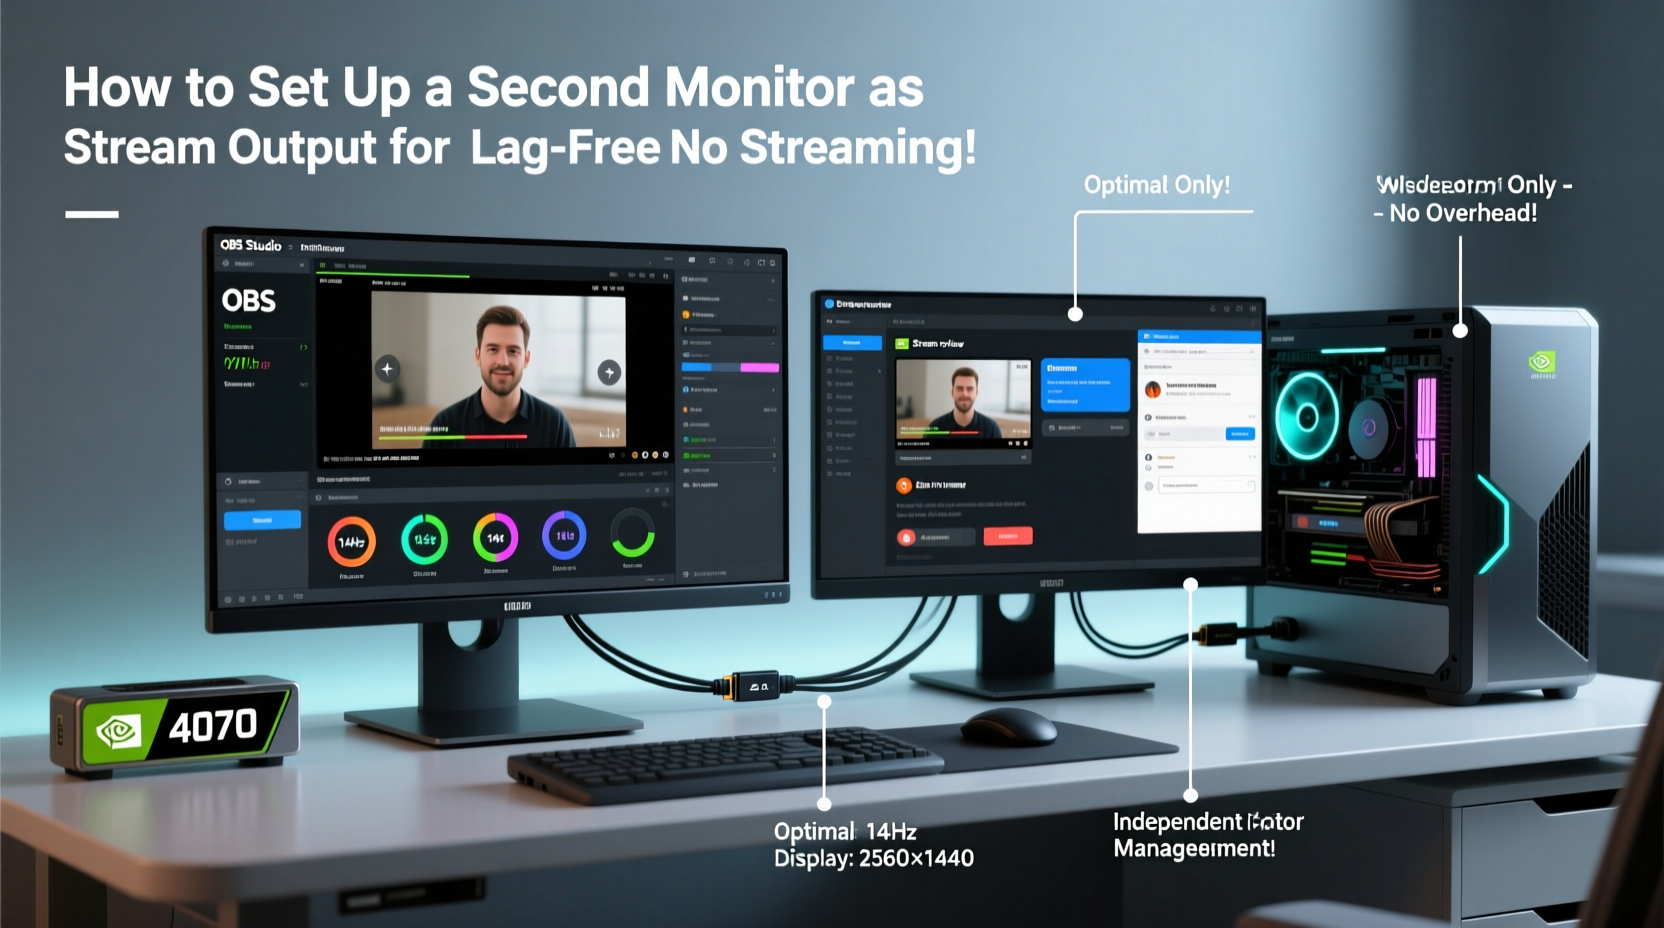
Using a secondary monitor solely for streaming tools like OBS Studio, Streamlabs, chat overlays, and browser sources offloads visual processing from your primary GPU workload. When your game runs on one screen and all streaming UI elements are isolated on another, your system allocates resources more efficiently. This separation reduces input latency, prevents frame pacing issues, and allows for cleaner multitasking during long broadcasts.
More importantly, a dedicated streaming monitor improves ergonomics. You can keep an eye on viewer interactions, donation alerts, and encoder status without minimizing your game or application window—eliminating disruptive alt-tabbing that might trigger fullscreen mode resets or stuttering.
Selecting the Right Hardware Setup
Your ability to avoid lag starts with compatible, high-performance components. A poorly chosen monitor or connection type can bottleneck even the most powerful CPU and GPU.
Monitor Specifications That Prevent Lag
- Refresh Rate: Choose at least a 60Hz panel; 75Hz or higher is preferable if budget allows. Higher refresh rates contribute to smoother cursor movement and reduced perceived delay when interacting with streaming software.
- Response Time: Aim for 5ms gray-to-gray or lower. Faster response times minimize ghosting during rapid UI updates in chat or alert animations.
- Panel Type: IPS panels offer better color accuracy and viewing angles than TN, making them ideal for monitoring stream quality across different lighting conditions.
- Resolution: 1080p (Full HD) is optimal. Avoid 4K monitors unless your GPU explicitly supports multi-display 4K output without performance penalties.
Connection Types: HDMI vs. DisplayPort
| Connection | Max Bandwidth | Lag Performance | Best For |
|---|---|---|---|
| HDMI 2.0 | 18 Gbps | Good (with proper cable) | Most modern GPUs and integrated outputs |
| DisplayPort 1.4 | 32.4 Gbps | Excellent | High-refresh setups and daisy-chaining |
| USB-C (Alt Mode) | Varies | Fair to Good | Laptops and compact systems |
For minimal signal delay, use DisplayPort whenever possible. It supports adaptive sync technologies and delivers consistent timing precision critical for real-time monitoring. If your graphics card has multiple DisplayPorts, connect both monitors via DP cables to maintain uniform signal integrity.
“Dedicated monitoring paths reduce GPU scheduling conflicts and help maintain stable frame delivery.” — Adrian Lin, Senior Systems Engineer at Elgato Systems
Step-by-Step Guide to Configuring Your Dual-Monitor Streaming Environment
Follow this sequence to ensure your second monitor operates seamlessly alongside your primary display, with zero impact on stream stability.
- Physically Install the Monitor
Place the second monitor beside or below your main screen. Connect it using a high-speed DisplayPort or HDMI 2.0+ cable directly to your GPU (avoid motherboard video ports if using a discrete GPU). - Enable Extended Display Mode
Right-click desktop > Display Settings > Select “Extend these displays” under Multiple Displays. Confirm both screens are detected and arranged correctly. - Set Primary and Secondary Roles
Designate your main gaming/application screen as “Display 1.” The new monitor becomes “Display 2,” where all streaming software will reside. - Adjust Refresh Rate and Resolution
In Display Settings, set the second monitor to native resolution and maximum supported refresh rate (e.g., 1920x1080 @ 75Hz). Click Advanced Display Settings to verify color format and bit depth (prefer RGB Full Range, 8-bit). - Launch Your Streaming Software on Monitor 2
Open OBS Studio or Streamlabs. Drag the entire application window to the second monitor. Right-click taskbar icon > Move, then use arrow keys to reposition if necessary. - Configure Scene Layouts Across Monitors
Create a scene called “Streaming Dashboard” containing browser sources for Twitch chat, donations, alerts, and a preview of your stream output. Assign this scene to open only on Monitor 2. - Disable Unnecessary Effects
In OBS, go to Settings > Advanced > Video and disable VSync unless absolutely required. Also turn off chromatic aberration and bloom effects in third-party widgets to reduce GPU load. - Optimize Encoder Settings
Use hardware encoders (NVENC for NVIDIA, AMF for AMD) instead of x264 software encoding. This frees up CPU cycles and ensures smooth performance even under heavy multitasking. - Test Latency and Sync
Run a test stream and check for audio-video sync issues. Use a stopwatch web app on the second monitor and compare its time against recorded footage to detect any delay. - Lock Down Window Positions
Use utilities like PowerToys (Windows) or Moom (Mac) to pin streaming windows to specific areas of the second monitor, preventing accidental dragging back to the primary screen.
Software Optimization for Zero-Latency Monitoring
Even with perfect hardware, misconfigured software can introduce micro-lags that accumulate over time. These delays may not be visible immediately but can cause dropped frames or out-of-sync alerts.
Process Prioritization
Stream-related applications should run with elevated priority. In Task Manager (Ctrl+Shift+Esc), locate obs64.exe or streamlabs.exe, right-click, and set priority to “High” (not Realtime, which can destabilize the system). Do the same for browser instances used for chat.
Browser Source Best Practices
- Use lightweight versions of chat:
twitch.tv/popout/chatinstead of full site. - Limit active browser sources to three: chat, alerts, and song display (if applicable).
- Set process limit in OBS: Tools > Browser Docks > Set max instances to 1–2 to prevent memory bloat.
Network Buffering & Bitrate Matching
Mismatched bitrate settings between your internet upload speed and encoder output are a leading cause of streaming lag. To prevent this:
- Test your upload speed using Speedtest.net.
- Set your streaming bitrate to 80% of your measured upload speed. For example, if you have 20 Mbps upload, cap your bitrate at 16 Mbps.
- Use a wired Ethernet connection—never rely on Wi-Fi for stable uploads.
“We’ve seen up to a 40% reduction in dropped frames simply by switching users from wireless to gigabit Ethernet.” — Sarah Kim, Network Performance Analyst at Twitch Partner Support
Real-World Example: From Laggy Streams to Flawless Broadcasts
Jamal, a mid-tier Twitch streamer playing competitive shooters, struggled with inconsistent stream quality despite having a high-end RTX 4070 and Ryzen 7 system. His stream would frequently drop frames during intense gameplay, and alerts appeared seconds late.
After reviewing his setup, he realized he was running OBS, Discord, and four browser tabs—all on the same monitor as his game. By purchasing a $150 24-inch IPS monitor and moving all streaming tools to the second screen, then assigning NVENC encoding and disabling compositing effects, his average dropped frames fell from 8% to less than 0.5%. He also noticed improved game responsiveness due to reduced GPU context switching.
The change didn’t require new hardware beyond the monitor—he simply optimized what he already had. Now, viewers regularly comment on the smoothness and interactivity of his live shows.
Essential Checklist: Setting Up Your Lag-Free Streaming Monitor
✅ Final Setup Verification Checklist:
- Second monitor connected via DisplayPort or HDMI 2.0+
- Extended display mode enabled (not mirrored)
- Streaming software launched exclusively on secondary screen
- NVENC/AMF hardware encoder selected in OBS/Streamlabs
- Bitrate set to ≤80% of upload speed
- All chat and alert sources optimized for low resource usage
- Ethernet connection confirmed (no Wi-Fi)
- Unnecessary background apps closed before going live
- Test stream completed with no sync or frame drops
Frequently Asked Questions
Can I use a TV as a second monitor for streaming?
Yes, but only if it supports low input lag (look for “Game Mode”) and connects via HDMI 2.0 or better. Many TVs add internal processing delays that make real-time monitoring difficult. Test thoroughly before relying on one.
Does having two monitors increase streaming lag?
Not inherently. If properly configured—with hardware encoding and balanced workloads—adding a second monitor can actually reduce overall system strain by separating tasks. The issue arises when software rendering or inefficient scaling is involved.
Should I upgrade my GPU just for a second monitor?
Generally no. Modern GPUs handle dual 1080p displays effortlessly. Only consider an upgrade if you're targeting 1440p+ streaming dashboards with multiple animated overlays or plan to encode at very high bitrates.
Conclusion: Stream Smarter With Purpose-Built Monitoring
A second monitor dedicated solely to streaming isn’t a luxury—it’s a strategic upgrade that enhances performance, professionalism, and audience engagement. By selecting the right hardware, isolating streaming processes, and fine-tuning software behavior, you eliminate hidden sources of lag that degrade broadcast quality.
The difference between amateur and polished streams often lies not in production value alone, but in reliability. Viewers stay longer when they see timely responses, clean transitions, and uninterrupted gameplay. With your streaming interface confined to a separate, optimized display, you gain control, clarity, and confidence every time you go live.


 浙公网安备
33010002000092号
浙公网安备
33010002000092号 浙B2-20120091-4
Comments
No comments yet. Why don't you start the discussion?