
For parents navigating the digital world of gaming, the Nintendo Switch offers a rich mix of entertainment and creativity. But with that comes the responsibility of managing screen time, content access, and online interactions. The good news: Nintendo provides robust parental control tools. The bad news: many parents find the setup process confusing or overly technical. This guide cuts through the complexity, offering clear, practical steps to configure parental controls effectively—without the stress.
Understanding the Parental Control System
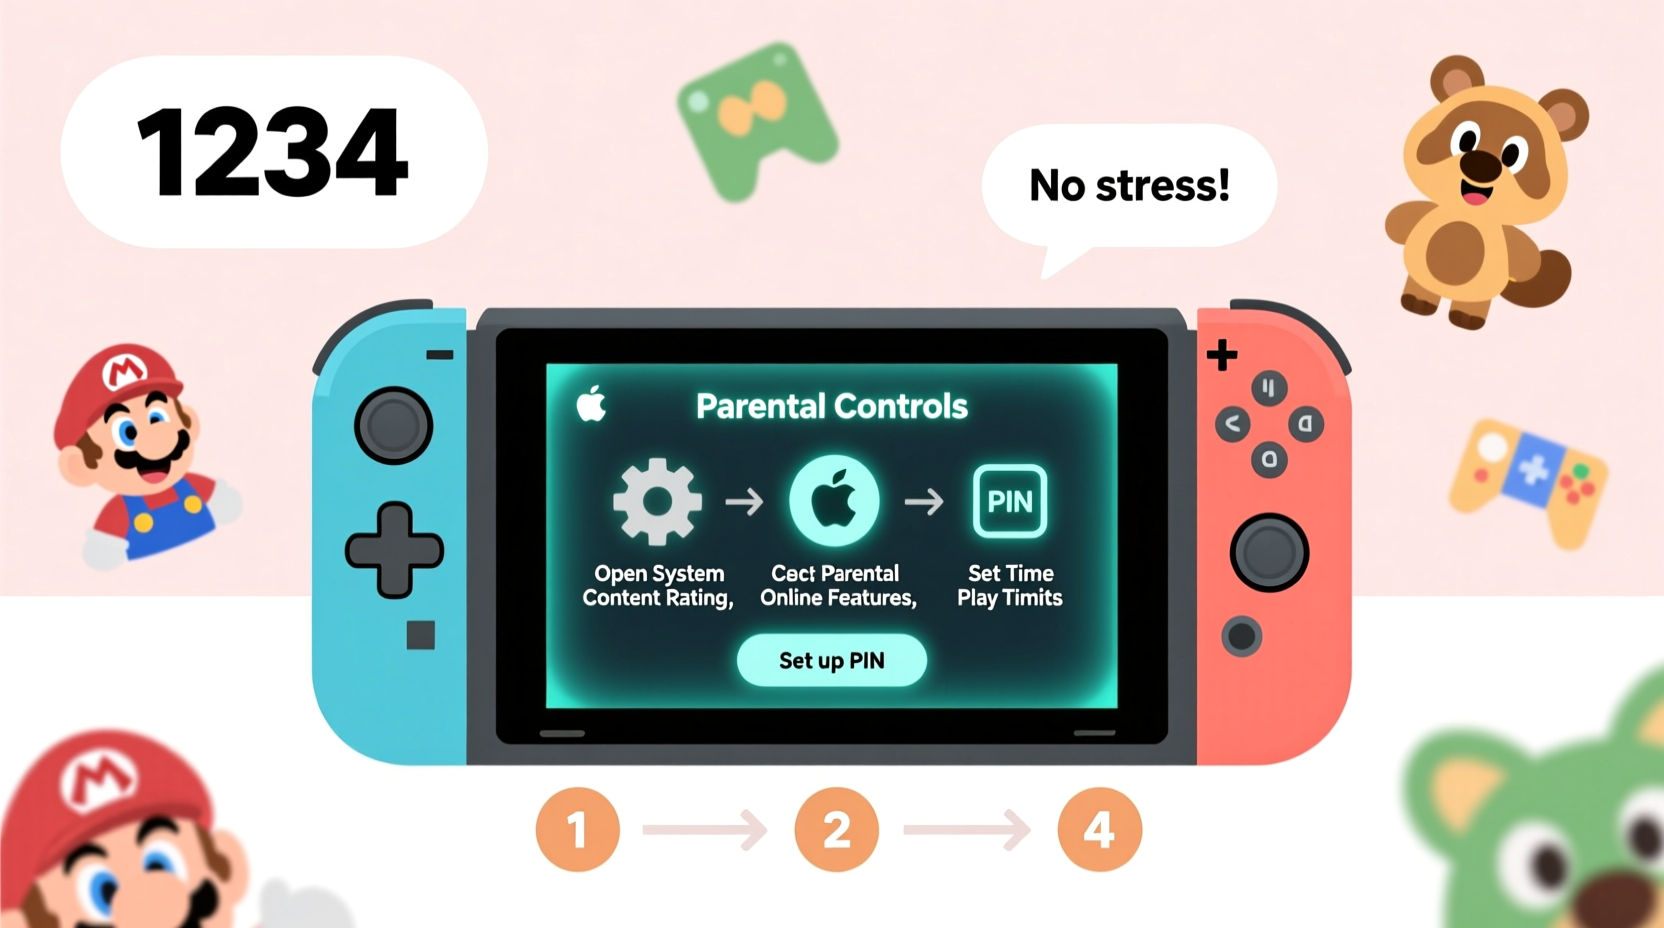
Nintendo’s approach to parental controls is app-based rather than built directly into the console. This means you don’t manage settings from the Switch itself but through the free Nintendo Switch Parental Controls app, available on iOS and Android. The app connects to your child’s Nintendo Account and allows remote monitoring and adjustments.
The system works by linking your smartphone to the Switch via a QR code. Once paired, you can set limits on playtime, restrict game ratings, disable online communication, and receive activity reports. It's designed for flexibility and real-time oversight, but only if set up correctly.
“Digital safety starts with proactive boundaries. The Nintendo Switch parental system, when used consistently, gives families peace of mind without sacrificing fun.” — Dr. Lena Torres, Child Digital Wellness Researcher
Step-by-Step Setup Process
Setting up parental controls doesn’t require technical expertise, but it does require attention to detail. Follow this timeline to get everything running smoothly.
- Create or identify the child’s Nintendo Account. If your child already has an account, ensure it’s set to “Child” status (under 13). If not, create one at accounts.nintendo.com. You’ll need to provide a valid email address and date of birth.
- Download the Nintendo Switch Parental Controls app on your smartphone from the App Store or Google Play.
- Open the app and sign in using your own Nintendo Account—the one linked to the Switch console.
- On the Switch console, go to System Settings → Parental Controls → Start Setup. A QR code will appear on the screen.
- In the app, tap “Register Console,” then use your phone’s camera to scan the QR code displayed on the TV or handheld screen.
- Select the user profile you want to monitor—this should be your child’s profile on the Switch.
- Confirm the pairing. Once linked, the app will begin syncing data within minutes.
After pairing, you can disconnect your phone from Wi-Fi or the console. The app communicates with the Switch over the internet, so updates and restrictions apply even when devices aren’t on the same network.
Customizing Key Control Settings
Once connected, the real power lies in customization. Here are the most impactful settings to adjust—and how to do it wisely.
1. Screen Time Limits
You can set daily playtime limits (e.g., 60 minutes) and schedule specific times when the console can or cannot be used. For example, you might allow gameplay only between 4 PM and 8 PM on weekdays.
To adjust: In the app, select the child’s profile → Daily Playtime → Set duration and allowed hours.
If time expires, the console sends a 5-minute warning before pausing play. Parents can grant temporary extensions remotely through the app—a useful feature during family game nights or holidays.
2. Content Restrictions by Age Rating
Nintendo uses the ESRB (Entertainment Software Rating Board) system. You can restrict games based on age ratings: EC (Early Childhood), E (Everyone), E10+, T (Teen), M (Mature), and AO (Adults Only).
For younger children, limit access to E and E10+ titles. Older kids might safely handle T-rated games like The Legend of Zelda: Breath of the Wild, but block M-rated games such as Mortal Kombat.
Adjustment path: App → Settings → Restricted Software → Choose maximum rating allowed.
3. Online Communication Controls
This setting determines whether your child can chat with others, send friend requests, or view user-generated content online. Given risks like exposure to inappropriate language or grooming behavior, many parents choose to disable voice and text chat entirely.
You can allow multiplayer gameplay while disabling communication—ideal for games like Super Mario Party where interaction is local or non-verbal.
Path: App → Settings → Online Communication → Select “Restricted” or “Disabled.”
4. Web Browser & Shop Access
The Switch includes a web browser and access to the Nintendo eShop. By default, both are disabled for child accounts. Keep them off unless you’re supervising purchases or research activities.
To prevent accidental spending, require a PIN for all purchases—even free downloads. This adds a layer of approval without blocking access entirely.
| Setting | Recommended for Ages 5–9 | Recommended for Ages 10–12 | Recommended for Ages 13+ |
|---|---|---|---|
| Daily Playtime | 60 mins, after homework | 90 mins, weekends unlimited | Self-managed with app alerts |
| Max Game Rating | E and E10+ | T (with parent review) | Parent-approved M titles |
| Online Chat | Disabled | Friends only, no voice | Moderated access |
| eShop Purchases | PIN required | PIN required | Monthly budget cap |
Common Pitfalls and How to Avoid Them
Even with clear instructions, some parents run into avoidable issues. Awareness is half the battle.
- Mistaking account types: Ensure your child’s account is designated as a “Child Account.” Adult accounts cannot be controlled via the app.
- Using the wrong Nintendo Account: The app must be logged into the parent/guardian account—not the child’s. Mixing these up breaks the connection.
- Not updating the app: Outdated versions may fail to sync or miss critical security patches.
- Over-restricting too early: Applying strict limits immediately can lead to resistance. Start with moderate rules and adjust based on behavior.
- Ignoring activity reports: The app sends weekly summaries. Review them regularly to spot patterns like late-night usage or sudden spikes in playtime.
A Real-World Example: The Miller Family’s Experience
The Millers, a family of four in Portland, struggled with their 10-year-old son spending three hours nightly on Animal Crossing: New Horizons. Homework suffered, and bedtime was repeatedly pushed back. After learning about the parental controls app, they followed the setup steps carefully.
They set a 75-minute daily limit, restricted play after 8 PM, and disabled in-game messaging to prevent contact with strangers. Initially, there was pushback—but within two weeks, their son adapted. The app’s “Request More Time” feature allowed him to ask for extra minutes on weekends, teaching negotiation and responsibility.
According to Mrs. Miller, “It wasn’t about punishment. It was about balance. Now he plays less but enjoys it more—and his grades improved.”
Essential Checklist for Stress-Free Setup
Use this checklist to ensure nothing is missed during configuration:
- ✅ Confirm the child has a Nintendo Account marked as “Child”
- ✅ Download the Nintendo Switch Parental Controls app
- ✅ Sign into the app with the parent/guardian Nintendo Account
- ✅ Pair the app with the Switch using the QR code
- ✅ Assign time limits and allowable play windows
- ✅ Set content restrictions by ESRB rating
- ✅ Disable or limit online communication features
- ✅ Enable purchase PIN requirement
- ✅ Review weekly activity reports monthly
- ✅ Reassess settings every 3–6 months as the child grows
Frequently Asked Questions
Can I control multiple Switch consoles from one phone?
Yes. The app supports linking to multiple consoles, provided each one goes through the QR pairing process. This is ideal for families with more than one device or traveling between homes.
What happens if my phone dies or I lose service?
Settings remain active on the console. Time limits and content blocks continue to enforce even without the app running. Once connectivity resumes, the app syncs any new activity.
Can my child bypass the controls?
Directly, no. However, they could attempt to use another device or account. To prevent this, avoid sharing your Nintendo Account credentials and supervise initial setup. Also, educate your child on why the rules exist—transparency reduces attempts to circumvent them.
Final Thoughts and Next Steps
Setting up parental controls on the Nintendo Switch isn’t just about restriction—it’s about enabling safe, balanced digital experiences. With the right approach, you can protect your child from inappropriate content and excessive screen time while still allowing them to enjoy the creativity and joy that games offer.
The key is consistency, communication, and small, manageable steps. Don’t try to perfect every setting on day one. Start with time limits and content filters, observe how your child responds, and refine over time. Technology evolves, and so will your family’s needs.


 浙公网安备
33010002000092号
浙公网安备
33010002000092号 浙B2-20120091-4
Comments
No comments yet. Why don't you start the discussion?