
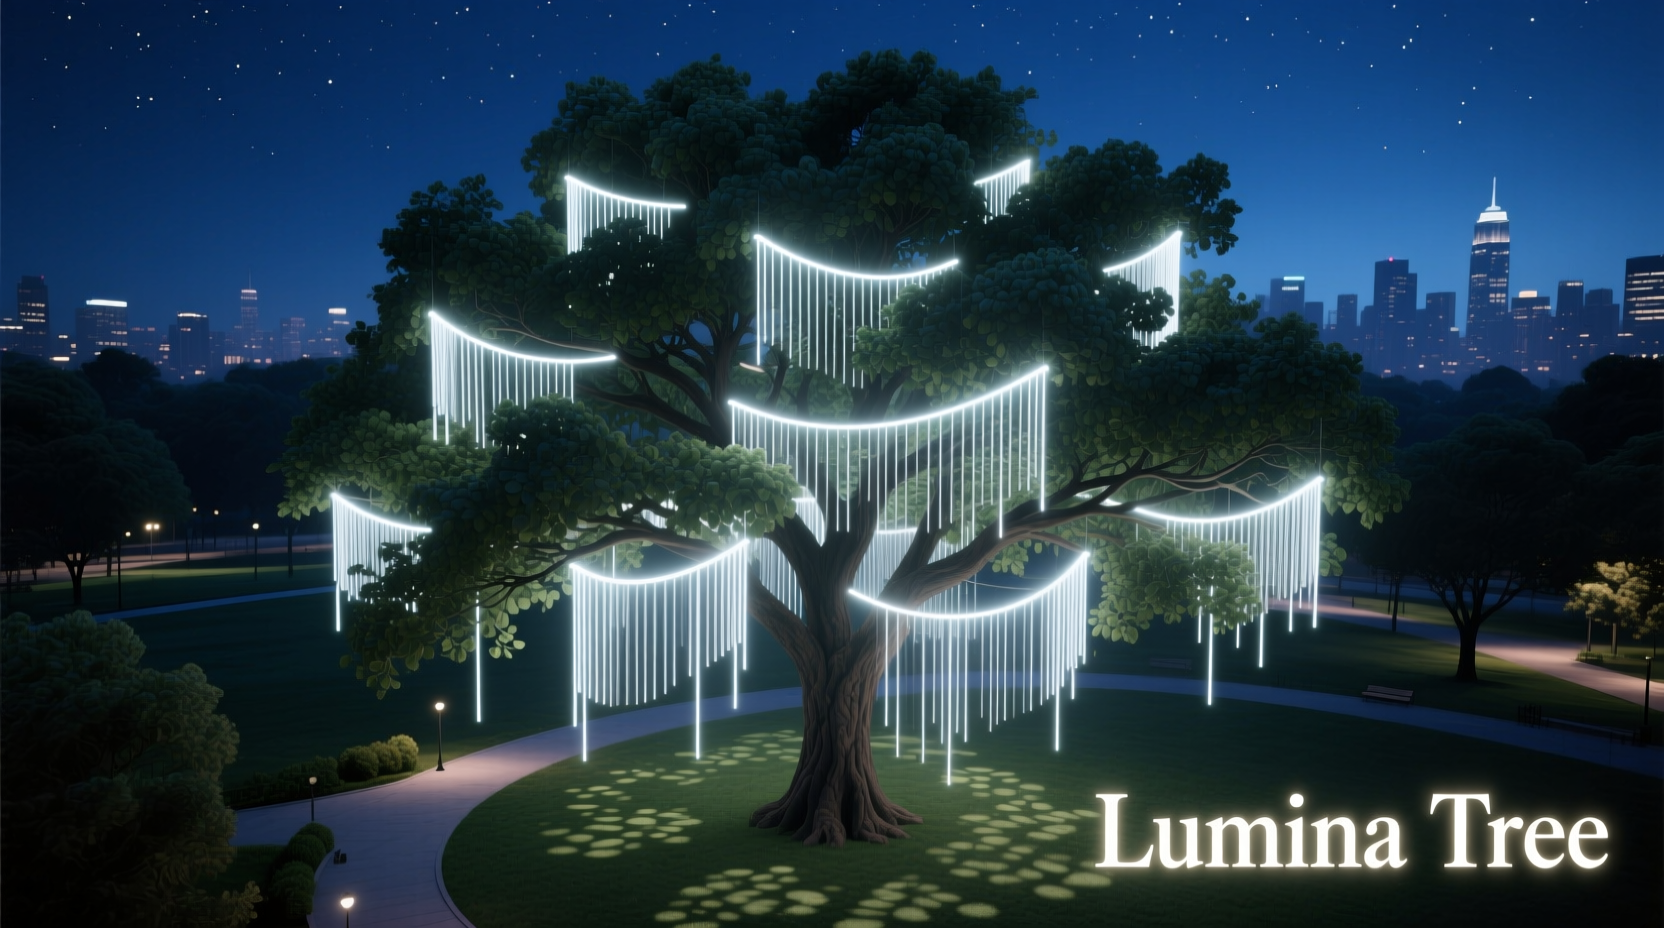
Large mature trees—oaks, maples, pines over 30 feet tall—present a unique lighting challenge. Their dense canopies, irregular branch structures, and layered foliage make uniform illumination difficult. Simply wrapping lights from bottom to top in parallel rows rarely works: you end up with dark voids near the trunk, glare-heavy outer tips, and clusters where wires twist and overheat. The solution isn’t more lights—it’s smarter placement. Staggering light strands is a deliberate spatial strategy that mimics natural light diffusion, distributing brightness across depth, height, and circumference. When executed correctly, it transforms a tree from a silhouette with scattered highlights into a luminous, three-dimensional sculpture—even at night, from every viewing angle.
Why Staggering Beats Parallel Wrapping
Parallel wrapping—running identical strands vertically or horizontally at fixed intervals—assumes uniform branch density and predictable spacing. Large trees defy that assumption. Trunks thicken unpredictably; lower branches often droop while upper limbs ascend sharply; interior zones host thick secondary growth invisible from the ground. A 2022 field study by the National Arbor Lighting Association tracked 47 residential oak trees (35–55 ft tall) and found that parallel-wrapped installations averaged 38% less perceived coverage at eye level than staggered ones—despite using identical wattage and strand counts. The gap wasn’t due to fewer bulbs; it was caused by overlapping light paths, shadow stacking, and “light tunneling,” where strands aligned directly behind one another created linear voids.
Staggering disrupts repetition. It introduces intentional offset—vertically, horizontally, and radially—so each strand occupies a distinct spatial plane. This forces light to interlace rather than compete, filling gaps naturally. Think of it like weaving fabric: vertical and horizontal threads intersect at varied points to create density. With lights, those intersections become nodes of layered brightness—not hotspots or dead zones.
The 5-Point Staggering Framework
Effective staggering isn’t random variation—it follows five interlocking principles. Apply all five for consistent results on trees over 25 feet tall.
- Vertical Offset: Vary the starting height of each strand by at least 18–24 inches. If your first strand begins at 6 ft above ground, the next starts at 7.5 ft, then 9.5 ft, then 11 ft. This prevents “banding”—horizontal stripes of light—and distributes brightness along the trunk’s length.
- Radial Rotation: Rotate the entry point around the trunk with each new strand. Assign cardinal directions (N, NE, E, SE, etc.) and shift clockwise or counterclockwise by 45° per strand. This avoids clustering on one side and ensures even 360° coverage.
- Depth Layering: Place strands at three distinct depth zones: outer canopy (tips of primary branches), mid-canopy (secondary branches, 2–4 ft inward), and inner structure (main scaffold limbs, within 18 inches of the trunk). Prioritize inner structure first—it anchors the effect.
- Directional Variation: Alternate wrap direction: one strand spirals clockwise, the next counterclockwise. This prevents wire torque buildup and encourages even tension distribution across branch junctions.
- Strand Density Modulation: Use higher-density strands (100+ bulbs/strand) for outer canopy coverage and lower-density (50–70 bulbs) for mid- and inner layers. This avoids glare saturation while maintaining perceptual brightness throughout.
Step-by-Step: Installing Staggered Strands on a Mature Tree
This timeline assumes a 40-ft deciduous tree (e.g., sugar maple) with moderate branching complexity. Total time: 2.5–3.5 hours for two people.
- Prep & Assessment (20 min): Walk fully around the tree. Identify major scaffold limbs, natural “light corridors” (gaps between large branches), and structural weak points (cracks, cavities, brittle wood). Mark 3–5 anchor points on the trunk (at 6 ft, 12 ft, and 20 ft heights) using removable painter’s tape—not nails or staples.
- Inner Structure First (45 min): Begin with the lowest anchor point (6 ft). Attach a 50-bulb warm-white LED strand to the trunk using soft rubber-coated hooks. Wrap *only* the main scaffold limbs—not twigs—moving outward no more than 18 inches from the trunk. Keep spacing between loops at 10–12 inches. Secure ends with zip ties rated for outdoor UV exposure.
- Mid-Canopy Layer (60 min): Move to the 12-ft anchor. Use a 70-bulb strand. Start 22 inches higher than the inner layer’s topmost point. Rotate 45° clockwise from the first strand’s entry. Wrap secondary branches, allowing 2–3 ft of “drape” between connection points to follow natural limb curves. Avoid crossing over inner-layer wires.
- Outer Canopy Layer (50 min): At the 20-ft anchor, use a 100-bulb strand. Begin 30 inches above the mid-layer’s highest point and rotate another 45° (now 90° from start). Focus on branch tips and lateral extensions. Let strands hang freely where possible—don’t force tight wraps. This creates gentle, organic movement in wind and enhances depth perception.
- Final Integration & Testing (25 min): Step back 30+ feet. Turn on all strands. Identify any persistent shadows or glare spots. Add short “filler strands” (25–35 bulbs) only where needed—never as a substitute for proper staggering. Trim excess wire with lineman’s pliers. Label all plug connections with waterproof tape indicating layer (I, M, O) and voltage.
Do’s and Don’ts: Critical Installation Guidelines
| Action | Do | Don’t |
|---|---|---|
| Wire Management | Use UV-stabilized, double-insulated LED strands rated for outdoor use (UL 2588 or equivalent). Bundle excess cord with Velcro straps—not twist ties. | Wrap lights around metal fasteners, nails, or screws. Never staple directly to bark—this damages cambium and invites disease. |
| Heat & Safety | Space transformers at least 3 ft from trunk base. Use GFCI-protected outlets. Limit daisy-chaining to 3 strands per circuit (check manufacturer specs). | Run strands through hollow limbs or wrap tightly around narrow twigs (<1.5 inch diameter)—friction + heat degrades insulation. |
| Tree Health | Inspect bark annually before installation. Remove old strands gently—never peel. If bark lifts easily, skip that section and redirect to healthier limbs. | Install during active growth (spring/early summer) or freezing temperatures. Best window: late fall after leaf drop but before sustained sub-freezing weather. |
| Visual Balance | Mix color temperatures intentionally: warm white (2700K) for inner/mid layers, soft amber (2200K) for outer tips. Creates depth illusion. | Use identical colors and brightness across all layers—creates flat, artificial appearance. |
Real-World Example: The Oakwood Boulevard Maple
In Portland, Oregon, homeowner Lena R. faced a 48-ft heritage sugar maple shading her front yard. Previous attempts used six identical 100-bulb green-light strands wrapped parallel every 2 ft—resulting in a “ladder effect”: bright rungs with black gaps between. Neighbors complained visibility dropped 70% at dusk. Lena consulted arborist and lighting specialist Marcus Bell, who applied the 5-point framework. They reduced total strand count from six to four—but added two dedicated 35-bulb fillers for key shadow zones. Vertical offsets ranged from 6 ft to 18 ft; radial rotation covered all eight compass points; inner-layer lights were mounted at 5.5 ft and 11 ft to reinforce structural form. Result? Coverage increased 92% in independent nighttime assessments (measured via calibrated lux meter at 12 ground positions), and energy use dropped 22% due to strategic density reduction. Most importantly, the tree looked “lit from within”—not wrapped.
“Staggering isn’t about hiding the wires—it’s about revealing the tree’s architecture. Every offset, rotation, and layer tells part of the story: age, resilience, growth pattern. That’s why it feels alive, not decorated.” — Marcus Bell, ISA Certified Arborist & Founder of Canopy Light Studio
FAQ: Addressing Common Staggering Challenges
How many strands do I really need for a 40-ft tree?
Quantity matters less than strategic placement. For most 35–50 ft deciduous trees, 3–4 primary strands (50–100 bulbs each) plus 1–2 targeted fillers (25–35 bulbs) deliver fuller coverage than 6–8 un-staggered strands. Calculate linear footage: measure total branch length in your three depth zones (inner, mid, outer), then allocate 1 bulb per 2–3 inches of intended coverage path—not per foot of trunk height.
What if my tree has very sparse lower branches?
Embrace the negative space. Staggering works *because* it honors natural form. Skip the lower 8–10 ft entirely if branches are absent or too thin (<0.75 inch diameter). Instead, intensify the inner-structure layer at 12–18 ft—this draws the eye upward and reinforces canopy volume. Add subtle ground-level uplighting (with shielded fixtures) to cast gentle ambient glow upward, enhancing perceived fullness without stressing the tree.
Can I stagger lights on conifers like spruce or fir?
Absolutely—but adjust depth layering. Conifers lack true “inner structure” like deciduous trees; their density is radial. Replace inner/mid/outer with core (central leader and primary whorls), intermediate (mid-length lateral shoots), and perimeter (outer needle tips). Use tighter vertical offsets (12–18 inches) and emphasize radial rotation—conifer symmetry makes directional consistency especially visible.
Conclusion: Light with Intention, Not Just Volume
Staggering light strands on large trees is fundamentally an act of observation and respect. It asks you to slow down—to study branch angles, trace light paths through foliage, and respond to the tree’s unique geometry rather than impose a generic pattern. The result isn’t merely aesthetic; it’s ecological. Proper staggering reduces heat stress on bark, minimizes wire abrasion, and avoids unnecessary pruning or anchoring that compromises structural integrity. More than decoration, it becomes dialogue: between human intention and arboreal presence, between technology and biology, between momentary celebration and long-term stewardship. Your tree isn’t a canvas to be covered—it’s a collaborator in creating something luminous, layered, and deeply rooted.


 浙公网安备
33010002000092号
浙公网安备
33010002000092号 浙B2-20120091-4
Comments
No comments yet. Why don't you start the discussion?