
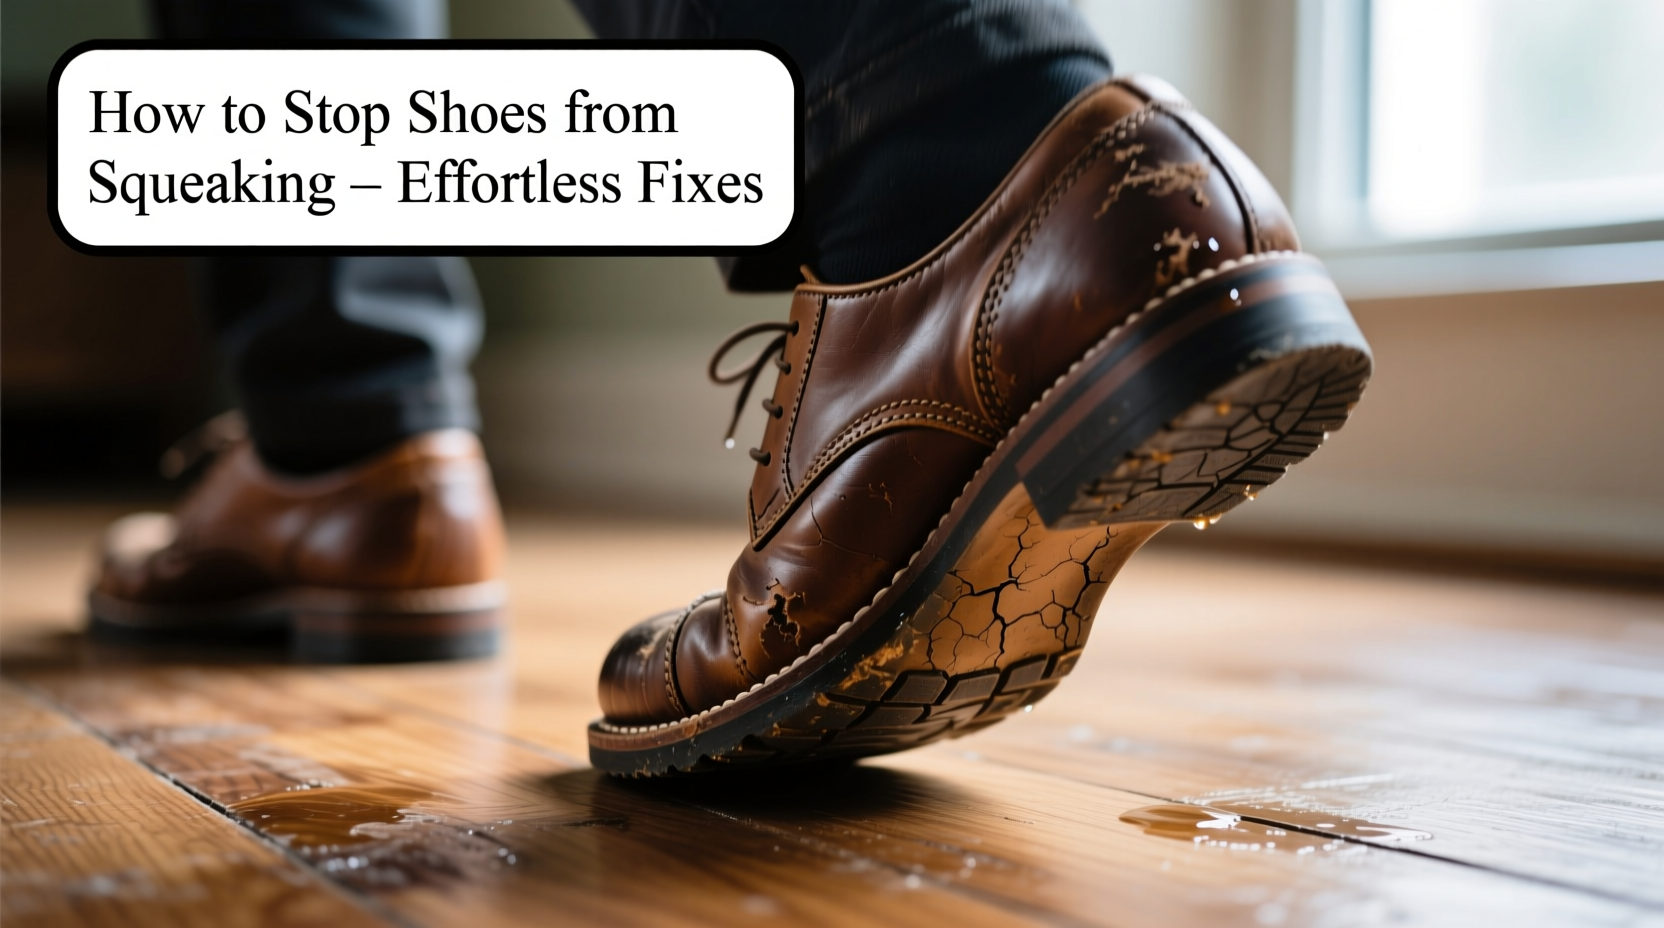
Squeaky shoes can be more than an annoyance—they can undermine confidence, draw unwanted attention, and even signal poor shoe maintenance. Whether it’s leather dress shoes, athletic sneakers, or rubber-soled boots, that persistent creak with every step is often fixable without replacing the footwear. The good news? Most causes of shoe squeaks are simple mechanical issues that respond well to practical, at-home remedies. Understanding why shoes squeak—and how to address each cause—is key to restoring quiet comfort.
This guide dives into the science behind shoe noise, breaks down common culprits, and delivers actionable, no-nonsense solutions. From moisture absorption to loose insoles and sole separation, we’ll walk through diagnosis, repair, and prevention so you can move silently and confidently again.
Why Shoes Squeak: The Science Behind the Sound
Shoe squeaks aren’t random—they’re the result of friction, movement, or trapped air between materials. When two surfaces rub together under pressure (like an insole shifting against a midsole), they create vibrations that travel through the shoe and emit as sound. This phenomenon is especially common in new shoes that haven’t fully broken in or older pairs experiencing wear-related loosening.
The most frequent sources include:
- Insole movement: A foam or cushioned insole sliding over the midsole creates rhythmic squeaks.
- Moisture buildup: Wet soles or damp interiors can trap air, causing suction noises with each step.
- Sole separation: Delamination between outsoles and midsoles allows flexing and rubbing.
- Heel mechanism issues: Hollow heels on dress shoes or pumps may rattle or resonate.
- Material stiffness: New leather or synthetic uppers may creak until properly conditioned.
Identifying the exact source is critical. Misdiagnosis leads to wasted effort. For example, applying talcum powder won’t help if the real issue is a detached sole. Take time to isolate where the sound originates: press different parts of the shoe while twisting or bending it manually. Listen closely for repeatable noise.
Effortless Fixes for Common Squeak Causes
Most squeaks can be silenced in under 15 minutes using household items. Below are targeted solutions based on root causes.
1. Stop Insole Movement with Talc or Adhesive
If the squeak comes from inside the shoe and feels like it’s underfoot, the insole is likely shifting. Remove it carefully and inspect both the underside of the insole and the surface of the midsole.
Dust both surfaces with baby powder, cornstarch, or talcum powder. These powders reduce friction and absorb minor moisture. Reinsert the insole and walk around briefly. If the squeak persists, consider using a light adhesive spray like 3M Super 77 or a double-sided fabric tape along the edges to secure the insole without compromising flexibility.
“Even a slight lift in the insole can generate noise. Securing it properly eliminates one of the most common sources of squeaking.” — Daniel Ruiz, Footwear Repair Technician, 18 years experience
2. Dry Out Moisture-Trapped Soles
Squeaks after rain or sweaty workouts often stem from waterlogged midsoles. As you walk, trapped moisture compresses and releases, creating a soft squish or squeak.
To resolve this:
- Remove the insoles and laces.
- Stuff the interior with crumpled newspaper or silica gel packets.
- Place shoes in a dry, ventilated area—never direct heat like radiators or hairdryers, which can warp glue and rubber.
- Allow 24–48 hours for full drying.
Once dry, sprinkle a small amount of baking soda inside to neutralize odor and absorb residual moisture.
3. Fix Sole Separation with Shoe Glue
When the outsole begins to peel away from the upper or midsole, flexing during walking causes repetitive rubbing—a classic low-pitched squeak.
Clean the gap with rubbing alcohol to remove dust and oil. Use a precision applicator to inject a flexible shoe glue (such as Barge All-Purpose Cement or Shoe Goo) into the seam. Press the sole firmly back into place and clamp with binder clips or heavy books for 6–12 hours. Avoid wearing the shoes during cure time.
4. Silence Noisy Heels
Hollow heels on women’s dress shoes or men’s oxfords often develop internal rattles. The sound mimics a squeak but is usually a metallic or plastic tap.
Disassemble the heel cap if possible (using a flathead screwdriver or pliers), then insert a small piece of folded tissue, foam pad, or self-adhesive felt circle to fill empty space. Reattach the cap securely. If you're not comfortable doing this yourself, a cobbler can complete the fix in minutes.
5. Condition Stiff Leather Uppers
New leather shoes sometimes creak because stiff fibers rub against each other. This isn't a structural flaw—just a break-in phase.
Apply a high-quality leather conditioner (like Lexol or Chamberlain’s) with a soft cloth, focusing on crease areas like the vamp and collar. Wear the shoes around the house with thick socks to gently stretch and soften the material. Repeat conditioning every few days until the squeak fades.
Step-by-Step Diagnosis & Repair Timeline
Follow this systematic approach to identify and eliminate squeaks efficiently.
- Day 1 – Isolate the Source: Walk barefoot on hard flooring indoors. Note when and where the sound occurs. Remove insoles and inspect for wear or looseness.
- Day 1 – Dry if Damp: If shoes feel moist, stuff with newspaper and let dry overnight.
- Day 2 – Test Insole Fix: Apply talc to insole and midsole. Reassemble and test-walk. If fixed, monitor for recurrence.
- Day 2–3 – Address Sole Separation: If visible gap exists, clean and glue. Allow 12-hour cure.
- Day 4 – Final Conditioning: For leather creaks, condition and wear indoors. Repeat as needed.
Most squeaks resolve within 72 hours using this method. Persistent noise may require professional assessment.
Do’s and Don’ts: Shoe Squeak Edition
| Do | Don’t |
|---|---|
| Use talcum powder to reduce insole friction | Use WD-40—it can degrade rubber and dissolve adhesives |
| Dry wet shoes naturally with newspaper | Expose shoes to direct heat or sunlight for drying |
| Use flexible shoe-specific glue for sole repairs | Apply super glue (cyanoacrylate), which becomes brittle and cracks |
| Condition leather regularly to prevent stiffness | Over-condition, which can oversaturate and weaken fibers |
| Visit a cobbler for complex heel or sole issues | Ignore worsening separation—it can lead to complete sole detachment |
Real Example: How Sarah Fixed Her Work Shoes in One Evening
Sarah, a project manager in Chicago, began noticing a sharp squeak in her left oxford during client meetings. Embarrassed, she initially assumed the shoes were worn out. Instead of buying new ones, she decided to troubleshoot.
She removed the insole and noticed it lifted slightly near the ball of the foot. After wiping both surfaces dry and applying talcum powder, she reinserted it. The squeak reduced but didn’t vanish. She then used a small strip of double-sided carpet tape along the heel edge of the insole. After pressing it down and walking around her apartment, the noise disappeared completely.
“I saved $180 and kept my favorite pair,” she said. “Now I check my work shoes monthly for early signs of looseness.”
Prevention Checklist: Keep Shoes Silent Long-Term
Maintaining quiet footwear is easier than fixing squeaks. Follow this routine to prevent future issues:
- ✅ Inspect insoles monthly for lifting or wear
- ✅ Rotate shoes regularly to allow drying and reduce stress on materials
- ✅ Condition leather every 4–6 weeks, especially in winter or humid climates
- ✅ Store shoes in a cool, dry closet with cedar inserts to control moisture
- ✅ Address minor sole gaps immediately before they worsen
- ✅ Clean soles periodically to remove grit that accelerates wear
Proactive care extends shoe life and prevents the vast majority of squeaks before they start.
Frequently Asked Questions
Can I use baby powder instead of talc?
Yes—most baby powders contain cornstarch or talc and work equally well to reduce insole friction. Just ensure the product is unscented if you have sensitive skin or odor concerns.
Why do my brand-new shoes squeak?
New shoes often squeak due to stiff materials, factory lubricants, or tight seams. Break them in gradually at home, and apply leather conditioner if needed. Many squeaks disappear after 5–10 wears as components settle.
Will a cobbler fix squeaky shoes permanently?
A skilled cobbler can often provide long-lasting repairs, especially for sole reattachment or heel reinforcement. They use industrial adhesives and techniques that exceed DIY durability. Expect to pay $15–$35 depending on complexity, but the results typically last years.
Conclusion: Silence Starts Today
Squeaky shoes don’t have to be a permanent nuisance. With basic tools and a few minutes of attention, most causes are easy to diagnose and resolve. Whether it’s a quick dusting of powder or a precise glue application, the fixes outlined here restore comfort and confidence without cost or hassle.
Don’t endure another awkward meeting or public outing with noisy footwear. Apply these solutions today—inspect, treat, and prevent. Your steps should reflect intention, not irritation. And if you’ve discovered a trick that works wonders, share it. Someone else might just walk a little quieter because of you.


 浙公网安备
33010002000092号
浙公网安备
33010002000092号 浙B2-20120091-4
Comments
No comments yet. Why don't you start the discussion?