
Windows 11’s automatic updates are designed to keep your system secure and running smoothly. But for many users, these forced updates arrive at the worst possible times—interrupting work, consuming bandwidth, or even introducing bugs. While Microsoft doesn’t officially support completely disabling updates, there are several effective, long-term strategies to prevent automatic installations without compromising system integrity. This guide explores practical, tested solutions that give you full control over when—and if—your PC updates.
Why Automatic Updates Are Problematic
Automatic updates aim to patch vulnerabilities and improve performance, but they often create more problems than they solve. Unexpected reboots during critical tasks, slow download speeds, compatibility issues with existing software, and lack of user consent are common complaints. Many professionals, remote workers, and gamers need predictable system behavior and cannot afford disruptions caused by unannounced updates.
Microsoft’s update model assumes all users have unlimited bandwidth, flexible schedules, and no reliance on stable environments. For those managing sensitive workflows or using older hardware, this one-size-fits-all approach is impractical.
Understanding Windows Update Mechanics
Before attempting to stop updates, it's important to understand how Windows Update works in Windows 11. The system relies on several background services and scheduled tasks to check for, download, and install updates. Key components include:
- Windows Update Service (wuauserv): Manages detection, download, and installation of updates.
- Background Intelligent Transfer Service (BITS): Handles downloading updates in the background using idle bandwidth.
- Update Orchestrator Service: Coordinates modern update processes introduced in recent Windows versions.
- Scheduled Tasks: Predefined triggers under
Task Scheduler > Task Scheduler Library > Microsoft > Windows > UpdateOrchestratorinitiate update checks regularly.
Disabling or modifying these components allows you to interrupt the automatic update cycle while still retaining the ability to manually check and apply updates when convenient.
Method 1: Pause Updates via Settings (Temporary Control)
The easiest way to delay updates is through the built-in Settings app. While not a permanent solution, it provides temporary relief and is ideal for short-term needs.
- Open Settings (Win + I).
- Navigate to Windows Update in the left sidebar.
- Click Pause updates.
- Select a duration—up to 5 weeks.
After the pause period ends, updates will resume automatically. This method is safe and fully reversible, making it suitable for users who want minimal intervention.
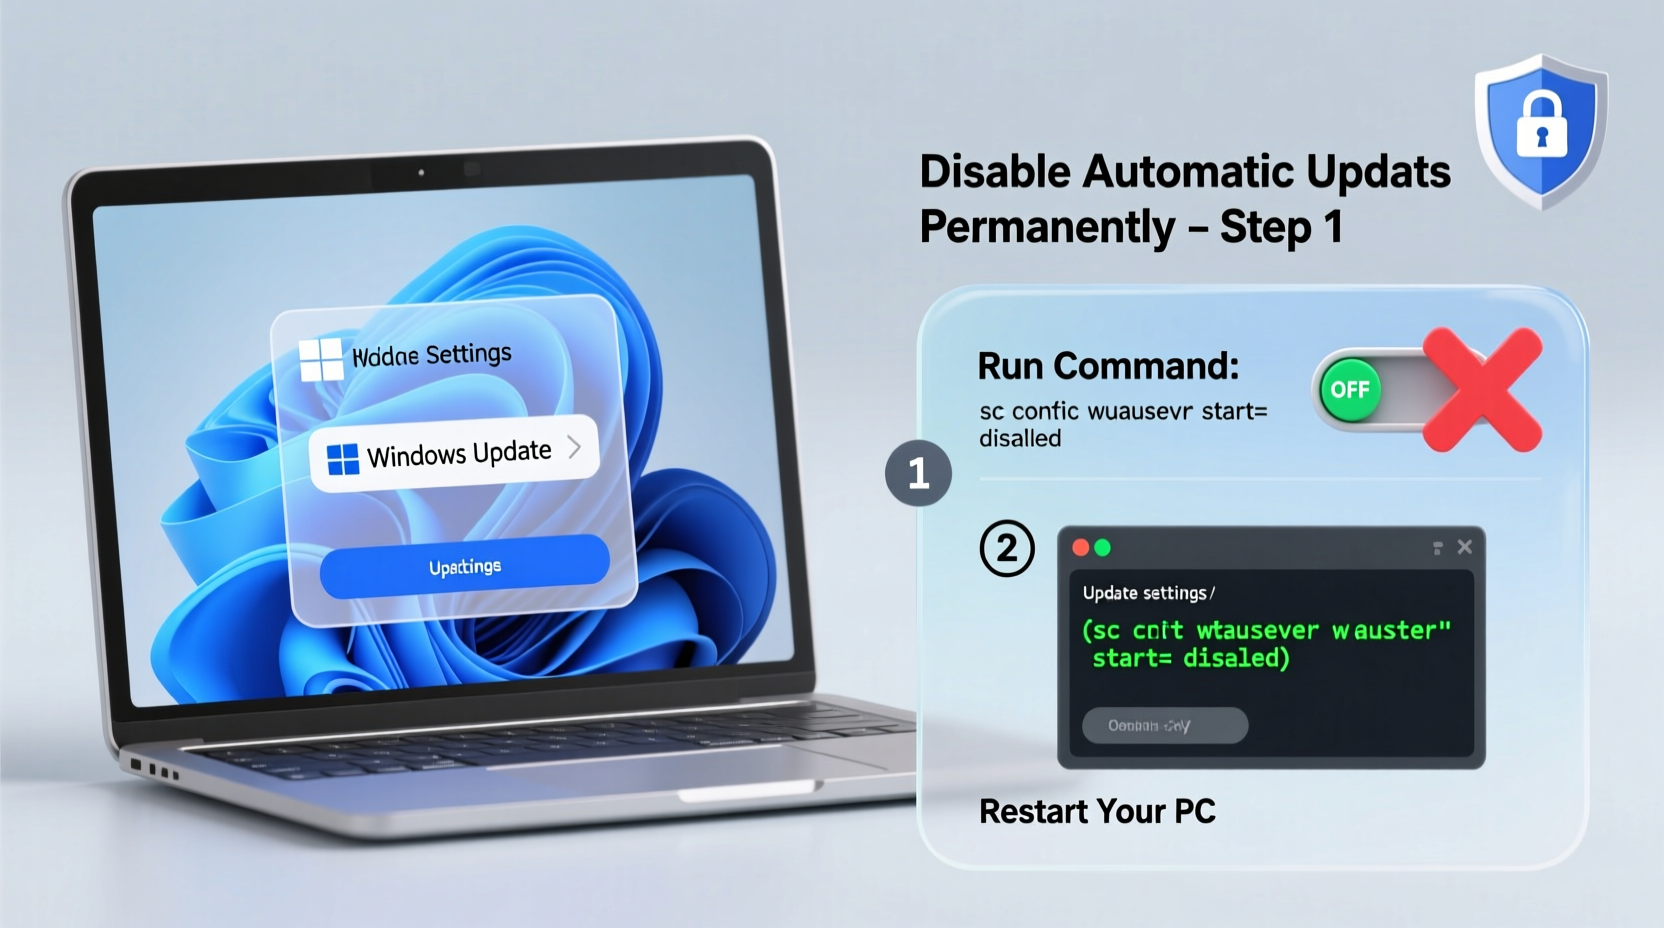
Method 2: Disable Windows Update Services (Semi-Permanent Fix)
For longer-term control, disabling core update services prevents the system from checking or installing updates automatically. This method requires administrative access and should be done carefully.
Steps to Disable Update Services:
- Press Win + R, type
services.msc, and press Enter. - Locate the following services:
- Windows Update
- Background Intelligent Transfer Service (BITS)
- Update Orchestrator Service
- Windows Module Installer
- Double-click each service and set its Startup type to Disabled.
- Click Stop to halt any currently running instances.
- Repeat for all four services.
With these services disabled, Windows cannot initiate update downloads or installations. However, some updates may still appear in the UI due to residual telemetry functions.
Method 3: Use Group Policy Editor (Pro/Enterprise Users)
If you're using Windows 11 Pro, Education, or Enterprise, the Local Group Policy Editor offers granular control over update behavior. This is one of the most reliable semi-permanent methods available.
Configuring Group Policy to Suppress Updates:
- Press Win + R, type
gpedit.msc, and press Enter. - Navigate to:
Computer Configuration > Administrative Templates > Windows Components > Windows Update > Manage end user experience - Double-click Configure Automatic Updates.
- Select Enabled, then choose option 2 – Notify for download and auto-install or 1 – Never check for updates.
- Click Apply and OK.
- Reboot your system to ensure changes take effect.
This setting overrides default update behaviors and prevents automatic installation indefinitely. Note that Home edition users do not have access to gpedit.msc by default.
“Using Group Policy to manage updates gives IT administrators precise control over patch deployment timelines.” — David Lin, Senior Systems Administrator at TechGuard Solutions
Method 4: Modify Registry Keys (Advanced Users)
For Windows 11 Home users who lack Group Policy access, modifying the registry can achieve similar results. This method is powerful but carries risk—incorrect edits can destabilize the OS.
Warning:
Back up the registry before proceeding. Use File > Export in Regedit to create a restore point.
Steps to Disable Auto-Updates via Registry:
- Press Win + R, type
regedit, and run as administrator. - Navigate to:
HKEY_LOCAL_MACHINE\\SOFTWARE\\Policies\\Microsoft\\Windows\\WindowsUpdate\\AU - If the path doesn’t exist, create the missing keys manually by right-clicking folders and selecting New > Key.
- Inside the
AUkey, create a new DWORD (32-bit) Value namedNoAutoUpdate. - Set its value to 1 to disable automatic updates.
- Optionally, set
AUOptionsto 1 to turn off notifications entirely. - Restart your computer.
Once applied, this configuration prevents Windows from automatically downloading or installing updates. Manual checks via Settings will still work unless additional restrictions are applied.
Method 5: Block Connections Using Hosts File
An alternative approach involves blocking communication between your PC and Microsoft’s update servers. By redirecting domain requests to localhost, you effectively cut off the update pipeline.
Domains to Block:
| Domain | Purpose |
|---|---|
| windowsupdate.com | Main update portal |
| update.microsoft.com | Update distribution hub |
| wustat.windows.com | Update status reporting |
| sls.update.microsoft.com | Licensing and activation checks |
| fe2.update.microsoft.com | Download server endpoint |
To Edit the Hosts File:
- Navigate to
C:\\Windows\\System32\\drivers\\etc\\. - Right-click
hostsand open with Notepad as administrator. - Add lines like:
0.0.0.0 windowsupdate.com
0.0.0.0 update.microsoft.com
0.0.0.0 fe2.update.microsoft.com - Save the file (you may need to adjust permissions if blocked).
- Flush DNS with command:
ipconfig /flushdnsin Command Prompt (Admin).
This method stops updates at the network level and survives reboots. However, future Windows features may use new domains not listed here, requiring periodic updates to the blocklist.
Mini Case Study: A Freelancer’s Solution
Sophie, a freelance video editor working from home, faced recurring crashes after Windows 11 installed driver updates overnight. Her rendering timelines were disrupted, and client deadlines were at risk. She tried pausing updates, but they resumed after five weeks.
She switched to disabling the Windows Update and BITS services permanently. When she needed security patches, she’d re-enable the services, install updates manually during off-hours, then disable them again. Over six months, her system remained stable, and she maintained full control over her workflow—without sacrificing long-term security.
Best Practices and Risks
While stopping automatic updates offers convenience, it comes with responsibilities. Ignoring critical patches leaves your system vulnerable to malware, ransomware, and exploits. The goal isn’t to avoid updates altogether, but to manage them intelligently.
“You’re trading automation for responsibility. If you disable updates, you must commit to checking them monthly.” — Lena Torres, Cybersecurity Consultant
Do’s and Don’ts
| Do’s | Don’ts |
|---|---|
| Manually check for updates every 30–45 days | Never ignore updates for months on end |
| Keep a system restore point before major updates | Don’t disable firewall or antivirus to “speed up” the process |
| Use metered connection settings to limit background downloads | Don’t modify system files without backups |
| Document changes made to services or registry | Don’t assume all updates are harmful—many fix real issues |
Checklist: How to Stop Windows 11 Updates Permanently
- ✅ Assess your edition (Home vs. Pro) to determine available tools
- ✅ Back up the registry before making changes
- ✅ Disable Windows Update, BITS, and Update Orchestrator services
- ✅ Use Group Policy (if available) to enforce update suppression
- ✅ Modify the hosts file to block key Microsoft update domains
- ✅ Schedule monthly manual update checks for security patches
- ✅ Create restore points before re-enabling services for updates
Frequently Asked Questions
Will disabling updates make my PC unsafe?
It can, if you neglect manual patching. Disabling automatic updates shifts responsibility to you. As long as you manually install critical security updates within a reasonable timeframe (e.g., monthly), your system remains protected.
Can Microsoft force updates even if I disable them?
In rare cases, yes—especially during major feature rollouts. Some mandatory updates bypass standard controls. However, routine security and driver updates can be reliably blocked using the methods above.
Do these methods work after Windows updates?
Most do, but some updates may reset service configurations or overwrite registry keys. It’s wise to recheck your settings after any manual update cycle. Using startup scripts to re-disable services can help maintain consistency.
Conclusion: Take Back Control Responsibly
Stopping Windows 11 from updating automatically is not only possible—it’s necessary for many users who demand stability and control. By combining service management, policy settings, and network-level blocking, you can create a robust, long-term defense against disruptive updates.
The key is balance. Don’t abandon updates; reschedule them. Don’t ignore security; manage it on your terms. With the right strategy, your PC stays both safe and predictable.


 浙公网安备
33010002000092号
浙公网安备
33010002000092号 浙B2-20120091-4
Comments
No comments yet. Why don't you start the discussion?