
Decorating a towering evergreen for the holidays often means wrestling with ladders, extension poles, or precarious climbs just to drape a few strands of lights. But what if you could illuminate your tallest tree safely—without stepping foot on a rung? This method isn’t about buying expensive tools or relying on luck. It’s a practical, tested approach that combines physics, creativity, and everyday household items to bring professional-level results from the ground up.
Whether your tree stands 20 feet in your front yard or towers over your backyard patio, this guide delivers a reliable solution for hanging lights efficiently and safely. No more unstable footing, no more back strain—just clean, even lighting that wraps your tree like magic.
The Core Principle: Use Gravity and Tension
The key to this hack lies in reversing traditional logic. Instead of starting at the base and working upward, you begin at the top—without climbing. By lowering a weighted line from above and using it to pull up light strands, you eliminate the need to reach high branches manually.
This technique is inspired by arborists and utility workers who use throw lines and weighted bags to install cables across tall trees. Adapted for holiday use, it allows precise control over light placement while keeping both feet firmly on the ground.
Step-by-Step Guide: Lighting a Tall Tree Without a Ladder
- Assess the tree and plan your route. Stand back and study the shape of the tree. Identify the highest accessible branch or point where a line can be anchored. Look for natural forks or strong limbs that can support light tension.
- Gather your materials. You’ll need:
- Christmas light strands (pre-tested and untangled)
- Lightweight rope or paracord (50–100 feet, depending on tree height)
- A small cloth bag or sock filled with rice, sand, or birdseed (1–2 lbs)
- Duct tape or zip ties
- Gloves (for grip and protection)
- Assistant (optional but helpful)
- Launch the throw line. Tie the weighted bag securely to one end of the rope. Standing directly beneath the target branch, swing the weight in an underhand arc and release it upward. Aim to drape the rope over the highest limb possible. If it doesn’t catch, reel it back and try again. A slight wrist flick increases accuracy.
- Secure the rope. Once the line is over the branch, pull it until equal lengths hang on both sides. Tie one end to a sturdy anchor point near the base—like a stake, fence post, or heavy planter—to create a vertical pulley system.
- Attach the lights to the rope. Take the free end of the rope and secure the end bulb of your first light strand using duct tape or a zip tie. Make sure the connection is firm but won’t damage the wiring.
- Pull the lights upward. Slowly pull the rope from the anchored side. As you do, the lights will ride up the opposite side, ascending the trunk and branching out naturally. Guide them gently with your hands to prevent tangling.
- Wrap as you go. Once the lights reach the top, begin lowering the strand back down along a spiral path, draping them around the outer branches. Use your hand or a long stick to tuck lights into dense areas. Repeat the process with additional strands, spacing evenly for full coverage.
- Connect and test. Once all strands are positioned, plug them in and check for dark spots or loose connections. Adjust placement as needed before finalizing.
This method works best with LED mini-lights, which are lighter and more flexible than older bulb types. For larger C7 or C9 bulbs, reinforce the attachment point and use thicker cordage to handle added weight.
Alternative Methods for Different Scenarios
Not every yard has a climbable tree structure or open space for throwing lines. Here are three variations based on environment and tree type:
1. The Pole-and-Sling Method (For Low-Clearance Trees)
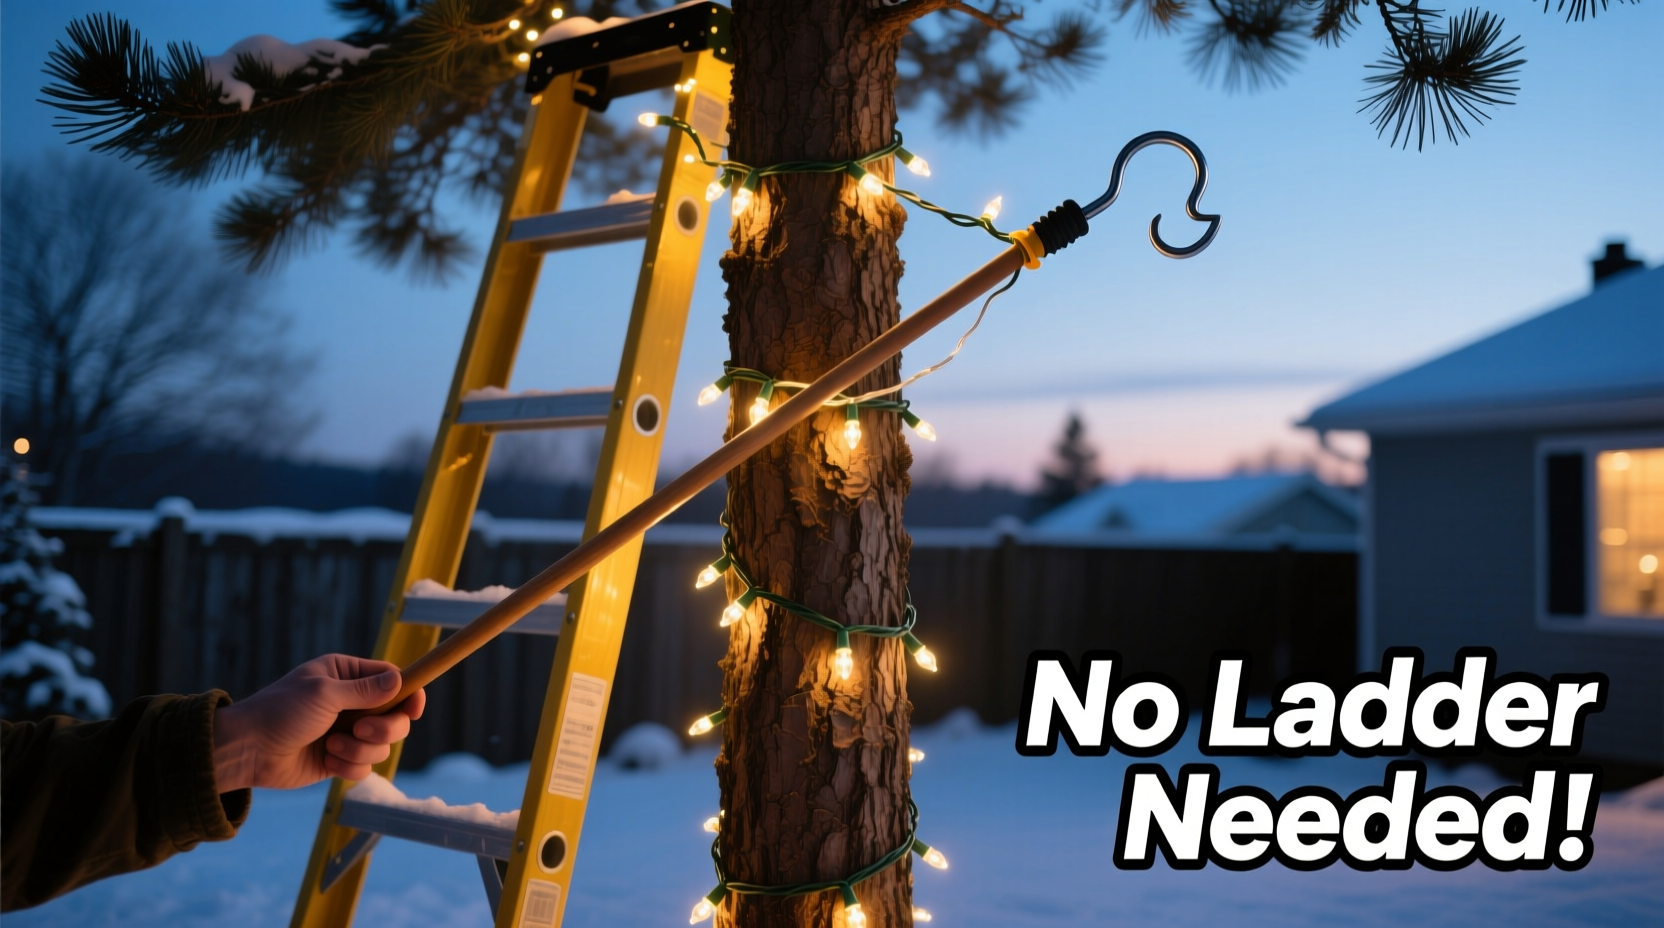
If overhead branches are too high or inaccessible, use a telescoping garden pole with a hook attachment. Attach lights to a nylon loop, slide the loop onto the pole, raise it to the desired height, then tug a drawstring to release the lights onto the branch. Works well for trees under 15 feet with dense lower foliage.
2. The Neighbor-Assisted Drop (For Urban Yards)
In tight spaces, ask a neighbor with a second-story window or balcony to assist. From above, they can drop a fishing line with a weight attached. You catch it from below, tie it to your light strand, and they pull it up and over a nearby limb. Coordinate via walkie-talkies or phone calls for smooth execution.
3. The Drone-Assisted Deployment (For Large Estates)
For property owners with access to consumer drones, attach a lightweight spool of thread to the drone and fly it over the highest branch. Lower the thread, then use it to pull progressively stronger cord until you can hoist the lights. While higher-tech, this method offers unmatched precision for massive trees.
“Using a throw-line system cuts decoration time in half and reduces injury risk significantly.” — Mark Reynolds, Professional Holiday Lighting Installer
Do’s and Don’ts: Table of Best Practices
| Do | Don’t |
|---|---|
| Use lightweight, flexible LED lights | Use heavy incandescent sets that strain branches |
| Test all strands before installation | Assume all lights work after storage |
| Work with a partner for better control | Pull lights too tightly—allow natural drape |
| Anchor ropes to immovable objects | Tie lines to flimsy furniture or railings |
| Use biodegradable weights when possible | Leave plastic or metal debris in trees |
Real Example: Lighting a 25-Foot Spruce in Suburban Denver
Tom G., a homeowner in Denver, Colorado, faced a recurring challenge each December: his blue spruce stood 25 feet tall, shading most of his front yard. Past attempts to decorate involved borrowing a ladder from his brother-in-law, which once slipped on icy soil, resulting in a sprained wrist and tangled lights.
Last year, he tried the throw-line method. Using a 75-foot paracord and a rice-filled sock, he launched the weight from his driveway. On the third try, the line caught a high fork. He anchored one end to a buried rebar stake, taped the first strand to the free end, and began pulling. Within 45 minutes, four strands spiraled from top to bottom. With help from his daughter guiding the drape pattern, the tree glowed evenly. No ladder. No injuries. And neighbors stopped to ask how he did it.
“It felt like a magic trick,” Tom said. “I spent less time than ever and actually enjoyed the process.”
Checklist: Tools and Steps for Success
Before heading outside, verify you have everything ready:
- ☐ Tested, working light strands (check fuses and connectors)
- ☐ 50–100 ft rope or paracord (bright color for visibility)
- ☐ Weighted bag or soft projectile (securely tied)
- ☐ Duct tape or reusable zip ties
- ☐ Sturdy anchor point (stake, post, or heavy object)
- ☐ Gloves for handling rope under tension
- ☐ Assistant (recommended for coordination)
- ☐ Extension cord and timer (for final connection)
- ☐ Plan for spiral or vertical light pattern
- ☐ Safety glasses (in case of snapping line)
Cross off each item as you prepare. Rushing leads to mistakes—especially when dealing with elevation and tension.
Frequently Asked Questions
Can this method work on a dead or leafless tree?
Yes, but anchoring becomes trickier without dense branches. Use multiple lower anchors or wrap the rope around the trunk at peak height. Avoid sharp edges that could fray the cord.
What if the rope gets stuck in the tree?
Stay calm. Try shaking the trunk gently to dislodge it. If that fails, attach a second weight to the free end and swing it like a pendulum to increase pull force. As a last resort, leave the rope in place over winter and retrieve it in spring when branches contract.
Are battery-powered lights suitable for this method?
Only if mounted near the top. Battery packs add bulk and weight, making them harder to hoist. For tall trees, plug-in strings with grounded extension cords offer better reliability and ease of maintenance.
Final Tips for a Flawless Display
Even with the right technique, small details make a big difference in final appearance. Start wrapping lights from the innermost part of the tree and work outward to hide wires. Maintain consistent spacing—roughly 6 to 8 inches between loops—for uniform glow. Group strands by circuit to avoid overloading outlets.
Consider using a programmable timer to automate on/off cycles. Most energy-efficient LEDs consume only 0.5 to 1 watt per set, so running them nightly adds minimal cost. And always inspect lights weekly for wind damage or animal interference.
“The best holiday displays aren’t about quantity—they’re about intention. A single, well-placed strand can evoke more joy than a hundred tangled bulbs.” — Lena Pruitt, Seasonal Design Curator
Conclusion: Decorate Smarter, Not Harder
Hanging Christmas lights on a tall tree doesn’t require strength, height, or risky climbs. With a simple rope, a bit of momentum, and strategic thinking, you can achieve a professional-quality result from the safety of the ground. This hack isn’t just convenient—it’s transformative. It turns a dreaded chore into a satisfying ritual, accessible to anyone regardless of age or mobility.
The holidays are about warmth, safety, and shared wonder. Why risk injury for a few hours of sparkle? Adopt this method, share it with friends, and reclaim your season with confidence. Your tallest tree deserves to shine—and now, it can, without costing you a single step off solid ground.


 浙公网安备
33010002000092号
浙公网安备
33010002000092号 浙B2-20120091-4
Comments
No comments yet. Why don't you start the discussion?