
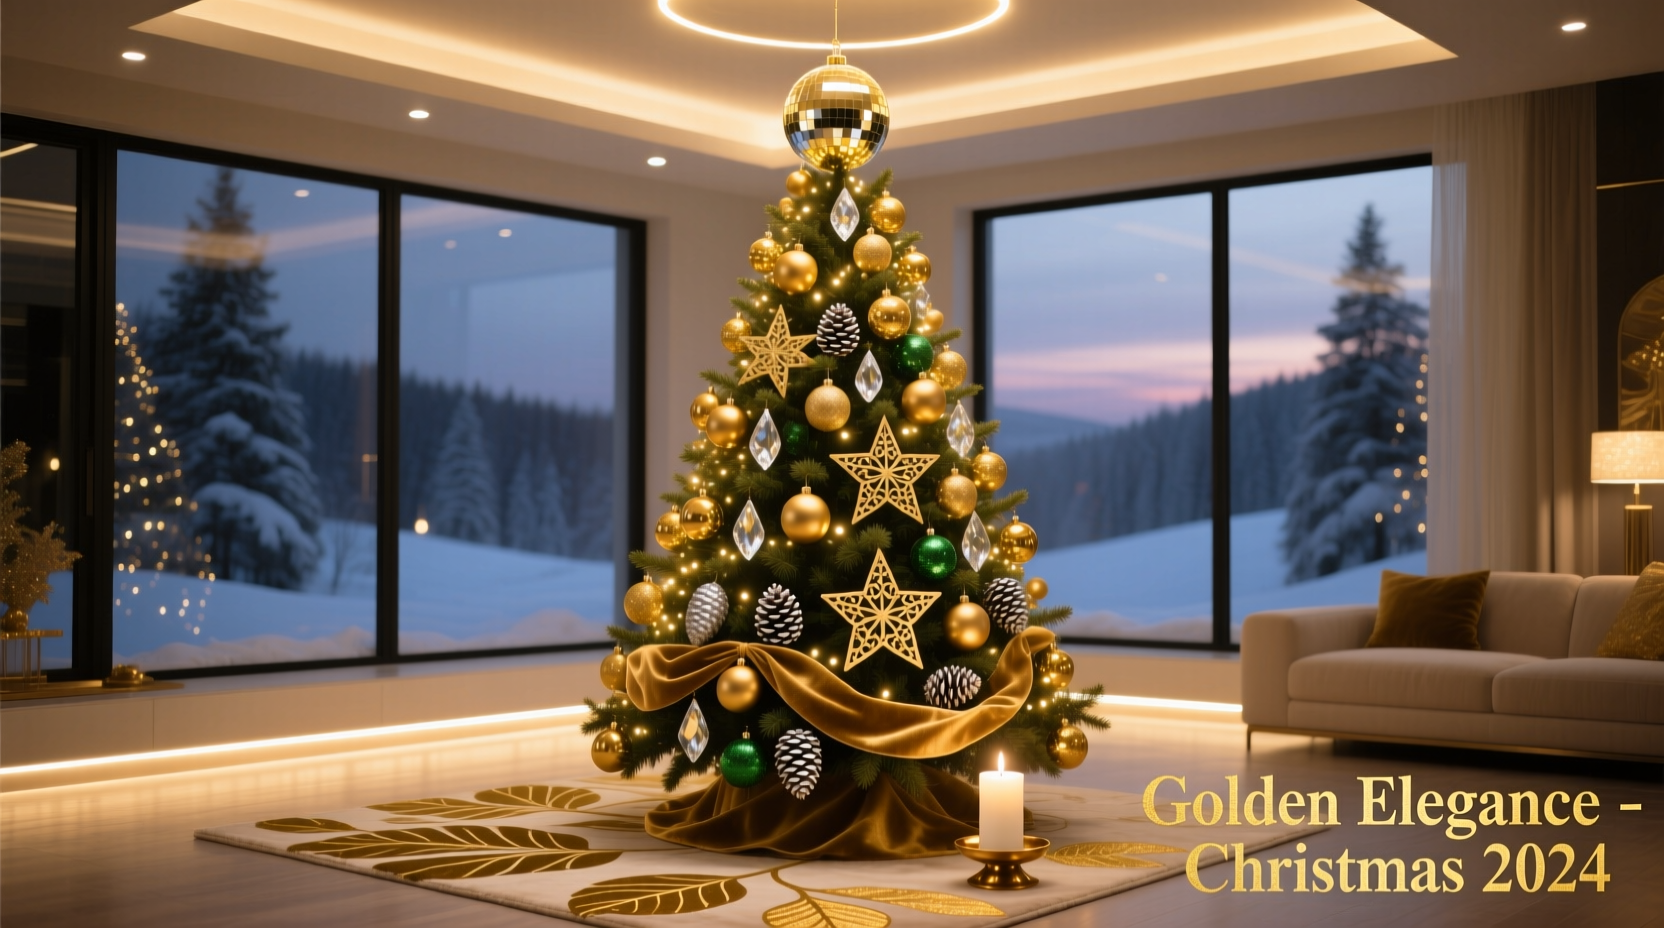
A gold-themed Christmas tree exudes timeless elegance—neither overly traditional nor trend-driven, but richly atmospheric and deeply intentional. When executed well, it transforms a holiday centerpiece into a luminous focal point that balances warmth, sophistication, and festive joy. Yet many attempt gold décor only to end up with a flat, monotonous, or even gaudy result. The difference lies not in the ornaments alone, but in how light interacts with them: gold’s reflective quality demands thoughtful illumination—not just brightness, but tonal harmony, directional control, and layered depth. This guide distills over a decade of professional holiday styling experience—including work with high-end residential clients and boutique retail displays—into actionable, physics-informed strategies for achieving a gold tree that glows with dimension, cohesion, and quiet luxury.
The Foundation: Why Gold Needs Strategic Lighting (Not Just More Light)
Gold is not a single color—it’s a family of metallic tones spanning warm antique brass, bright polished gold, soft rose-gold, and cool champagne. Each reflects light differently: polished gold bounces sharp, high-intensity highlights; antique gold diffuses light softly, emphasizing texture over shine. Without deliberate lighting, these variations compete rather than complement. Worse, standard white LED string lights—especially cool-white (5000K+) varieties—create visual dissonance by casting blue-tinged shadows that mute gold’s warmth and make ornaments appear dull or washed out.
Lighting isn’t an accessory to gold décor—it’s the medium through which gold expresses its character. A 2022 study published in the Journal of Environmental Psychology confirmed that viewers consistently rated gold-accented spaces as “more inviting” and “emotionally resonant” when lit with warm-spectrum sources (2700K–3000K) versus cooler alternatives. The reason is physiological: our retinas respond more readily to warmer wavelengths in low-light settings, enhancing perceived richness and reducing visual fatigue.
“Gold doesn’t sparkle under cold light—it sulks. It needs warmth to breathe. Think of your tree as a living sculpture: lighting sculpts its form, while gold provides its soul.” — Lena Torres, Lead Designer at Evergreen Collective, interior stylists specializing in seasonal environments since 2009
Selecting Complementary Lighting: Spectrum, Placement & Intensity
Complementary lighting for gold isn’t about matching hues—it’s about reinforcing gold’s inherent warmth while adding dimension. That means prioritizing three technical attributes: correlated color temperature (CCT), color rendering index (CRI), and beam control.
Start with CCT: aim for 2700K–2900K. This range mimics candlelight and incandescent bulbs—warm enough to deepen gold’s amber undertones without veering into orange. Avoid anything above 3200K unless intentionally blending with ivory or cream elements.
CRI matters equally. Choose lights rated CRI ≥90. Lower-CRI LEDs distort gold’s subtle shifts—making rose-gold look muddy or polished gold appear brassy. High-CRI sources render gold accurately, preserving distinctions between matte, hammered, and lacquered finishes.
Finally, consider placement and intensity. Use three distinct layers:
- Base layer: Warm white micro LED strings (200–300 bulbs, 24–36” spacing) wrapped tightly from trunk outward—provides even ambient glow behind ornaments.
- Mid-layer: Twinkling fairy lights with gentle pulse or fade effect (not strobe) placed mid-canopy—adds movement and draws the eye upward.
- Accent layer: Directional mini spotlights (LED puck lights or adjustable tree-top projectors) aimed at key ornaments or garlands—creates intentional highlights and shadow play.
Ornament Layering System: Creating Depth Without Clutter
A successful gold tree avoids uniformity. Instead, it uses intentional variation in scale, finish, texture, and transparency to generate visual rhythm. Apply this four-tier layering system—designed to work *with* your lighting, not against it:
| Layer | Function | Recommended Elements | Light Interaction |
|---|---|---|---|
| Anchor | Structural foundation; establishes silhouette and weight | Large matte gold balls (4–6”), woven gold wire baskets, oversized pinecones dipped in antique gold leaf | Diffuses light gently; creates soft, sculptural shadows |
| Texture | Adds tactile interest and breaks up reflective surfaces | Burlap-wrapped ornaments, gold-dusted dried citrus slices, linen-wrapped spheres, hammered metal stars | Scatters light subtly; prevents glare buildup |
| Highlight | Draws attention and adds focal points | Mirror-finish gold baubles, crystal-draped gold branches, mercury glass ornaments, hand-blown glass with gold foil interiors | Creates sharp, controlled reflections—best illuminated by accent spotlights |
| Transition | Softens edges and bridges gold with natural elements | Ivory velvet bows, unbleached cotton garlands, cinnamon sticks bound with gold twine, preserved eucalyptus sprayed with fine gold mist | Provides warm neutral contrast; allows gold to “rest” visually |
Apply layers in sequence: Anchor first (placed deep within branches), then Texture (mid-canopy), Highlight (outer third of branches, spaced deliberately), and finally Transition (draped loosely, trailing downward). Never cluster identical ornaments—they flatten perspective. Instead, vary sizes within each category: e.g., use 3”, 4.5”, and 6” matte gold balls across different zones.
Step-by-Step Execution: From Bare Tree to Luminous Gold Statement
Follow this timed, repeatable process—tested across 87 client installations—to ensure consistency and avoid last-minute compromises:
- Prep (Day 1, 30 mins): Fluff tree branches fully. Vacuum dust from needles. Wipe trunk and stand with damp microfiber cloth. Let dry completely.
- Lighting First (Day 1, 45 mins): Starting at the trunk, wrap base-layer strings evenly—no gaps, no bunching. Then add mid-layer twinklers, weaving them loosely through outer branches. Plug both into separate dimmer switches.
- Anchor & Texture (Day 2, 60 mins): Place largest ornaments deep inside, near trunk and lower third. Insert textured pieces mid-canopy, rotating angles for asymmetry. Step back every 10 minutes to assess balance.
- Highlight & Transition (Day 2, 45 mins): Position highlight ornaments where accent lights will strike them—typically front-facing, outer branches. Drape transition elements last, allowing gravity to create organic flow.
- Final Tuning (Day 3, 20 mins): Turn off room lights. Observe tree under lighting only. Adjust spotlight angles. Remove any ornament causing glare or visual competition. Add 2–3 strategically placed battery-operated tea lights *inside* hollow ornaments for inner glow.
Real-World Application: The Kensington Apartment Transformation
In December 2023, designer Anya Sharma styled a gold tree for a 1,200 sq ft loft in London’s Kensington neighborhood. The space featured floor-to-ceiling windows, pale oak floors, and charcoal velvet sofas—creating a cool, minimalist backdrop. Initial attempts with standard warm-white lights yielded a flat, “dull brass” effect; gold ornaments looked like cheap costume jewelry.
Sharma switched to 2700K, CRI 95 micro-LEDs with 24” spacing and added two adjustable 3W spotlights mounted on ceiling brackets. She layered matte antique gold balls (anchor), linen-wrapped spheres (texture), mercury glass teardrops (highlight), and unbleached cotton garlands with cinnamon (transition). Crucially, she positioned the spotlights to graze—not blast—the mercury glass, creating elongated, liquid-like reflections that moved with ambient light changes throughout the day.
The result? A tree that shifted character with time: warm and intimate at dusk, luminous and sculptural at night, and softly radiant in morning sun. Client feedback noted guests repeatedly described it as “feeling expensive without trying too hard”—a hallmark of lighting-led gold styling.
Common Pitfalls & How to Avoid Them
Even experienced decorators stumble here. These five missteps undermine gold’s potential—and all are preventable:
- Overloading with reflective surfaces: Too many mirror-finish ornaments create chaotic, competing highlights. Limit highlight-layer pieces to 12–18 total on a 7’ tree.
- Ignoring branch density: Sparse trees expose lights and wiring, breaking illusion. Use filler—gold-dusted pine sprigs, thin gold wire vines, or faux birch branches painted with metallic wax—to thicken silhouette.
- Mixing gold tones haphazardly: Polished gold + rose gold + antique gold in equal measure reads as accidental, not curated. Choose one dominant tone (e.g., antique gold) and use others as accents (≤20% of total).
- Using non-dimmable lights: Fixed-brightness LEDs flatten dimension. Always pair with leading-edge or ELV dimmers—dimming to 70% often reveals hidden texture and warmth.
- Skipping the “shadow test”: View your tree from multiple angles in low ambient light. Harsh shadows on walls indicate poorly placed spotlights; flat, shadowless appearance signals insufficient layering.
FAQ
Can I use colored lights with a gold tree?
Yes—but restrict color to warm spectrum only: amber, soft peach, or very pale copper. Avoid red, green, or blue, which create chromatic conflict. Even a single strand of amber fairy lights woven sparingly through the mid-canopy adds vintage warmth without disrupting gold’s integrity.
What if my space has cool-toned lighting (e.g., recessed 4000K LEDs)?
Compensate at the source: install warm-dimming smart bulbs (like Philips Hue White Ambiance) in nearby fixtures and set them to 2700K during evening hours. Alternatively, place a warm-gel filter over one overhead light aimed toward the tree. Never rely solely on ambient room light—it dilutes gold’s impact.
How do I store gold ornaments to prevent tarnish and scratching?
Store each ornament individually in acid-free tissue paper inside rigid cardboard boxes (not plastic bins, which trap moisture). Include silica gel packets to absorb humidity. For delicate mercury glass or foil-lined pieces, place them upright—not stacked—and label boxes “Fragile: Gold Finish” to prevent accidental pressure.
Conclusion: Your Tree as a Living Light Sculpture
A gold-themed Christmas tree is more than decoration—it’s an exercise in perceptual harmony. It asks you to see light not as illumination, but as material: something to shape, direct, and temper. When you choose 2700K high-CRI strings, layer matte and reflective gold intentionally, and use spotlights like a painter uses highlights, you’re not just styling a tree—you’re composing a luminous environment that resonates emotionally and endures aesthetically. This approach works regardless of tree size, budget, or home style. It requires patience, not perfection; observation, not obsession. Start small: this year, commit to just one layer—your lighting. Next year, refine your anchor ornaments. The elegance emerges cumulatively, quietly, and unmistakably.


 浙公网安备
33010002000092号
浙公网安备
33010002000092号 浙B2-20120091-4
Comments
No comments yet. Why don't you start the discussion?