
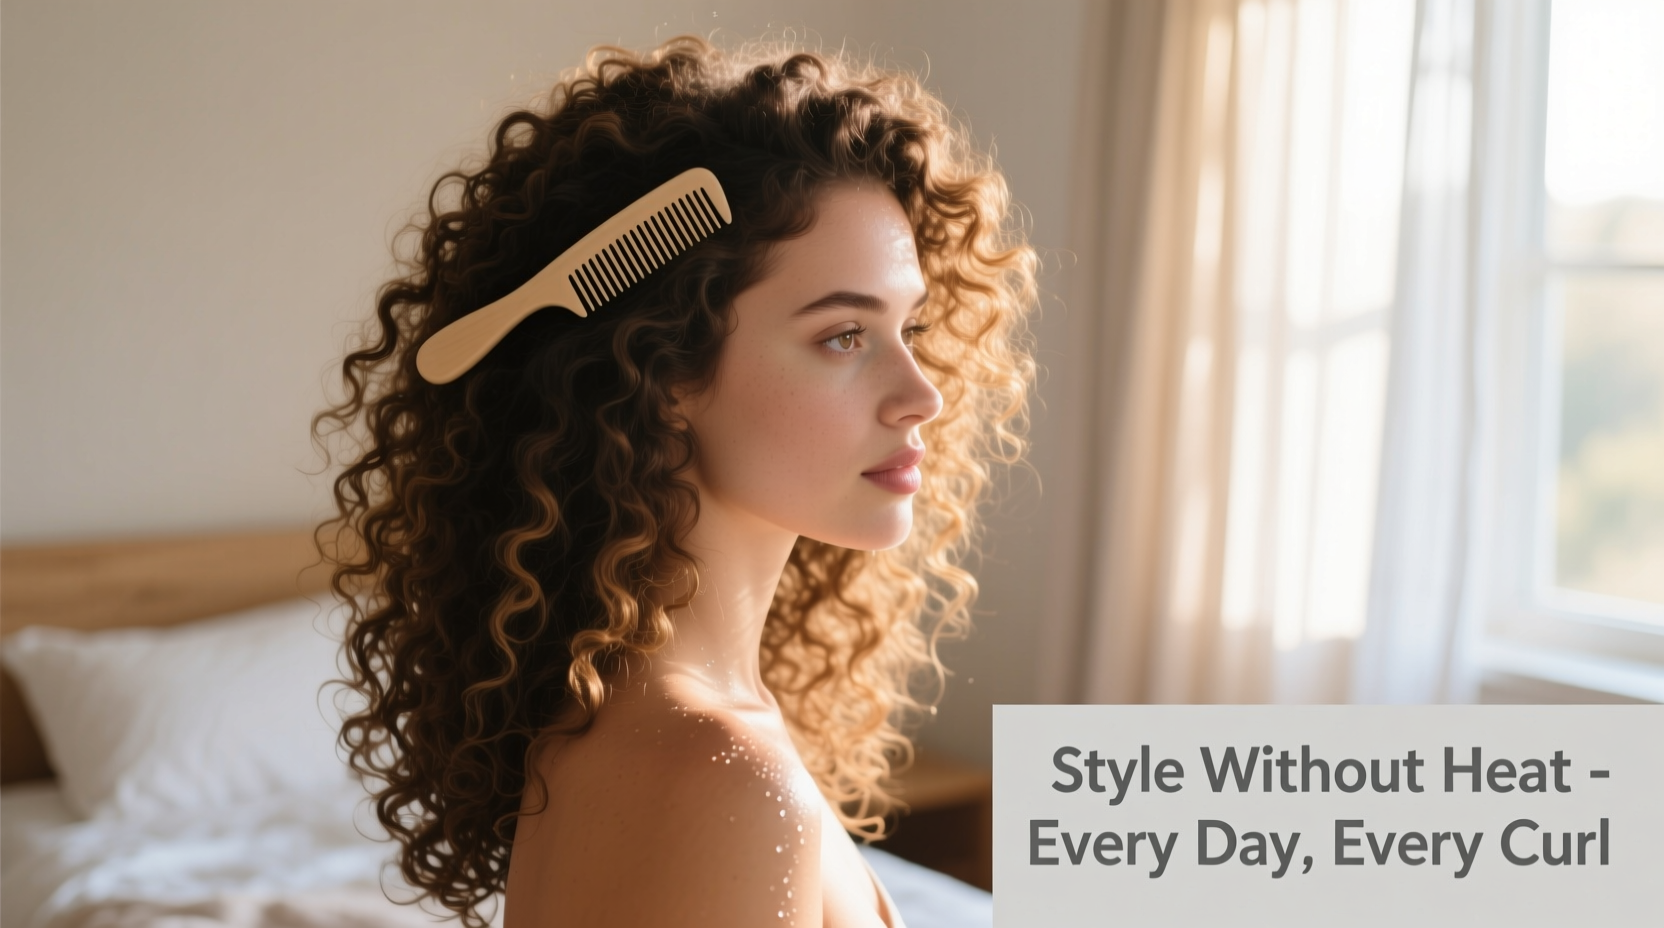
Curly hair is naturally expressive, full of movement, and uniquely beautiful—but achieving consistent definition without relying on heat tools can feel like a mystery to many. Flat irons and curling wands may offer temporary shape, but they come at the cost of long-term damage, dryness, and frizz. The good news? You don’t need heat to get bouncy, defined waves. With the right techniques, products, and timing, you can enhance your natural pattern while keeping your curls healthy, hydrated, and resilient.
The key lies in understanding your curl type, working with your hair’s natural rhythm, and adopting methods that support moisture retention and clumping. This guide breaks down exactly how to achieve polished, defined waves—no blow dryer, diffuser, or straightener required.
Understanding Your Curl Pattern
Curl patterns vary widely, from loose waves (Type 2) to tight coils (Type 4), and each responds differently to styling techniques. Knowing your hair type helps you choose the best products and methods for definition. Here’s a quick breakdown:
- Type 2 (Wavy): S-shaped, tends to fall flat easily. Needs lightweight products to avoid weighing down strands.
- Type 3 (Curly): Springy ringlets or corkscrews. Responds well to medium-hold gels and creams.
- Type 4 (Coily/Kinky): Tightly coiled or zig-zag patterns. Requires heavier moisturizers and sealing oils to retain hydration.
Regardless of your type, the goal is to encourage clumping—where individual curls group together into smooth, uniform spirals. Clumping reduces frizz and increases definition. Heat-free styling supports this by minimizing disruption to the hair’s cuticle and preserving natural oils.
Step-by-Step Guide: Heat-Free Styling Routine for Defined Waves
Follow this detailed routine to consistently achieve defined, frizz-free waves without exposing your hair to damaging heat.
- Start with damp, freshly washed hair. Wash with a sulfate-free shampoo and follow with a rich conditioner. Use the “co-wash” method (conditioner-only wash) between shampoos if your scalp isn’t oily. Rinse thoroughly with cool water to seal the cuticle.
- Apply leave-in conditioner. While hair is still soaking wet, distribute a generous amount of leave-in conditioner from roots to ends. Focus on mid-lengths and ends, which are typically drier. Use a wide-tooth comb or your fingers to detangle gently.
- Add a curl-defining cream. Choose a non-greasy, water-based cream suited to your curl type. Emulsify a small amount in your palms and scrunch it upward into the hair to encourage curl formation.
- Layer with a light gel. For hold and shine, apply a flaxseed-based or flexible-hold gel. The “praying hands” method works best: glide product down sections of hair without disturbing the curl pattern. Avoid rubbing, which causes frizz.
- Scrunch out excess moisture. Once fully saturated with product, gently scrunch upward with a microfiber towel or cotton T-shirt. Do not rub or twist—this disrupts clumping.
- Plop or air-dry in place. Wrap hair in a microfiber towel or cotton T-shirt for 15–20 minutes to absorb water without friction. Then let hair dry completely undisturbed. Resist the urge to touch!
- Refresh next-day curls. On day two or three, revive waves with a spritz of water mixed with a drop of leave-in conditioner. Gently scrunch to reactivate product and restore shape.
This process may take longer than heat styling, but the payoff is healthier hair with more bounce and less reliance on artificial shaping.
Essential Products for Heat-Free Definition
Not all curl products are created equal. Choosing the right ones makes a dramatic difference in wave definition and longevity. Look for ingredients that hydrate, define, and protect—without buildup.
| Product Type | Purpose | Recommended Ingredients | Avoid |
|---|---|---|---|
| Leave-in Conditioner | Hydration & detangling | Aloe vera, shea butter, glycerin | Mineral oil, silicones (dimethicone) |
| Curl Cream | Definition & softness | Jojoba oil, honey, plant-based butters | Alcohol denat, parabens |
| Styling Gel | Hold & frizz control | Flaxseed, marshmallow root, pectin | Synthetic polymers, drying alcohols |
| Oil or Sealant | Lock in moisture | Argan oil, jojoba oil, grapeseed oil | Heavy petroleum-based oils |
Always layer products from lightest to heaviest: liquid (leave-in), cream, then gel. This ensures even absorption and prevents pilling or flaking.
“Healthy curls start with hydration, not manipulation. The less you disturb the hair during drying, the better the definition.” — Dr. Lila Chen, Trichologist & Hair Scientist
Real Example: Transforming Frizzy Curls into Defined Waves
Maria, a 29-year-old teacher with Type 3B curls, used to straighten her hair almost daily to manage frizz and “unruly” texture. After months of heat exposure, her hair became brittle, lost elasticity, and struggled to hold any natural shape—even when air-dried.
She decided to go heat-free for 8 weeks. Following the step-by-step routine above, she switched to sulfate-free products, incorporated a flaxseed gel, and committed to plopping and scrunching. Within three washes, her curls began to reform with tighter clumps and noticeable shine. By week six, she no longer experienced shrinkage or halo frizz. Her coworkers started commenting on her “new haircut,” unaware it was just her natural texture finally being nurtured—not flattened.
Maria now styles her hair in under 30 minutes without heat and maintains defined waves for up to four days with simple refreshing. Her hair is stronger, grows faster, and feels thicker—all because she stopped fighting its natural pattern.
Do’s and Don’ts of Heat-Free Styling
Avoid common pitfalls that sabotage definition and lead to frustration. Follow this checklist to stay on track.
| Do’s | Don’ts |
|---|---|
| Use a microfiber towel or cotton shirt to dry | Use regular terrycloth towels (they cause frizz) |
| Apply products to soaking wet hair | Style on dry or partially dry hair without reactivating |
| Scrunch upward to encourage curl formation | Rub or twist hair with hands or fabric |
| Allow hair to dry completely before touching | Peek, fluff, or adjust curls mid-dry |
| Refresh with water + leave-in mix | Overuse dry shampoo or powders (they dull curls) |
FAQ: Common Questions About Heat-Free Curl Styling
Can I get defined waves without using gel?
Yes, but gel plays a crucial role in setting the curl pattern and reducing frizz. If you dislike traditional gels, try a mousse or custard made with natural thickeners like aloe or flax. These offer lighter hold with less stiffness.
How do I prevent my waves from falling flat?
Flat waves often result from product buildup, insufficient hydration, or gravity during drying. Try “pineappling”—gathering hair loosely on top of your head with a silk scrunchie while sleeping. Also, ensure you’re using enough defining product and not skipping the gel layer.
Is it okay to brush curly hair when dry?
No. Brushing dry curly hair breaks up clumps and creates frizz. If you must detangle, do so only when hair is wet and coated with conditioner. Use your fingers or a wide-tooth comb, starting from the ends and working up slowly.
Checklist: Your Heat-Free Curl Success Plan
Follow this actionable checklist every wash day to lock in definition and skip the heat:
- ✅ Wash with sulfate-free shampoo or co-wash
- ✅ Deep condition weekly
- ✅ Apply leave-in conditioner to sopping wet hair
- ✅ Layer with curl cream and flexible-hold gel
- ✅ Plop with a microfiber towel for 15–20 minutes
- ✅ Air-dry completely without touching
- ✅ Refresh day-two curls with water + leave-in spray
- ✅ Sleep on a silk pillowcase or use a satin bonnet
Conclusion: Embrace Your Natural Shape
Defined waves aren’t the result of perfect technique alone—they’re a reflection of consistent care and respect for your hair’s natural behavior. By eliminating heat, you give your curls space to thrive, regain strength, and express their true form. What might seem like a styling challenge is actually an opportunity to build a deeper relationship with your hair.
Start tonight: lay down the flat iron, gather your curl-safe products, and commit to one heat-free wash cycle. Notice how your hair feels—softer, springier, more alive. Over time, those defined waves won’t just appear “every time”—they’ll become your norm.


 浙公网安备
33010002000092号
浙公网安备
33010002000092号 浙B2-20120091-4
Comments
No comments yet. Why don't you start the discussion?