
Every year, more homeowners turn their front yards into dazzling spectacles of synchronized light and sound. While professional-grade light shows can cost thousands, you don’t need a commercial budget to create a memorable display. With the right tools and a bit of know-how, you can sync your Christmas lights to music using affordable, widely available technology. Whether you're aiming for a simple flicker effect or full RGB color choreography, this guide walks through everything you need—from hardware and software to setup and troubleshooting.
Why Sync Lights with Music?
Synchronized light displays elevate holiday decor from static decoration to dynamic performance. When lights pulse, flash, and shift in time with music, they capture attention and evoke emotion. Studies show that multi-sensory experiences—especially those combining rhythm and visual cues—are more engaging and memorable. For homeowners, a synced display can become a neighborhood attraction, drawing visitors and spreading seasonal cheer.
The good news is that modern DIY solutions have made synchronization accessible. What once required custom circuits and programming expertise can now be achieved with plug-and-play devices and free software. The key is understanding how to match low-cost components with effective control strategies.
Essential Components for a Budget-Friendly Setup
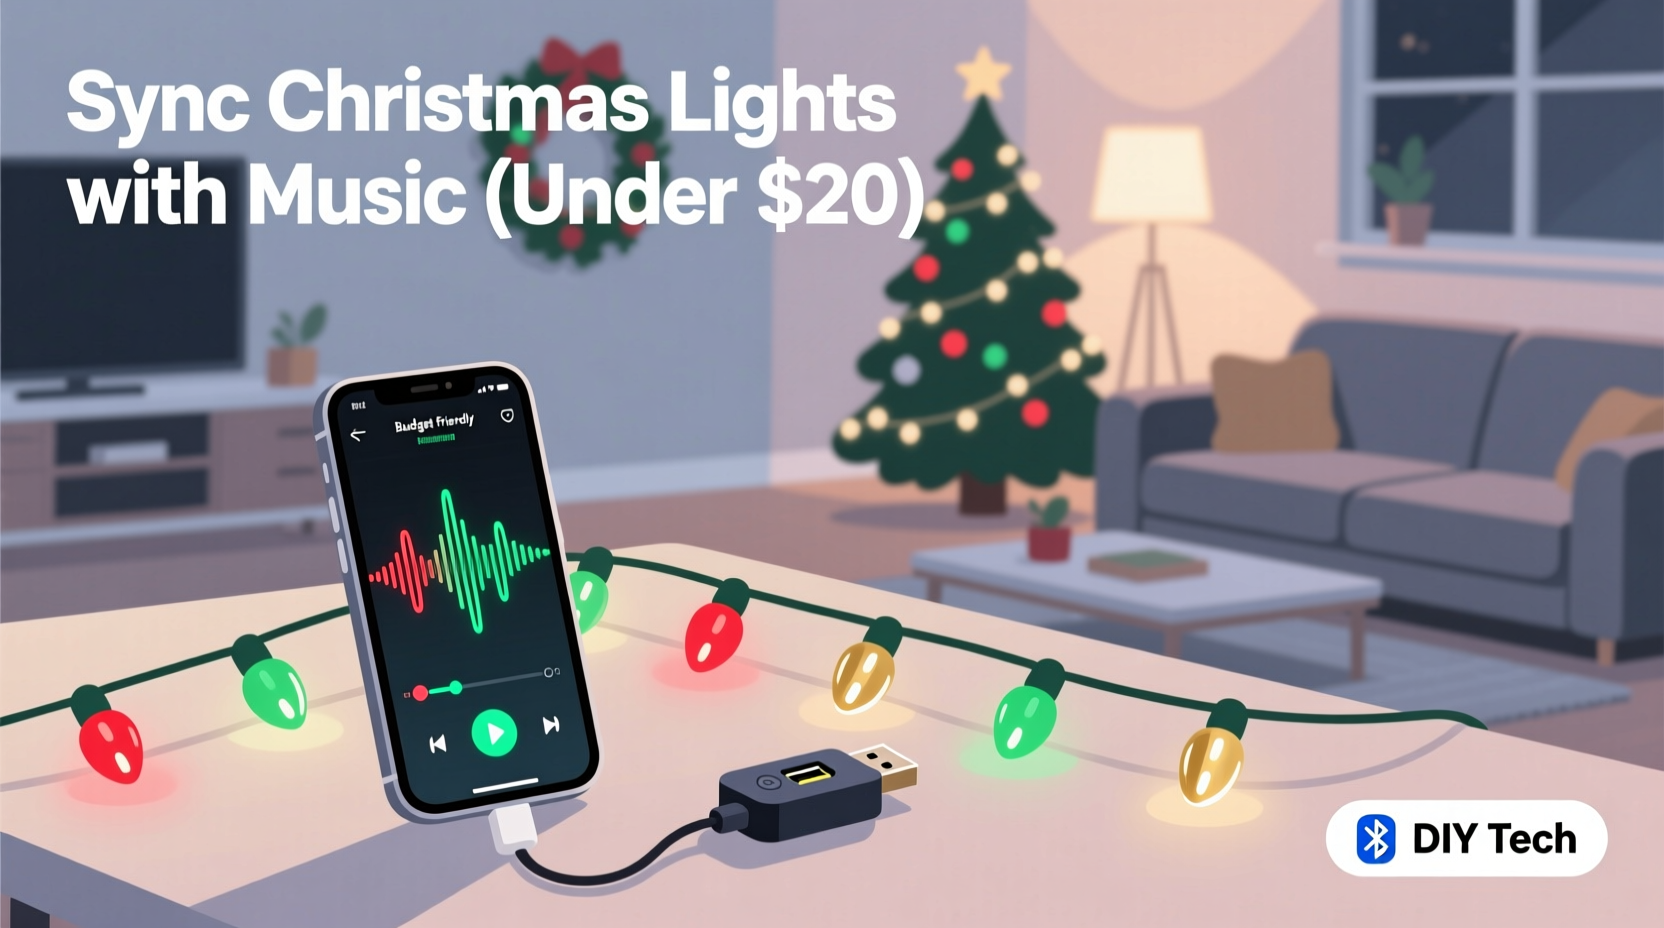
A music-synced light system relies on three core elements: lighting hardware, control electronics, and audio-reactive software. Each must work together seamlessly. Below is a breakdown of what you’ll need—and where to save without sacrificing quality.
| Component | Affordable Option | Purpose |
|---|---|---|
| Lights | WS2812B (NeoPixel) strips or strings | Individually addressable LEDs for precise color and timing control |
| Controller | ESP8266 (NodeMCU) or ESP32 | Wi-Fi-enabled microcontroller to receive commands and drive lights |
| Power Supply | 5V or 12V DC adapter (based on LED specs) | Stable power delivery to prevent flickering or burnout |
| Software | XLights (free), Falcon Player (free), or WLED (open-source) | Design sequences, analyze music, and transmit data to controllers |
| Audio Source | Smartphone, laptop, or Bluetooth speaker | Play music during live shows or recordings |
Most of these parts are readily available online, with complete kits starting under $100. You can scale up by adding more controllers and lights as needed. The total cost depends on the size of your display, but even large setups rarely exceed $300 if sourced wisely.
Step-by-Step Guide to Synchronization
Creating a synchronized display involves planning, assembly, programming, and testing. Follow this timeline to ensure success before the first snowfall.
- Plan Your Layout: Sketch where lights will go—roofline, trees, porch rails. Group them into logical channels (e.g., “front roof,” “tree top”). This helps organize control signals later.
- Assemble Hardware: Connect your LED strips to the NodeMCU or ESP32. Use soldered joints or JST connectors for reliability. Power each segment appropriately; never daisy-chain too many LEDs without additional power injection.
- Install Software: Flash WLED or ESPixelStick firmware onto your microcontroller. These open-source platforms support music synchronization via UDP packets or real-time audio analysis.
- Set Up XLights (Free): Download and install XLights on a Windows or Linux machine. It’s the most powerful free tool for sequencing lights to music. Import your layout, assign channels, and calibrate pixel counts.
- Create Sequences: Load a song into XLights. Use beat detection to auto-generate flashes, fades, and chases. Manually tweak effects to match lyrics or instrument swells for maximum impact.
- Test Wirelessly: Connect your ESP device to your home Wi-Fi. In XLights, set the output protocol (e.g., E1.31/sACN) and send test patterns. Confirm all pixels respond correctly.
- Add Audio Reactivity: Enable “Live Mode” in XLights or use WLED’s built-in microphone feature. Now, when music plays, lights react in real time based on volume and frequency.
- Deploy Outdoors: Seal electronics in weatherproof enclosures. Use GFCI-protected outlets. Test the full sequence at night to evaluate visibility and timing.
This process typically takes 10–20 hours for a medium-sized display, depending on experience. First-timers should start small—just one channel on the roof—to master the workflow before expanding.
Real Example: A Suburban Family’s First Light Show
The Rivera family in Portland, Oregon, wanted to bring holiday joy to their street after two quiet pandemic seasons. With a budget of $150, they built a 3-minute synchronized display featuring Mariah Carey’s “All I Want for Christmas Is You.”
They began by outlining their roof and porch with two 5-meter WS2812B strips ($30 total). An ESP32 ($8) acted as the controller, powered by a 5V/10A supply ($20). Using an old laptop, they installed XLights and spent weekends learning the interface. After analyzing the song’s tempo and vocal peaks, they programmed color waves that surged with the chorus and dimmed during verses.
On December 1st, they debuted the show. Neighbors gathered, children danced, and local news featured them in a “Community Cheer” segment. Total build time: 18 hours. Cost: $147. Their secret? Starting simple and focusing on one strong musical moment—the final chorus—with a full white strobe that lit up the entire house.
“Even modest setups can make a big emotional impact when the lights move with the music. Timing is everything.” — Daniel Park, DIY Holiday Lighting Instructor, TechFest Northwest
Optimizing Performance on a Budget
Low cost doesn’t mean low quality—if you optimize smartly. Here are proven strategies to get the most out of every dollar.
- Use Existing Devices: Run XLights on an old computer or Raspberry Pi. Many libraries offer free access to equipment.
- Leverage Free Software: XLights, WLED, and Vixen Lights are open-source and regularly updated. Avoid paid alternatives unless you need advanced features like 3D modeling.
- Limit Channels Initially: More channels mean more complexity. Start with 2–4 zones and expand next year.
- Reuse Year-Round: Store lights carefully and reprogram new songs annually. A single setup can last 5+ years with proper care.
- Sync Without Internet: Once programmed, many systems run standalone. Use SD cards or internal memory to play sequences without a live PC connection.
Checklist: Pre-Launch Verification
Before going public with your display, verify the following:
- All LEDs are securely mounted and protected from moisture.
- Power supplies deliver correct voltage; no overheating observed.
- Each light channel responds accurately to test signals.
- Music and lights are perfectly timed (check intro, chorus, finale).
- Wi-Fi signal reaches all controllers without dropouts.
- Audio source plays clearly and starts automatically if looping.
- Safety measures are in place: grounded outlets, trip-free cords, visible signage.
- Neighbor notifications sent—especially if using external speakers.
Crossing off each item reduces the risk of technical failure during peak viewing times. Perform a full run-through at least three times before launch.
Common Pitfalls and How to Avoid Them
Even experienced builders encounter issues. Knowing what to watch for saves time and frustration.
- Lag Between Audio and Lights: Caused by processing delay or weak Wi-Fi. Solution: Use wired Ethernet to a router near the display or reduce the number of hops between devices.
- Color Drift or Flickering: Often due to insufficient power. Inject power at both ends of long strips and avoid exceeding 60 LEDs per 5V meter without boosters.
- Sync Failure Mid-Show: May stem from buffer overflow. Reduce the number of simultaneous effects or upgrade to ESP32 for better memory handling.
- No Sound Outside: Indoor speakers won’t carry far. Use a weather-resistant Bluetooth speaker placed outside, or pre-record audio to play locally.
Always keep spare fuses, connectors, and a multimeter on hand. Quick fixes preserve the magic when things go wrong.
Frequently Asked Questions
Can I sync lights without a computer running all night?
Yes. Once sequences are created in XLights, you can export them to a standalone player like Falcon Player or use WLED with preset effects triggered by schedules or sensors. Some users store sequences on microSD cards embedded in the controller.
Do I need coding skills to get started?
No. Modern tools like WLED and XLights use graphical interfaces. You drag and drop effects, adjust timing visually, and rely on automated beat detection. No programming required for basic setups.
Is it safe to run these systems outdoors?
Yes, if done properly. Use outdoor-rated cables, seal all electronics in IP65+ enclosures, and connect to GFCI outlets. Never leave high-voltage modifications to DIY—stick to low-voltage DC systems (5V/12V) for safety.
Conclusion: Turn Your Home into a Holiday Stage
Synchronizing Christmas lights with music used to be a feat reserved for theme parks and professionals. Today, anyone with a $10 microcontroller and free software can create a show that rivals commercial displays. The combination of accessible hardware, intuitive tools, and vibrant online communities has democratized holiday magic.
You don’t need perfection to inspire wonder. A simple, well-timed blink in rhythm with “Jingle Bell Rock” can spark joy just as deeply as a thousand-pixel animation. Start small, learn the basics, and let your creativity grow with each season. With affordable tech at your fingertips, the only limit is imagination.


 浙公网安备
33010002000092号
浙公网安备
33010002000092号 浙B2-20120091-4
Comments
No comments yet. Why don't you start the discussion?