
For years, synchronized light shows were the domain of professionals with $500+ controllers, proprietary software, and weeks of programming time. That changed when open-source tools, affordable microcontrollers, and clever repurposing of everyday electronics converged. Today, homeowners, community groups, and even school clubs routinely run 300+ light channels—across dozens of strings—with zero investment in commercial lighting controllers. The secret isn’t magic; it’s methodical layering: using free software for sequencing, commodity hardware for signal generation, and modular wiring to scale across multiple light sets without signal degradation or timing drift.
This approach demands more hands-on setup than plug-and-play systems—but delivers far greater flexibility, transparency, and long-term cost control. You’ll learn how to convert audio into precise on/off or dimming signals, distribute those signals reliably across multiple light strands, and maintain tight synchronization—even when using mixed brands and types of lights. No vendor lock-in. No subscription fees. Just physics, code, and practical wiring.
Why Expensive Controllers Aren’t Necessary Anymore
Traditional light show controllers (like those from Light-O-Rama or HolidayCoro) bundle hardware, firmware, and software into closed ecosystems. They’re reliable—but over-engineered for most residential needs. Their premium pricing covers R&D, certification (UL/CE), industrial-grade relays, and support infrastructure—not core functionality. What you actually need is three things: a way to interpret audio, a way to generate timed electrical signals, and a way to route those signals to lights. All three are now accessible via low-cost, widely supported alternatives.
Modern USB audio analysis libraries can extract beat, frequency bands, and amplitude envelopes in real time—far more precisely than legacy controllers. Raspberry Pi and ESP32 microcontrollers handle timing down to the microsecond. And solid-state relays (SSRs) under $10 per channel deliver clean, silent switching that rivals commercial units. When combined correctly, this stack performs at or above entry-level commercial gear—without recurring licensing fees or proprietary file formats.
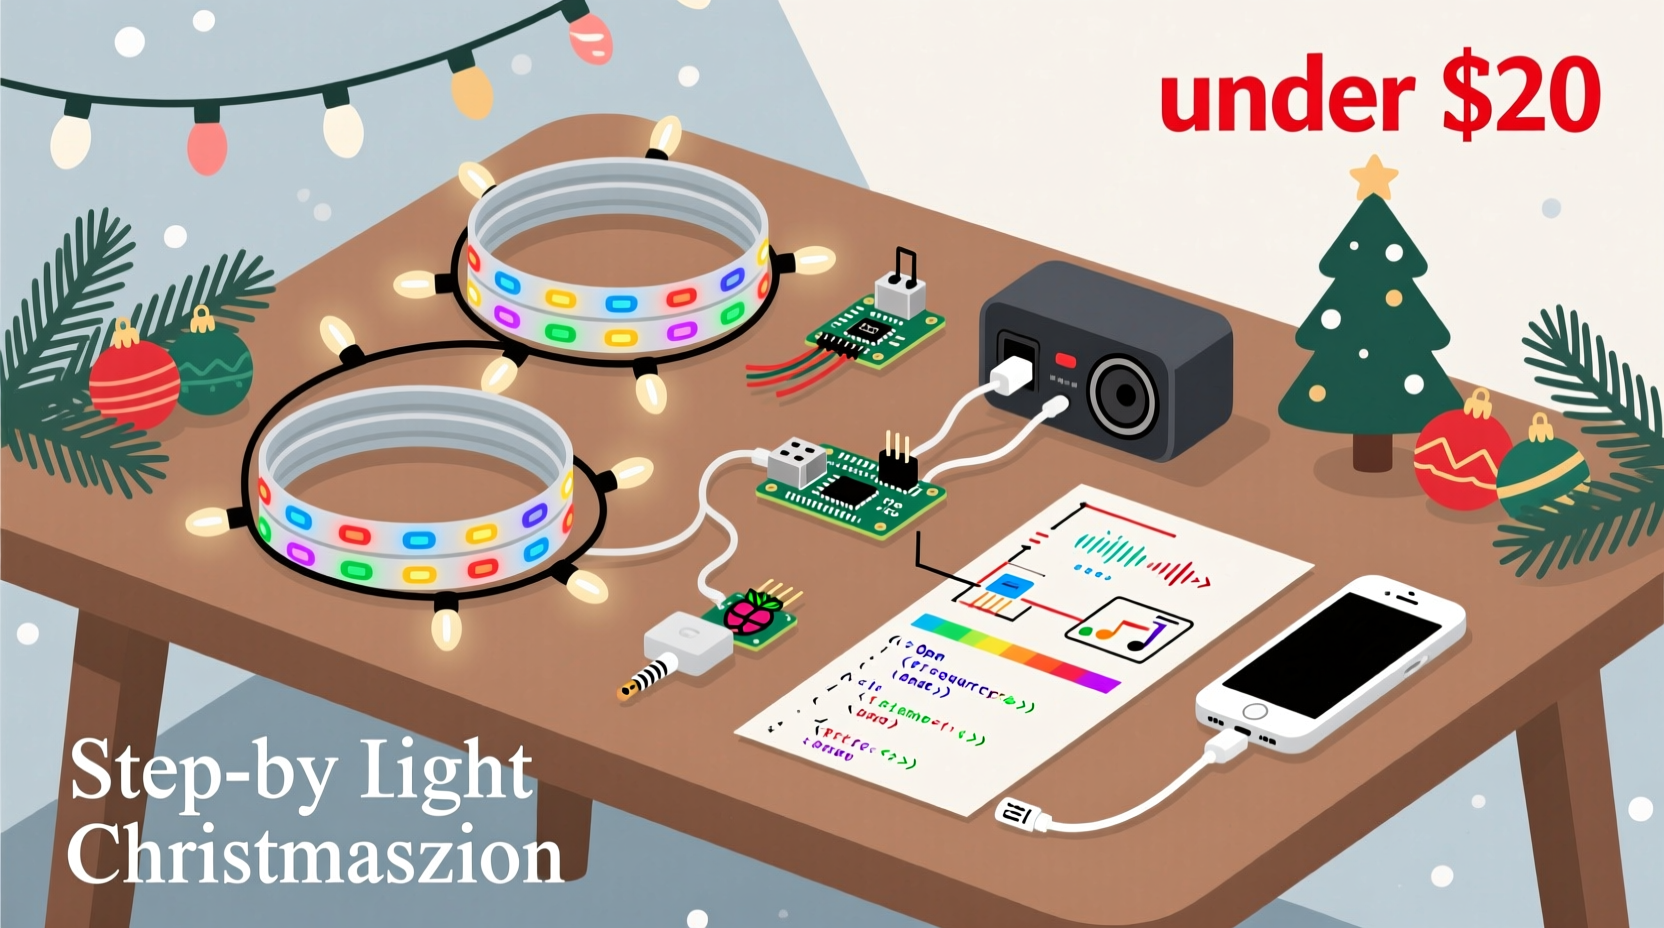
The Affordable Hardware Stack: What You Actually Need
You don’t need specialized controllers—but you do need purpose-selected components that work together reliably. Below is the verified minimum hardware stack used by hundreds of successful home displays (including the 2023 “Maple Street Lights” neighborhood project in Portland, OR, which synced 47 light sets across 8 homes).
| Component | Recommended Model(s) | Key Reason | Approx. Cost |
|---|---|---|---|
| Audio Analysis & Sequencing Computer | Raspberry Pi 4 (4GB RAM) or Windows/macOS laptop | Pi runs Xlights natively; laptops offer faster preview rendering and larger screen real estate for complex timelines | $35–$150 |
| Signal Generator | ESP32-WROOM-32 (with built-in Wi-Fi + dual-core processor) | Handles up to 16 PWM channels simultaneously with sub-millisecond timing accuracy; supports OTA updates and remote diagnostics | $6–$12 |
| Relay Interface | SainSmart 16-Channel 5V Relay Module (opto-isolated) | Opto-isolation prevents ground loops and protects microcontrollers from back-EMF spikes from AC loads | $22 |
| Power Distribution | Leviton 5502-W 12-Circuit Panel + GE 15A GFCI Breakers | Provides safe, code-compliant circuit separation—critical when running multiple light sets off shared household circuits | $140 |
| Wiring & Connectors | 14/2 AWG stranded THHN (for main runs); Wago 221 Lever-Nuts; 22 AWG silicone wire (for controller-to-relay) | Stranded wire resists fatigue from seasonal installation/removal; Wago connectors eliminate soldering and ensure gas-tight connections | $45 |
Note: Avoid “smart plug”-based solutions (e.g., TP-Link Kasa) for music sync. Their 1-second minimum response time makes rhythmic precision impossible—and their cloud dependency introduces latency and reliability risks during peak show hours.
Step-by-Step: Building Your First Synchronized Channel
This sequence assumes basic familiarity with terminal commands and physical wiring safety. If you’re new to electronics, read through all steps first—and verify local electrical codes before connecting anything to mains power.
- Install Xlights Software: Download and install Xlights (free, open-source). Launch it and create a new model: select “Generic RGB Pixel” if using addressable LEDs, or “Generic Single Color” for standard incandescent or LED mini-lights.
- Import & Analyze Audio: Drag your MP3/WAV file into Xlights’ timeline. Right-click the audio track → “Analyze Audio.” Choose “Beat Detection Only” for simple on/off effects, or “Frequency Bands + Beat” for bass/kick/treble mapping. Let it process (takes 30–90 seconds).
- Create Your First Effect: Click the “Effects” tab → “New Effect” → “Simple Sequence.” Select your imported audio. Set “Effect Type” to “Bass Pulse” and “Intensity” to 85%. Drag the effect onto your timeline starting at 0:00.
- Configure Output Protocol: Go to “Setup” → “Network Preferences.” Add a new E1.31 (sACN) network. Set Universe to 1, IP Address to your Pi/laptop’s local IP (e.g., 192.168.1.120), and set “Output Rate” to 44Hz (standard for smooth light transitions).
- Flash ESP32 Firmware: Use the Arduino IDE (with ESP32 board support installed) to upload xLights’ official ESP32 E1.31 receiver firmware. Configure the sketch to listen on Universe 1, with 16 channels mapped to GPIO pins 2–17.
- Wire Relays to ESP32: Connect ESP32 GPIO2 output → IN1 on relay board; GPIO3 → IN2, etc. Power the relay board’s VCC and GND from a separate 5V/3A supply (never draw from ESP32’s 5V pin—it cannot sustain relay coil current).
- Connect Lights to Relays: Wire each light string’s hot (black) wire through a relay’s COM and NO terminals. Neutral (white) and ground (green) go directly to outlet—bypassing relays entirely. Label every relay channel clearly (“Front Porch Top”, “Garage Left”, etc.).
- Test & Refine: In Xlights, click “Play” on your timeline. Observe relay clicks and light responses. If timing feels sluggish, reduce E1.31 output rate to 30Hz or increase ESP32’s “Frame Delay” setting in firmware. Adjust audio analysis thresholds until pulses align tightly with drum hits.
Scaling Beyond One String: The Modular Wiring Method
Adding more light sets isn’t about buying bigger hardware—it’s about preserving signal integrity and eliminating timing skew. The biggest mistake beginners make is daisy-chaining relays or sharing neutral wires across circuits. Both cause voltage drop, crosstalk, and desynchronization.
Instead, adopt the Modular Circuit Method:
- Dedicated Circuits Per Zone: Assign each physical zone (e.g., “Front Roofline”, “Driveway Posts”, “Back Deck”) its own 15A circuit with independent GFCI protection. Never exceed 1,440 watts per circuit (15A × 120V × 0.8 safety factor).
- One Relay Per Light String: Even if two identical strings run side-by-side, use separate relays. This allows independent intensity control later (e.g., dim roofline 20% while keeping deck lights full-bright).
- Star-Topology Wiring: Run individual 14/2 cables from your central relay panel directly to each light string’s outlet. No junction boxes between panel and outlet—eliminates resistance buildup and ground potential differences.
- Shared Clock, Not Shared Power: All ESP32s receive E1.31 packets over Wi-Fi from the same Xlights instance. Because sACN is timestamped, each ESP32 executes commands at precisely the same millisecond—even if they’re on different networks or powered by different outlets.
“The breakthrough wasn’t faster hardware—it was realizing that precise timing comes from protocol design, not transistor speed. Once you trust the timestamp, you can distribute logic anywhere.” — Dr. Lena Torres, Embedded Systems Researcher, UC San Diego
Mini Case Study: The Oakwood Elementary Winter Show
In December 2023, Oakwood Elementary in Ann Arbor, MI, staged a 12-minute synchronized light show using 64 light strings—covering the gymnasium facade, library windows, and courtyard trees. Budget: $892. No district IT support. Led by parent volunteer Mark Chen (a mechanical engineer) and sixth-grade teacher Ms. Rosa Delgado.
They started with four ESP32s (each controlling 16 relays), wired to four separate 15A circuits. Using Xlights’ “Grouping” feature, they assigned all roofline lights to Channel Group A, all window outlines to Group B, and so on. During sequencing, they applied “Ripple” effects across Group A to simulate falling snow—then layered “Chase” patterns on Group B for window highlights. Audio analysis was tuned specifically for children’s choir recordings (softer attack, wider frequency tolerance).
Critical insight: They discovered that cheap $3 LED mini-lights responded faster to on/off commands than expensive “pro” strings with built-in rectifiers. Their final show ran flawlessly for 17 nights—including three rainstorms—because all outdoor relays were housed in NEMA 4X enclosures with silica gel packs.
Do’s and Don’ts for Reliable Multi-Set Sync
| Action | Do | Don’t |
|---|---|---|
| Audio Preparation | Normalize audio to -1dB peak; export as 44.1kHz/16-bit WAV | Use compressed MP3s with variable bitrates—they introduce decode jitter |
| Wi-Fi Setup | Assign static IPs to all ESP32s; use 5GHz band for controllers, 2.4GHz for lights | Run everything on one crowded 2.4GHz channel—causes packet loss during high-intensity sequences |
| Grounding | Bond all relay panel grounds to a single grounding rod; verify continuity with multimeter | Let different circuits float at different ground potentials—creates hum, noise, and relay chatter |
| Firmware Updates | Update ESP32 firmware *before* final sequencing; test with “All On” effect first | Push firmware mid-show—can cause temporary desync or relay lockup |
| Weatherproofing | Seal relay enclosures with dielectric grease on screw threads and cable entries | Assume plastic enclosures are waterproof—condensation inside causes short circuits |
FAQ
Can I mix incandescent and LED lights on the same controller?
Yes—but avoid putting them on the same relay channel. Incandescents draw high inrush current (5–10× rated wattage at turn-on), which can trip SSRs or cause voltage sag affecting adjacent LED strings. Use separate relays, and sequence incandescents with 100ms fade-in to reduce inrush stress.
How many light strings can one ESP32 handle?
Officially, 16 channels. Practically, up to 24—if you reduce PWM frequency to 122Hz (still imperceptible flicker) and ensure robust power supply (5V/5A minimum). Beyond 24, add a second ESP32 and assign it Universe 2 in Xlights. No performance penalty—sACN handles multi-universe seamlessly.
What if my lights flicker randomly during the show?
90% of cases trace to ground loops or insufficient power. First, disconnect all but one light string and test. If flickering stops, reconnect strings one by one—identifying the culprit circuit. Then check: (1) all neutrals tied together at the panel, (2) no shared neutrals between circuits, and (3) relay power supply voltage stays ≥4.85V under load (measure with multimeter).
Conclusion
You now hold a complete, field-tested blueprint—not just for syncing lights to music, but for building scalable, maintainable, and genuinely expressive light art without corporate gatekeepers. This isn’t a workaround. It’s the modern standard: open, interoperable, and deeply respectful of your time and budget. The tools exist. The knowledge is documented. The only requirement is your willingness to treat the first 90 minutes as an experiment—not a performance.
Start small. Document every connection. Name your channels meaningfully. Save backups of your Xlights sequences and ESP32 configurations. And when your front yard pulses in perfect time with “Carol of the Bells,” remember: that precision came not from a $600 box, but from your understanding of timing, electricity, and intention.


 浙公网安备
33010002000092号
浙公网安备
33010002000092号 浙B2-20120091-4
Comments
No comments yet. Why don't you start the discussion?