
Mirror selfies are a staple of personal expression—whether you're showing off an outfit, tracking fitness progress, or simply capturing a moment. But too often, what starts as a quick snapshot ends in frustration: distorted facial features, unflattering neck lines, or the dreaded double chin. The culprit isn’t your face—it’s your technique. With a few simple adjustments to posture, lighting, and phone positioning, anyone can master the art of the mirror selfie. This guide breaks down the science behind distortion and offers actionable strategies to help you look like yourself—just your best self.
Why Mirror Selfies Often Look “Off”
The discomfort people feel with their mirror selfies stems from two key factors: proximity and perspective. When your phone is close to your face, especially when held at arm’s length, it creates lens distortion that exaggerates features—particularly the nose and forehead. This effect, known as “barrel distortion,” makes your face appear wider and less proportionate than it does in real life.
Additionally, most people hold their phones too low, shooting upward at an angle that shortens the chin and elongates the neck unnaturally. This creates what photographers call the “frog perspective”—you’re looking up at the subject from below, which distorts proportions and emphasizes under-chin fat.
According to visual anthropologist Dr. Lena Torres, “The human brain expects symmetry and proportional balance in facial recognition. When a photo distorts those ratios—even slightly—we perceive it as ‘wrong,’ even if we can’t explain why.”
“Distance is your friend. Holding your phone just 12 inches farther away can reduce facial distortion by over 40%.” — Marcus Bell, Portrait Photographer & Imaging Consultant
Step-by-Step Guide to Flawless Mirror Selfies
Follow this structured approach to eliminate awkwardness and achieve consistently flattering results:
- Find the right mirror and lighting setup. Natural light near a window is ideal. Avoid overhead fluorescent lights, which cast harsh shadows on the face. Position yourself so light hits your face from the front or slightly above.
- Stand at least 2–3 feet from the mirror. This reduces the magnification effect of close-up shots and allows for full-body framing if desired.
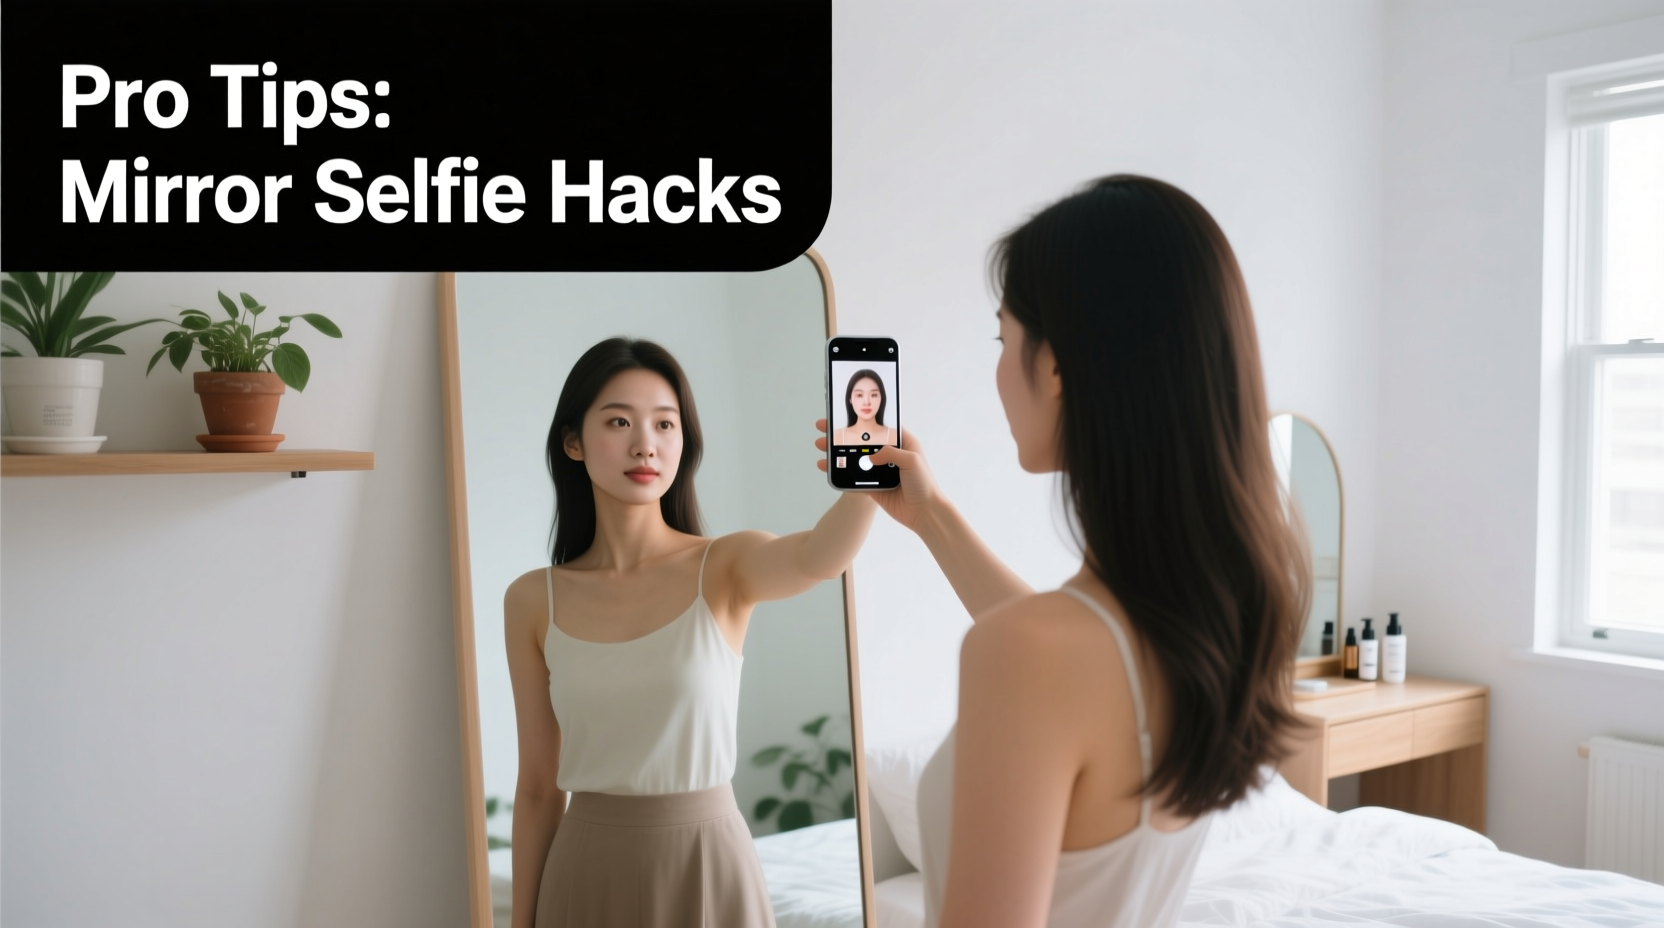
- Hold your phone at eye level or slightly above. Never shoot from below. Elevating the camera mimics professional portrait angles and slims the jawline.
- Extend your arms fully or use a tripod. Keeping distance between you and the lens minimizes distortion. A small tabletop tripod with a phone mount gives stability and consistency.
- Angle your body slightly, not straight-on. Turn one shoulder forward about 30 degrees. This adds dimension and avoids the flat, “mugshot” look.
- Tilt your chin down slightly. Bring your chin toward your chest just enough to tighten the skin under the jaw. This instantly defines the neckline.
- Focus before snapping. Tap the screen on your face to set focus and exposure. Wait for the image to stabilize before pressing the shutter.
- Take multiple shots. Subtle shifts in expression or head tilt make a big difference. Review images immediately and adjust.
Do’s and Don’ts: The Mirror Selfie Checklist
To ensure every shot comes out polished, refer to this practical checklist before taking your next mirror selfie.
- ✅ Do stand tall with shoulders back and spine aligned.
- ✅ Do use natural, diffused lighting whenever possible.
- ✅ Do position the phone at or above eye level.
- ✅ Do leave space above your head in the frame—don’t cut off the top.
- ✅ Do check for clutter in the background (laundry, cords, dirty floors).
- ❌ Don’t hunch forward or crane your neck toward the camera.
- ❌ Don’t use flash in a dark room—it flattens features and creates red-eye.
- ❌ Don’t rely solely on filters to fix poor lighting or angles.
- ❌ Don’t ignore reflections—check that nothing distracting appears behind you.
- ❌ Don’t compare your selfie to heavily edited influencer photos—they often use professional gear and retouching.
Lighting and Environment: The Hidden Game-Changers
No amount of posing can compensate for bad lighting. The environment where you take your mirror selfie plays a decisive role in how natural and balanced your face appears.
Soft, front-facing light—such as morning sunlight coming through a sheer curtain—is optimal. It wraps around your face evenly, minimizing shadows under the eyes and jaw. If natural light isn’t available, consider a ring light or softbox-style LED panel placed directly in front of you, just above phone level.
Avoid side lighting unless you’re going for dramatic effect. Harsh lateral shadows can deepen wrinkles and create an unintended moody tone. Similarly, backlit environments (like standing in front of a bright window) will silhouette your face, forcing the camera to overexpose the background and darken your features.
| Lighting Type | Best For | Risk |
|---|---|---|
| Natural front light (near window) | Daily outfits, skincare checks, casual portraits | Changes quickly—shoot during mid-morning or early afternoon |
| Ring light (soft white) | Vlogging prep, makeup reviews, evening shots | Can look artificial if too bright; diffuse with a filter |
| Overhead ceiling light | Emergency touch-ups only | Creates deep eye sockets and flattened cheeks |
| Candle or lamp light | Romantic or ambient moods | Inconsistent color temperature; may yellow skin tones |
Also consider your surroundings. A clean, neutral background keeps attention on you. Mirrors with frames offer built-in visual borders that enhance composition. If your bathroom or bedroom feels too cramped, try using a full-length mirror in a hallway or closet with better spatial depth.
Real Example: From Frustration to Confidence
Jamie, a 29-year-old fitness coach, used to dread posting mirror selfies. Despite her progress, she felt her photos always made her look “puffy” or “off-center.” She avoided sharing progress updates, fearing judgment—even though her clients asked for them.
After learning about lens distortion, she changed her routine. Instead of holding her phone at chest height, she invested in a $15 tripod and positioned it on a shelf at eye level. She began taking photos in the late morning when sunlight streamed into her living room across a full-length mirror.
She also adjusted her stance: standing straight, angling her hip back slightly, and dropping her chin just enough to see her jawline. Within a week, her confidence grew. Her followers commented on how “clear” and “balanced” her photos looked. Jamie realized it wasn’t her body that was the issue—it was the way she’d been capturing it.
“I wasn’t ugly,” she said. “I was just using bad technique. Once I fixed the angle and light, I finally saw myself clearly.”
Advanced Tips for Consistent Results
Once you’ve mastered the basics, refine your process with these pro-level strategies:
- Use gridlines. Enable the rule-of-thirds grid in your phone’s camera settings. Align your eyes along the top horizontal line for balanced composition.
- Shoot in portrait mode (if available). This creates a shallow depth of field, blurring the background slightly and making your figure pop.
- Wipe the mirror first. Smudges and streaks are more visible in photos than in person. A microfiber cloth removes fingerprints and improves clarity.
- Experiment with angles—but systematically. Try three variations: neutral, chin slightly down, and head tilted 5 degrees to one side. Compare results over time to find your most flattering default.
- Avoid zooming digitally. Digital zoom reduces image quality. Instead, crop in post-processing if needed.
- Check your lens. Clean your phone’s camera regularly. A smudged lens causes blur and glare.
Frequently Asked Questions
Why does my nose look bigger in mirror selfies?
This is caused by the wide-angle lens on most smartphone cameras when used up close. The closer the lens, the more it magnifies central facial features. To reduce this, increase the distance between you and the phone. Holding your phone 18–24 inches away significantly reduces nasal distortion while preserving facial proportions.
Should I use the front or rear camera for mirror selfies?
Always use the rear camera when taking mirror selfies. The rear camera has higher resolution, better focus, and superior dynamic range. The front camera is designed for video calls, not high-quality stills, and often applies automatic beautification that alters your appearance unrealistically.
How can I avoid looking “flat” in my photos?
Flatness comes from flat lighting and straight-on poses. Add depth by angling your body, using soft directional light, and ensuring there’s some contrast between you and the background. Slightly turning your shoulders or shifting your weight to one leg introduces natural curves and shadows that give dimension.
Final Thoughts: Your Reflection, Reclaimed
Taking a good mirror selfie isn’t about chasing perfection—it’s about representing yourself honestly and confidently. Awkward angles and distorted faces aren’t flaws in you; they’re symptoms of misaligned tools and habits. By understanding how lenses work, respecting the role of light, and applying consistent technique, you reclaim control over how you’re seen.
You don’t need expensive equipment or editing skills. You need awareness, patience, and a willingness to experiment. Start small: tomorrow morning, step in front of the mirror with your phone at eye level, chin slightly down, and light on your face. Take three shots. Keep the best one. Repeat.


 浙公网安备
33010002000092号
浙公网安备
33010002000092号 浙B2-20120091-4
Comments
No comments yet. Why don't you start the discussion?