
In an age where smartphones are more powerful than many standalone cameras from a decade ago, there's no reason your photos shouldn't look like they belong in a magazine. The key isn’t the device—it’s technique. With thoughtful lighting, smart composition, and intentional editing, you can produce images that rival those taken with high-end gear. Whether you're capturing food for Instagram, shooting portraits of loved ones, or documenting travel adventures, mastering these principles will elevate your mobile photography instantly.
Master Natural Light for Studio-Quality Results
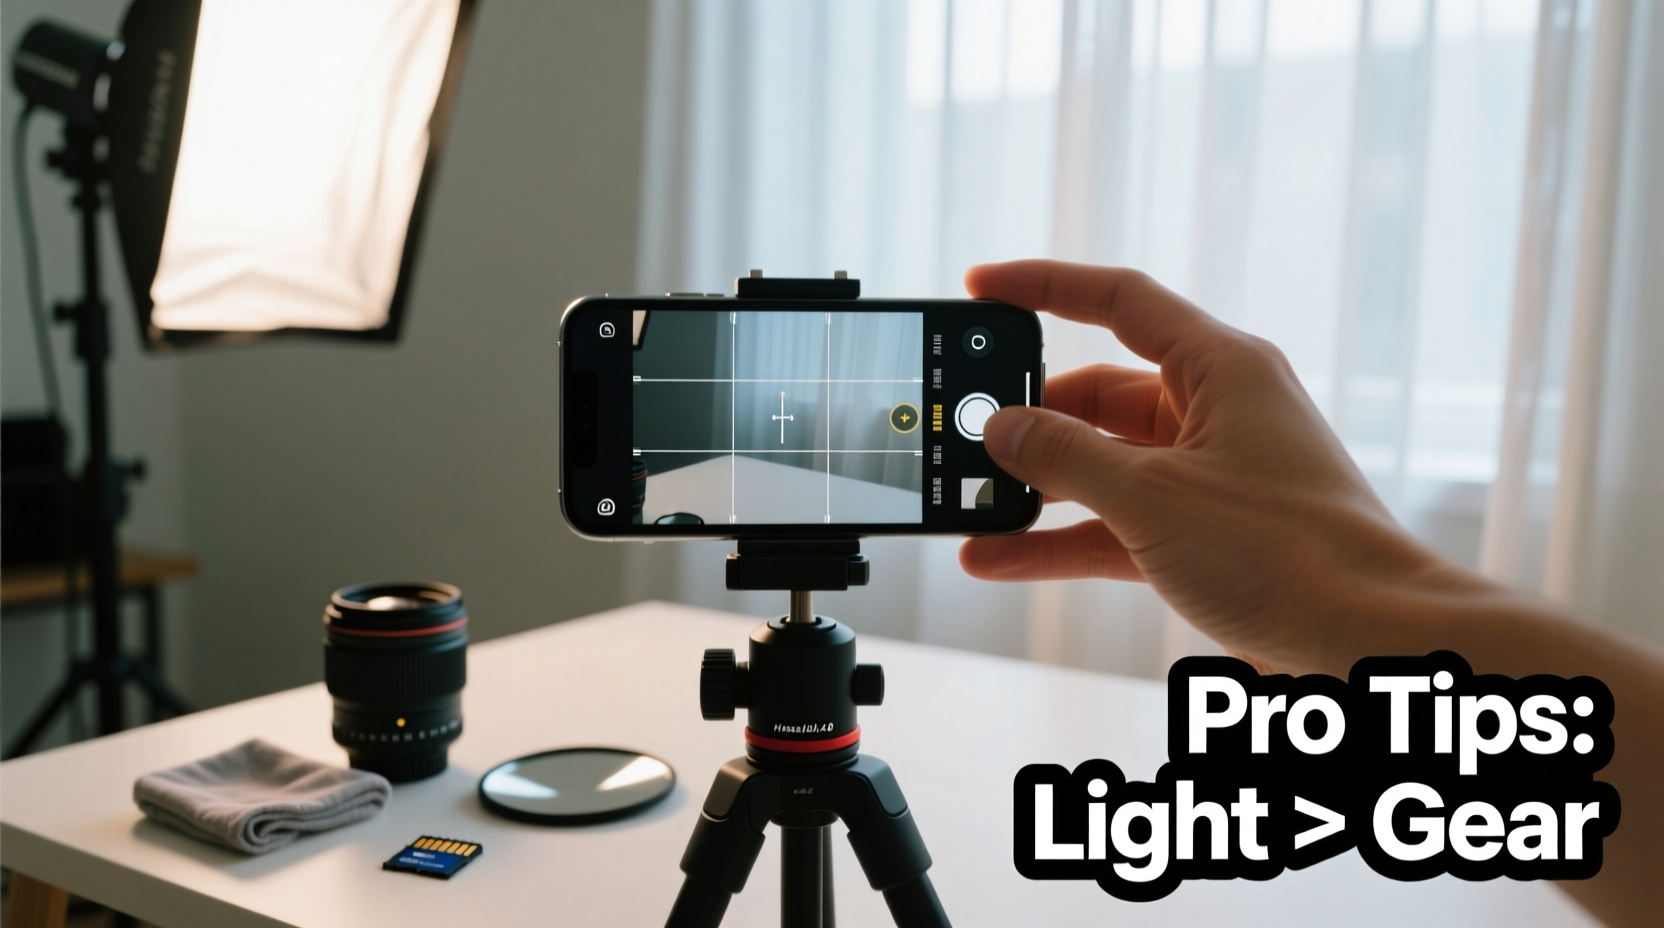
Lighting is the foundation of any great photograph. Professional photographers don’t rely on flash—they shape their images using available light. Your smartphone lacks the manual control of DSLRs, but it excels in dynamic range and computational photography when used correctly.
The best natural light occurs during “golden hour”—the first hour after sunrise and the last hour before sunset. During this time, sunlight is soft, warm, and diffused, casting long shadows and minimizing harsh contrasts. Avoid midday sun, which creates unflattering highlights and deep shadows.
If shooting indoors, place your subject near a large window. Turn off artificial lights to prevent color temperature conflicts. Smartphones often struggle with mixed lighting, resulting in unnatural skin tones. Stick to one light source whenever possible.
To manually adjust exposure on your phone, tap the screen on your subject’s face or main focal point, then swipe up or down to brighten or darken the image before capturing. This prevents overexposed skies or underexposed faces.
Composition Rules That Transform Ordinary Shots
A well-composed photo guides the viewer’s eye and tells a story. Even with perfect lighting, poor composition can make an image feel chaotic or unbalanced. Apply these time-tested principles to create visually compelling shots.
The Rule of Thirds
Imagine dividing your frame into a 3x3 grid. Important elements—eyes in portraits, horizons in landscapes—should align with these lines or intersect at their crossing points. Most smartphones have a grid overlay option in camera settings; enable it to help position subjects accurately.
Leading Lines and Framing
Use natural lines—roads, fences, staircases—to draw attention toward the subject. Similarly, archways, windows, or tree branches can frame a person or object, adding depth and focus. These techniques create layers within the image, making it more engaging.
Simplify the Background
Clutter distracts. Before pressing the shutter, scan the edges of your frame. Is there a trash can peeking in? A power line cutting through the head? Move slightly, crouch, or ask your subject to shift. A clean background keeps the focus where it belongs.
“Photography is the art of exclusion. What you leave out matters as much as what you include.” — Dorothea Lange, Pulitzer Prize-winning photographer
Optimize Camera Settings and Shooting Techniques
While smartphones automate most decisions, understanding the tools at your disposal gives you creative control. Here’s how to get the most from your device.
Tap to Focus and Lock Exposure
Long-press on your screen until you see “AE/AF Lock” (Auto Exposure/Auto Focus). This freezes focus and brightness, allowing you to recompose without losing clarity or proper exposure—especially useful when shooting backlit scenes.
Use Portrait Mode Wisely
Portrait mode simulates a shallow depth of field, blurring the background to emphasize the subject. It works best with clear separation between subject and backdrop. Avoid overly busy or close backgrounds, as edge detection can falter. For pets or objects, newer models support portrait mode beyond human faces—experiment to see what your phone handles.
Shoot in HDR for High-Contrast Scenes
HDR (High Dynamic Range) captures multiple exposures and merges them into one balanced image. Enable auto-HDR in settings for landscapes or backlit subjects. However, avoid using HDR on moving subjects, as alignment artifacts may occur.
Steady Your Hands—or Use Support
Blur ruins otherwise excellent shots. Hold your phone with both hands, elbows tucked in. Exhale slowly as you press the shutter. For low-light situations, rest your phone on a table, wall, or use a mini tripod. Some phones allow volume buttons or Bluetooth remotes to trigger the shutter without touching the screen.
Shoot in Pro Mode (If Available)
Flagship Android devices and third-party apps like ProCamera (iOS) or Open Camera (Android) let you manually adjust ISO, shutter speed, and white balance. Lower ISO reduces grain; slower shutter speeds capture motion blur (great for waterfalls); custom white balance ensures accurate colors. These settings demand practice but offer unmatched control.
Editing: Where Good Photos Become Great
No professional shoot is complete without post-processing. Editing doesn’t mean fixing bad photos—it means enhancing good ones. The goal is subtlety: preserve realism while improving tone, contrast, and mood.
Essential Adjustments
- Exposure: Correct under or overexposed areas.
- Contrast: Increase slightly to add depth.
- Highlights & Shadows: Recover detail in bright skies or dark corners.
- White Balance: Neutralize color casts (e.g., too blue or yellow).
- Vibrance (not Saturation): Boost muted colors without oversaturating skin tones.
Recommended Apps
| App | Best For | Key Feature |
|---|---|---|
| Lightroom Mobile | Precise color grading | Raw editing, presets, selective adjustments |
| VSCO | Subtle filters and mood | Film-inspired presets, clean interface |
| Snapped | Quick social-ready edits | One-tap enhancements, cropping tools |
| Photoshop Express | Retouching and cropping | Healing brush, straighten tool |
For consistency across a series (like a portfolio or Instagram feed), save your preferred settings as presets. This ensures a cohesive visual style without repeating steps.
Real-World Example: From Snapshot to Story
Lena, a small business owner selling handmade ceramics, initially used her iPhone to take quick product photos on her kitchen counter. The images were blurry, poorly lit, and lacked appeal. After learning basic smartphone photography techniques, she transformed her approach.
She began shooting near a north-facing window during mid-morning light, placing her pottery on a neutral linen cloth. Using the rule of thirds, she positioned each mug slightly off-center, with steam rising from the rim leading the eye inward. She locked focus on the handle and adjusted exposure to highlight texture. In Lightroom, she warmed the white balance slightly and boosted clarity to emphasize glaze details.
The result? Her Instagram engagement tripled within two months. Customers commented on the “lifestyle feel” of her images, and sales increased by 40%. Lena didn’t buy new equipment—she simply applied foundational photography principles with the tool she already owned.
Smartphone Photography Checklist
Before every shoot, run through this checklist to ensure quality results:
- Clean the lens with a microfiber cloth—smudges reduce sharpness.
- Enable grid lines in camera settings.
- Find the best natural light source and position your subject accordingly.
- Tap to focus and adjust exposure if needed.
- Lock AE/AF if recomposing.
- Hold the phone steady or use support.
- Take multiple shots from slight variations in angle.
- Edit thoughtfully—enhance, don’t distort.
- Save original files before heavy editing.
- Review on a larger screen if possible before sharing.
Common Mistakes and How to Avoid Them
Even experienced mobile photographers fall into traps. Recognizing these pitfalls helps you sidestep them.
- Digital zoom: Pinching to zoom degrades quality. Instead, move closer or crop in post.
- Overuse of filters: Heavy filters mask flaws but create an artificial look. Opt for subtle adjustments.
- Ignoring file format: If your phone supports RAW, use it for critical shots. RAW files retain more data for editing.
- Shooting only in portrait orientation: Many forget landscape mode can be more dynamic, especially for groups or scenery.
- Not updating software: OS and camera app updates often improve image processing. Keep your phone current.
Frequently Asked Questions
Can I take professional photos with an older smartphone?
Absolutely. While newer phones have better sensors and computational features, skill matters more than hardware. An iPhone 8 or Samsung Galaxy S9, with proper lighting and technique, can still produce stunning images. Focus on composition, stability, and editing.
How do I make my subject stand out without a fancy lens?
Use distance and perspective. Position your subject far from the background, then get close with your camera. This creates natural separation. Portrait mode can assist, but physical space does most of the work. Also, use lighting—brightening your subject against a darker backdrop adds instant focus.
Is it okay to edit photos heavily?
Editing should serve the image, not replace it. Heavy retouching, extreme saturation, or unrealistic filters can alienate viewers. Aim for authenticity. Adjust exposure, contrast, and color balance to reflect what you saw—or felt—when taking the shot.
Final Thoughts: Elevate Your Vision, Not Just Your Gear
The most advanced camera in the world won’t improve your photos unless you understand light, composition, and intention. Your smartphone is already a powerful imaging tool—what it needs is your attention. By learning to see like a photographer, you unlock its full potential. Practice daily. Study photos you admire. Analyze why they work. Then apply those lessons through deliberate shooting and thoughtful editing.
You don’t need a studio, expensive lenses, or formal training. You need curiosity, patience, and the willingness to experiment. Every expert started where you are now—with a phone in hand and a moment worth capturing.


 浙公网安备
33010002000092号
浙公网安备
33010002000092号 浙B2-20120091-4
Comments
No comments yet. Why don't you start the discussion?