
Macro photography reveals a hidden world—the intricate veins of a leaf, the delicate structure of an insect’s wing, or the glistening texture of morning dew on a petal. Traditionally, this type of photography requires specialized lenses and equipment. But modern smartphones, paired with smart techniques, can produce surprisingly detailed macro images without any additional gear.
The key isn’t hardware—it’s control. By mastering natural light, stabilizing your phone, and understanding how your camera focuses up close, you can capture crisp, professional-looking macro shots using only what you already have in your pocket.
Understanding Smartphone Macro Limitations
Most smartphones today come with dual or triple camera systems, often including a dedicated \"macro\" lens. However, many of these lenses are low-resolution and require you to be within 2–4 cm of your subject. Even if your phone lacks a macro lens, the primary camera can still achieve impressive close-up results—if used correctly.
The biggest challenge is focus. Unlike DSLRs, smartphones rely on contrast-detection autofocus, which struggles when there’s little variation in tone or when the subject is too close. Additionally, depth of field at close range is extremely shallow, meaning even slight movement can blur your shot.
But these limitations aren’t dead ends—they’re invitations to refine your technique. With patience and practice, you can work around them and consistently produce sharp macro images.
Mastering Focus for Crisp Results
Sharpness begins with precise focus. When shooting macro with a smartphone, the margin for error is tiny. A shift of just a millimeter can throw your subject out of focus. Here’s how to get it right:
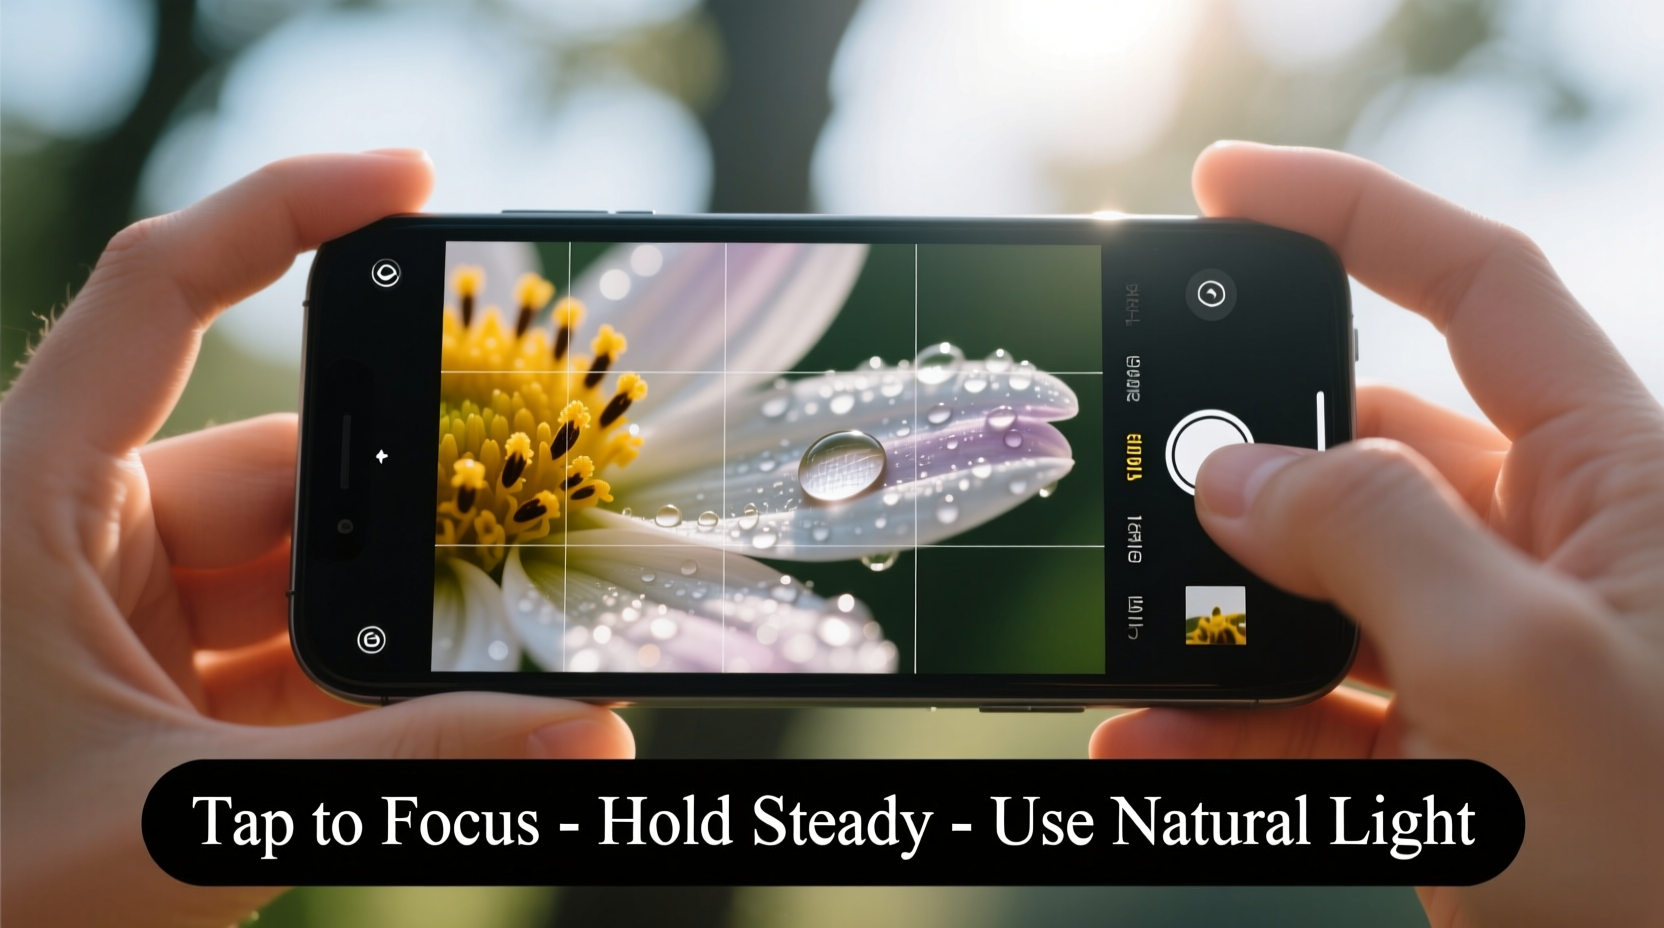
- Tap to Focus: Always tap directly on the part of the screen where your subject appears. This tells the camera exactly where to focus. Avoid letting the phone decide automatically.
- Use Manual Focus (if available): Some camera apps—like ProCamera (iOS), Open Camera (Android), or the built-in Pro mode—allow manual focus adjustment. Slide the focus ring until your subject snaps into clarity.
- Lock Exposure and Focus: On iPhones, press and hold the screen until “AE/AF Lock” appears. On Android, look for a similar lock option. This prevents the camera from refocusing when you press the shutter.
- Aim for Edge Contrast: Focus works best when there’s a clear transition between light and dark. Position your subject so that part of it contrasts sharply with the background.
One common mistake is trying to focus after framing. Instead, position your phone close to the subject, tap to focus first, then fine-tune the composition. This sequence dramatically improves success rates.
Step-by-Step: Achieving Pinpoint Focus
- Switch to your main camera (not ultra-wide or digital zoom).
- Get within 5–10 cm of your subject, depending on your phone’s minimum focusing distance.
- Tap the screen on the most important detail (e.g., an insect’s eye).
- Wait for the image to stabilize and sharpen.
- Hold your breath and gently press the shutter—or use the volume button or timer.
Optimize Lighting for Detail and Clarity
Light is the silent hero of macro photography. Without sufficient illumination, even perfectly focused images appear flat, noisy, or blurred due to slow shutter speeds.
Natural light is your best ally. Early morning or late afternoon sunlight provides soft, directional illumination that enhances texture and dimension. Avoid harsh midday sun, which creates blown-out highlights and deep shadows.
If shooting indoors, place your subject near a window but not in direct sunlight. Use white paper or a piece of aluminum foil as a makeshift reflector to bounce light onto the shadowed side.
| Lighting Condition | Effect on Macro Photo | Solution |
|---|---|---|
| Direct Sunlight | Harsh shadows, overexposure | Diffuse with sheer fabric or shoot in shade |
| Overcast Sky | Soft, even light—ideal for detail | Shoot as-is; maximize natural exposure |
| Indoor Artificial Light | Yellow tint, potential motion blur | Use daylight bulbs or edit white balance |
| Backlighting | Subject appears silhouetted | Expose manually on subject or use fill flash |
Avoid using your phone’s built-in flash. It’s too harsh and positioned too close to the lens, creating hotspots and killing texture. If you must add light, try using a small LED lamp or even the flashlight from a second phone—diffused through tissue paper.
“Natural sidelighting transforms ordinary macro shots into three-dimensional stories. It’s not about magnification—it’s about revealing texture.” — Lena Torres, Mobile Photography Educator
Stabilize Your Phone for Maximum Sharpness
Hand tremors are magnified in macro photography. At close distances, even the slightest shake causes blur. Since you can’t use a tripod (per the no-gear rule), stabilization becomes a creative challenge.
Rest your phone on a steady surface whenever possible. A rock, bench, stack of books, or even a folded handkerchief can serve as a makeshift platform. Angle the surface slightly if needed to match your subject’s height.
If holding the phone, brace both elbows against your body. Press your back against a wall or tree for added stability. Inhale, exhale halfway, then hold your breath as you press the shutter. This reduces micro-movements by up to 70%, according to ergonomic studies on handheld photography.
DIY Stabilization Techniques
- Place your phone on a small notebook angled toward the subject.
- Wedge it between two rocks or books outdoors.
- Use your fingers to create a triangle frame—index and thumb form a loop, middle finger supports the bottom.
- Lean against a wall or post and tuck your arms in tightly.
Another powerful trick: use a 2-second timer. After pressing the shutter, the delay allows vibrations from your touch to dissipate before the photo is taken. Combine this with surface stabilization for consistently tack-sharp results.
Composing Compelling Macro Shots
Sharpness alone doesn’t make a great photo. Composition turns a technical success into a visual story.
In macro photography, simplicity reigns. With such a narrow depth of field, cluttered backgrounds become distracting smears of color. Seek clean, unobtrusive backdrops—a patch of grass, a shaded wall, or a single-color surface.
Apply the rule of thirds subtly. Place your subject’s focal point (like an eye or stamen) near an intersection point. But don’t force symmetry. Organic subjects often feel more authentic when slightly off-center.
Pay attention to lines and patterns. The curve of a petal, the spiral of a snail shell, or the radial symmetry of a snowflake can guide the viewer’s eye through the frame. Look for repetition, contrast, and negative space to add depth.
Checklist: Before You Shoot
- ✅ Clean your lens with a microfiber cloth—smudges ruin macro clarity.
- ✅ Disable digital zoom—get closer physically instead.
- ✅ Tap to focus on the most critical detail.
- ✅ Ensure adequate, soft lighting.
- ✅ Stabilize your phone using a surface or body brace.
- ✅ Use timer or volume button to avoid shake.
- ✅ Take multiple shots—slight variations improve selection odds.
After capturing your image, review it at full zoom on your screen. Zoom in on key areas like edges and textures. If they’re soft, adjust your distance or lighting and reshoot. One sharp frame is worth ten blurry ones.
Real Example: Capturing a Dew-Covered Spiderweb
Early one summer morning, photographer Jamal Rivera wanted to capture a spiderweb glistening with dew in his backyard. He had no tripod, no external lens—just his four-year-old smartphone.
He began by positioning himself so the rising sun hit the web from the side, illuminating each droplet. He crouched low, placed his phone on a flattened cardboard box he found nearby, and used a small rock to tilt it upward. He tapped the screen on a central droplet to set focus, locked AE/AF, and set a 3-second timer.
The first few attempts failed—wind caused slight movement. He waited five minutes for a lull, then tried again. The resulting photo showed individual strands coated in water, refracting light like tiny prisms. He later shared it in a local nature group, where it was praised for its clarity and mood.
Jamal’s secret? Patience and precision—not gear. “I didn’t need anything special,” he said. “Just time, stillness, and knowing how to use what I had.”
Frequently Asked Questions
Can I take true macro photos without a macro lens?
Yes. While a dedicated macro lens enhances magnification, your main camera can focus closely enough to capture fine details—especially on newer smartphones with improved minimum focusing distances. Technique matters more than hardware.
Why are my close-up photos blurry even when I think I’m in focus?
This usually happens due to shallow depth of field or camera shake. At close range, only a tiny slice of the image is in focus. Ensure you’re tapping the exact spot you want sharp, and stabilize your phone. Also, poor lighting forces slower shutter speeds, increasing blur risk.
How do I prevent my shadow from falling on the subject?
Position yourself so the light source is behind or beside you, not directly overhead. Shoot from a low angle early or late in the day when the sun is lower. If indoors, use a reflector to redirect light without moving your body.
Final Tips for Consistent Success
Great macro photography with a smartphone isn’t about having the latest model—it’s about intentionality. Every element, from light to posture, contributes to the final result. Practice regularly with everyday subjects: coins, fabric, houseplants, or food. Each session builds muscle memory and sharpens your eye.
Remember, the goal isn’t just to magnify, but to reveal. The most powerful macro images invite viewers to see the familiar in a new way—to pause and appreciate the complexity hidden in plain sight.
“The best camera is the one you have with you. And the best accessory? Patience.” — Darius Kim, Mobile Nature Photographer
Take Action Today
Go outside within the next 24 hours and take five macro photos using only your smartphone—no attachments, no accessories. Apply the focus, lighting, and stabilization techniques outlined here. Review each image critically. Save the sharpest one as your benchmark.
Repeat this exercise weekly. Over time, you’ll develop an instinct for proximity, light, and stillness. You’ll start noticing details others overlook. And you’ll realize that extraordinary photography doesn’t require extraordinary tools—just attention, care, and the willingness to look closely.


 浙公网安备
33010002000092号
浙公网安备
33010002000092号 浙B2-20120091-4
Comments
No comments yet. Why don't you start the discussion?