
In an age where smartphones are the primary camera for most people, capturing sharp, clear images is more important than ever. Yet many users rely solely on hardware capabilities, overlooking the powerful tools already built into their device’s native camera app. With intentional adjustments to focus, exposure, stabilization, and timing, you can dramatically improve photo clarity—without downloading a single third-party app or purchasing additional gear.
Sharpness isn’t just about resolution; it’s the result of precise focus, adequate lighting, minimal motion blur, and correct composition. By mastering your phone’s default camera interface, you gain control over these elements and unlock consistently crisp results, whether photographing landscapes, portraits, or everyday moments.
Understanding What Makes a Photo Sharp
A sharp photo appears detailed and well-defined, especially along edges and textures. Several factors contribute to this quality:
- Focus accuracy: The subject must be clearly in focus, not blurred due to misalignment.
- Exposure balance: Proper lighting ensures detail isn’t lost in shadows or blown out by highlights.
- Stability: Camera shake—even slight hand movement—can cause softness, especially in low light.
- Timing: Capturing the shot at the right moment avoids motion blur from moving subjects.
Smartphone cameras use computational photography to enhance images automatically, but relying entirely on auto mode often leads to inconsistent results. Manual intervention through native settings gives you predictable, higher-quality outcomes.
Mastering Focus and Exposure Controls
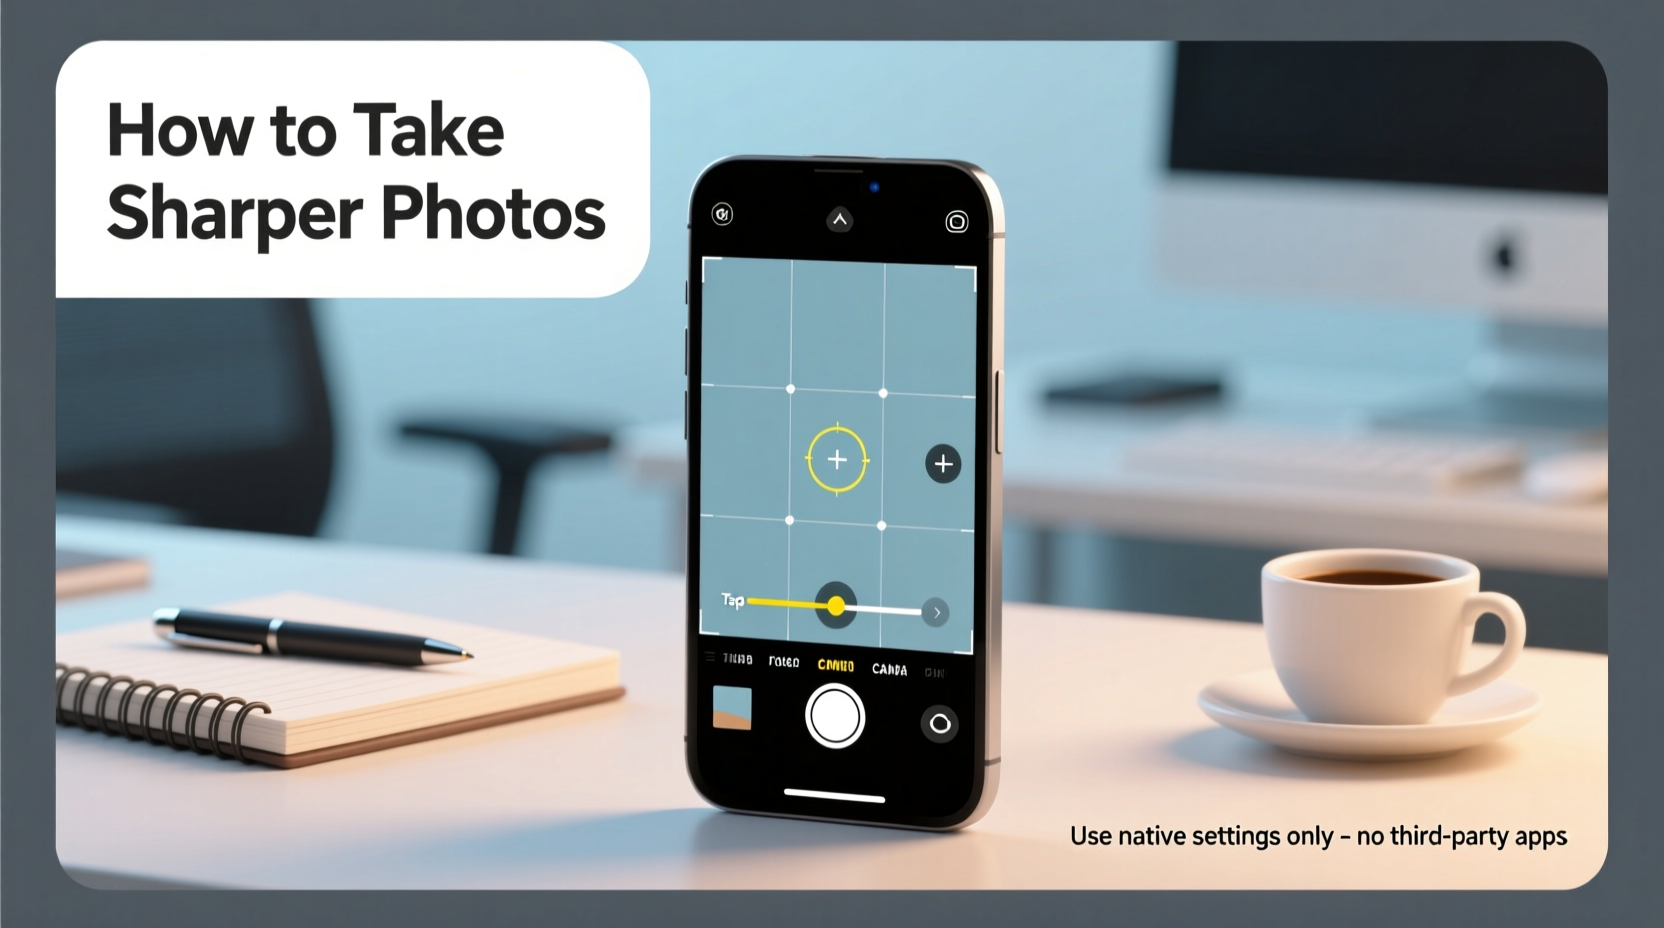
The foundation of a sharp image lies in correctly setting focus and exposure. Most native camera apps allow tap-to-focus and swipe-to-expose adjustments directly on-screen.
To set focus, simply tap the area of the frame you want to be sharpest. This tells the camera where to direct its autofocus system. For static subjects, press and hold until “AE/AF Lock” appears (on iOS) or a box remains highlighted (on Android), indicating that focus and exposure are fixed.
After tapping to focus, adjust brightness by swiping up or down on the small sun icon that appears beside the focus box. This controls exposure compensation without changing focus. Underexposing slightly can preserve highlight details, while overexposing helps in backlit scenes.
“Most blurry smartphone photos aren’t due to poor lenses—they’re caused by incorrect focus placement or unstable shooting.” — David Lin, Mobile Photography Instructor at NYIP
For example, if you're photographing a person against a bright window, tapping on their face ensures proper skin tone exposure, even if the background becomes brighter. Without this adjustment, the camera might expose for the window, turning your subject into a silhouette.
Step-by-Step: Locking Focus and Exposure
- Open your native camera app and point it at your subject.
- Tap once on the key element (e.g., eyes in a portrait).
- Wait for the focus box to stabilize—look for a brief pulse or flash effect.
- Swipe up or down on the brightness slider (sun icon) to fine-tune exposure.
- Press and hold to lock AE/AF if available, then reframe if needed.
- Press the shutter button gently or use volume keys for capture.
This process prevents the camera from refocusing or adjusting brightness when you recompose, which is critical for maintaining consistency across shots.
Reducing Motion Blur Through Stability Techniques
Even with perfect focus, motion blur ruins sharpness. It occurs from either subject movement or camera shake. While fast-moving objects require timing, camera instability is preventable.
Smartphones lack optical viewfinders and physical grips, making them prone to micro-movements during capture. The solution? Maximize stability using what’s already available.
Bracing your arms against your body, leaning against a wall, or placing the phone on a flat surface reduces wobble. When holding the phone, use both hands and keep elbows tucked in. Avoid stretching your arms forward, as this amplifies tremors.
In low-light conditions, shutter speed slows down to gather more light, increasing sensitivity to movement. Even a fraction-of-a-second delay can blur the image. That’s why stabilization matters most when ambient light is limited.
If your phone supports it, enabling Night Mode extends exposure time but uses internal stabilization algorithms. However, best results still come from external support—rest the phone on a table, ledge, or even stack books to create a stable base.
Optimizing Lighting Conditions for Clarity
Light is one of the most overlooked contributors to sharpness. Poor lighting forces the camera to increase ISO sensitivity, introducing digital noise and reducing edge definition. Bright, diffused light preserves texture and contrast.
Natural daylight, particularly during the “golden hours” (shortly after sunrise and before sunset), provides soft, directional illumination ideal for detailed photography. Midday sun creates harsh shadows, so seek shaded areas under trees or building overhangs for even lighting.
Indoors, position your subject near windows but avoid direct sunlight streaks. Turn off overhead lights if possible to prevent mixed color temperatures, which confuse white balance and reduce perceived sharpness.
| Lighting Condition | Effect on Sharpness | Recommended Action |
|---|---|---|
| Bright, indirect daylight | High detail retention, minimal noise | Shoot directly; use tap-to-focus |
| Low indoor light | Increased noise, potential blur | Stabilize phone, enable Night Mode |
| Harsh midday sun | Overexposed highlights, deep shadows | Use shade or wait for softer light |
| Backlit scenes | Subject underexposed unless adjusted | Tapping subject locks proper exposure |
Consistent lighting also improves autofocus performance. In dim environments, contrast detection struggles, leading to hunting—the lens repeatedly searching for focus. Providing uniform illumination helps the system lock faster and more accurately.
Using Native Tools: Pro Mode and Timer Features
Many modern smartphones include a “Pro” or “Manual” mode within the native camera app. Found under modes like “Pro,” “P,” or “Manual,” this feature grants access to shutter speed, ISO, white balance, and focus controls—all without installing external apps.
In Pro Mode, you can manually set focus distance (measured in meters or feet). Once set, it remains fixed until changed. This is useful for product photography or when shooting through glass, where autofocus might latch onto reflections instead of the intended subject.
Adjusting ISO manually allows you to prioritize image cleanliness. Keeping ISO low (e.g., ISO 100–200) minimizes grain, though it requires sufficient light. Pair low ISO with longer exposures only when the phone is stabilized.
Another underused native tool is the self-timer. Setting a 2- or 3-second delay eliminates shake caused by pressing the shutter. This is especially effective for close-up shots or long exposures where any vibration degrades quality.
Checklist: Steps to Take Sharper Photos Using Only Native Settings
- ✅ Clean your lens with a microfiber cloth before shooting.
- ✅ Tap to focus on the main subject; hold to lock AF/AE if supported.
- ✅ Adjust exposure by swiping up/down on the brightness icon.
- ✅ Stabilize your phone using two hands, a surface, or steady object.
- ✅ Use natural, diffused lighting whenever possible.
- ✅ Enable timer (2s or 3s) to avoid touch-induced shake.
- ✅ Shoot in Portrait mode selectively—only when depth effect enhances the subject.
- ✅ Avoid digital zoom; move physically closer instead.
- ✅ Use Pro Mode to fix focus and limit high ISO in controlled conditions.
- ✅ Review photos immediately and reshoot if blurry.
Real-World Example: Improving a Family Portrait
Sarah wanted to capture a spontaneous family moment in her backyard during late afternoon. Her first few attempts resulted in soft, lifeless images. The faces lacked definition, and some eyes were slightly out of focus.
She reviewed the conditions: the sun was low but casting strong side shadows. She repositioned everyone under a covered patio to diffuse the light. Then, she opened her iPhone’s camera app, tapped on her daughter’s eye to set focus, and swiped down slightly on the sun icon to darken the exposure by 0.7 stops, preserving facial details.
To prevent shake, she leaned her elbows on a wooden bench and used the volume button to take the shot. The resulting photo showed crisp hair strands, defined eyelashes, and balanced skin tones—far superior to her earlier auto-mode attempts.
No filters, no editing apps. Just deliberate use of native tools transformed an ordinary snapshot into a keepsake-quality image.
Frequently Asked Questions
Why are my smartphone photos blurry even when I think they’re in focus?
Blurriness often stems from camera shake, low light forcing slow shutter speeds, or inaccurate tap-to-focus placement. Ensure you tap precisely on the subject, stabilize the phone, and shoot in adequate light. Also, clean your lens regularly—smudges can degrade clarity.
Should I use HDR mode for sharper photos?
HDR (High Dynamic Range) doesn’t directly increase sharpness but improves tonal range by combining multiple exposures. This helps retain detail in bright skies and dark shadows, indirectly enhancing perceived clarity. Use HDR in high-contrast scenes, but disable it for fast-moving subjects to avoid ghosting.
Does using Portrait mode affect photo sharpness?
Portrait mode uses software to simulate shallow depth of field, blurring the background. While the subject should remain sharp, edge detection errors can cause unnatural halos or blur creep. For maximum sharpness, shoot in standard photo mode and apply effects later if needed.
Final Thoughts
Sharper smartphone photos don’t require expensive gear or advanced editing skills. They come from understanding and leveraging the full potential of your phone’s native camera settings. From tapping to focus and locking exposure, to stabilizing the device and optimizing lighting, each step compounds toward clearer, more professional-looking results.
The next time you raise your phone to take a picture, pause for two seconds. Clean the lens, tap your subject, adjust brightness, brace your arms, and let the timer count down. These small actions yield outsized improvements in image quality.


 浙公网安备
33010002000092号
浙公网安备
33010002000092号 浙B2-20120091-4
Comments
No comments yet. Why don't you start the discussion?