
Calligraphy is more than just beautiful writing—it’s an art form that combines precision, rhythm, and personal expression. While many assume it requires expensive tools or formal training, the truth is you can begin mastering calligraphy at home with only a few basic supplies and consistent practice. Whether you're preparing wedding invitations, journaling, or simply seeking a mindful creative outlet, self-taught calligraphy is within reach. With structured learning, daily drills, and a clear understanding of foundational techniques, anyone can develop elegant handwriting from their kitchen table.
Essential Tools for Beginner Calligraphy
Starting with the right tools sets the foundation for clean lines and proper ink flow. You don’t need a full studio setup—just a handful of accessible items will get you started.
- Nib pen holder (oblique or straight): An oblique pen is ideal for right-handed writers doing pointed pen styles like Copperplate, as it allows the nib to angle correctly. Left-handed writers may prefer a straight holder.
- Calligraphy nibs: Begin with a reliable, beginner-friendly nib such as the Nikko G or Zebra G. These hold ink well and are durable enough to withstand early pressure mistakes.
- Ink: Choose a non-waterproof, water-based ink like Dr. Ph. Martin’s Bleed Proof White or Higgins Eternal. Avoid India ink initially—it can clog nibs easily.
- Paper: Use smooth, bleed-resistant paper. Printer paper works in a pinch, but marker paper or Rhodia pads prevent feathering and allow smoother strokes.
- Ruler and pencil: For drawing guide lines to maintain consistent letter height and slant.
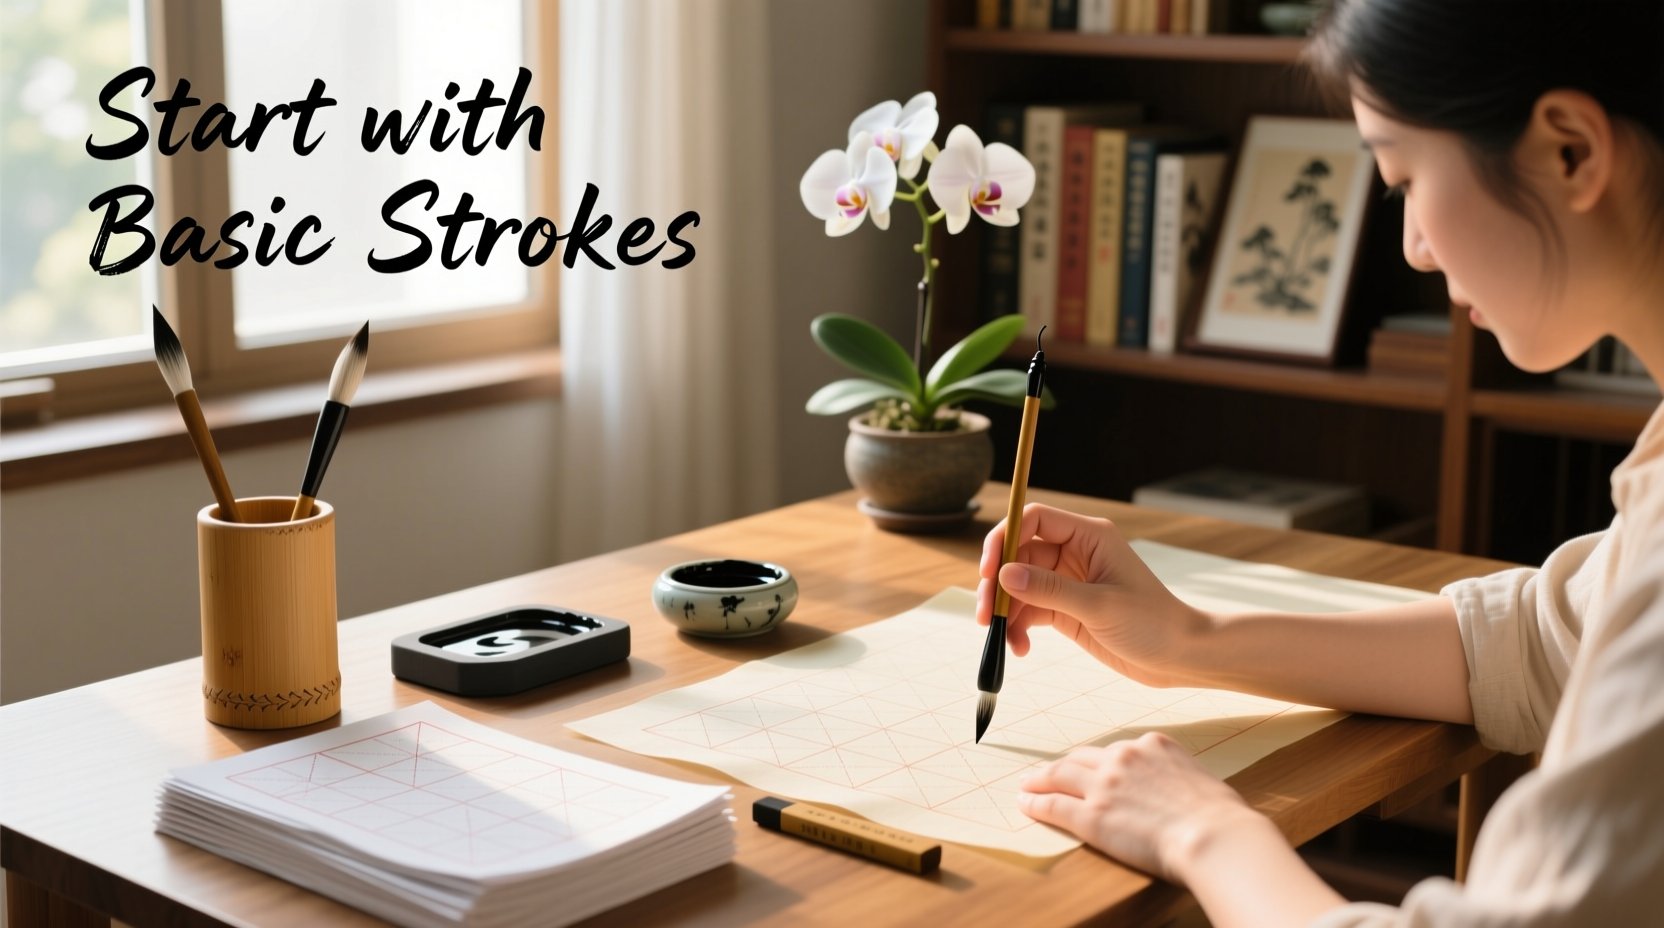
Understanding Basic Strokes and Letterforms
All calligraphy alphabets—whether modern, copperplate, or italic—are built from a small set of fundamental strokes. Mastery begins not with full letters, but with deliberate repetition of these components.
The core strokes include:
- Upstrokes (thin, hairline lines created with minimal pressure)
- Downstrokes (thick lines achieved by applying gentle pressure on the nib)
- Ovals, compound curves, and ascending/descending loops
Practice each stroke slowly, focusing on consistency. Use a 5mm guideline sheet (drawn with pencil and ruler) to maintain uniformity. Repeat each stroke across the page until muscle memory begins to form. This stage may feel tedious, but it’s where real progress happens.
“Muscle memory is everything in calligraphy. The hand learns through repetition, not inspiration.” — Sheila Waters, renowned calligrapher and educator
Step-by-Step Guide to Your First Practice Session
- Set up your workspace: Sit at a table with good lighting. Position your paper at a 45-degree angle if using an oblique pen.
- Draw guidelines: Use a pencil and ruler to mark top, waist, and baseline lines spaced 5mm apart.
- Load your nib: Dip the nib into ink just above the vent hole. Wipe excess gently on the bottle’s rim.
- Begin with downstrokes: Press slightly as you move downward; release pressure on upstrokes. Aim for even thickness.
- Practice ovals and loops: These form the basis of 'o', 'd', 'b', and other round letters.
- Rest and reflect: After 15–20 minutes, stop. Review your work: Are downstrokes consistently thick? Are upstrokes clean?
Choosing a Style and Building an Alphabet
Beginners often struggle with choosing which calligraphy style to learn. While options abound, starting with one structured system prevents confusion. Two excellent entry points are:
- Foundational Hand (a.k.a. Bookhand): A simplified version of Carolingian minuscule, ideal for beginners due to its clarity and upright structure.
- Modern Pointed Pen Script: A flexible, expressive style with dramatic thick-thin contrast, popular for quotes and invitations.
Whichever you choose, follow a progressive path:
- Master all basic strokes individually.
- Combine strokes into lowercase letters, one at a time.
- Practice common letter combinations (e.g., “ri,” “na,” “th”).
- Add uppercase letters once lowercase is consistent.
- Write simple words, then short phrases.
| Stage | Focus | Practice Time Per Day | Expected Duration |
|---|---|---|---|
| Basic Strokes | Consistent thin upstrokes, thick downstrokes | 15–20 minutes | 1–2 weeks |
| Lowercase Letters | Forming individual letters with correct proportions | 20–30 minutes | 2–4 weeks |
| Uppercase & Words | Spacing, alignment, word flow | 30 minutes | 3–6 weeks |
| Flourishes & Projects | Adding personal style, completing cards or quotes | 30+ minutes | Ongoing |
Avoiding Common Mistakes
New learners often unknowingly adopt habits that slow progress. Recognizing these pitfalls early can save months of frustration.
- Skipping guidelines: Writing without lines leads to inconsistent sizing and slant. Always use them, even when practicing freehand later.
- Pressing too hard: Excessive pressure damages nibs and causes ink blobs. Let the nib do the work—gentle, controlled pressure is key.
- Practicing too long too soon: Fatigue ruins form. Limit initial sessions to 20 minutes to maintain focus and prevent strain.
- Chasing perfection immediately: Calligraphy evolves over time. Embrace messy pages as part of the process.
“Every master was once a beginner who kept going despite crooked letters and ink spills.” — Patricia Lovett, MBE, British calligrapher and author
Creating a Sustainable Practice Routine
Progress in calligraphy depends less on talent and more on regular, focused practice. Establishing a routine ensures gradual improvement without burnout.
Here’s a realistic weekly plan for self-guided learners:
Weekly Practice Checklist
- ✅ Warm up with 5 minutes of basic strokes (3x per week)
- ✅ Practice 2–3 new letters or transitions (daily, 10 minutes)
- ✅ Write 3 short words using practiced letters (every other day)
- ✅ Review previous work weekly to track improvement
- ✅ Complete one small project (e.g., quote card, envelope) every 2 weeks
Use a notebook or dedicated sketchbook to store practice sheets. Date each page. Over time, flipping through your book will reveal tangible progress—even on days when improvement feels invisible.
Mini Case Study: Maria’s Journey from Scribbles to Scripts
Maria, a graphic designer from Portland, wanted to add hand-lettered elements to her branding projects. With no prior experience, she began teaching herself calligraphy using a $12 starter kit from a local art store. She committed to 20 minutes a day, six days a week, following online worksheets and YouTube tutorials.
For the first two weeks, she focused solely on downstrokes and ovals. Her early pages were uneven and blotchy. But by week four, her lowercase ‘n’, ‘m’, and ‘u’ showed consistent shape and slant. At six weeks, she wrote her first wedding invitation suite for a friend—earning compliments on the elegant script.
Within three months, Maria had developed a signature style and began offering custom calligraphy as a side service. Her secret? Daily micro-sessions and patience. “I didn’t try to write full quotes on day one,” she says. “I trusted the process, one stroke at a time.”
Frequently Asked Questions
Can I learn calligraphy without any artistic background?
Absolutely. Calligraphy is a skill based on technique and repetition, not innate artistic talent. Millions have learned it as adults with no prior drawing experience. Focus on form, consistency, and practice.
What if I’m left-handed? Will calligraphy be harder?
Left-handed writers face unique challenges—like smudging—but they are not insurmountable. Use a slanted surface, write with your hand below the line, and consider a flick pen or ergonomic holder. Many left-handed calligraphers develop excellent styles with slight adjustments.
How long does it take to write beautifully?
With consistent practice (20–30 minutes daily), most beginners produce legible, attractive script within 6–8 weeks. Mastery takes months or years, but usable results appear much sooner. Progress is cumulative and visible over time.
Conclusion: Start Where You Are
You don’t need a studio, a mentor, or a perfect hand to begin calligraphy. All you need is a nib, some ink, a sheet of paper, and the willingness to practice. Every expert once held a wobbly pen and questioned their ability. What separates them is not talent, but persistence.
Today, you can write your first stroke. Tomorrow, your first letter. In weeks, your first phrase. Each line you draw strengthens your control and deepens your understanding. There’s no gatekeeper to this art—only the next page waiting to be filled.


 浙公网安备
33010002000092号
浙公网安备
33010002000092号 浙B2-20120091-4
Comments
No comments yet. Why don't you start the discussion?