
In today’s digital world, typing isn’t just a skill—it’s a necessity. Whether you're responding to emails, writing reports, or coding software, the ability to type quickly and accurately without looking at the keyboard can save hours every week. Yet, many people still hunt and peck, slowing down their productivity and increasing mental fatigue. The good news? You don’t need expensive courses or years of practice to master touch typing. With focused effort and the right strategy, you can learn to type properly from the comfort of your home in under four weeks.
This guide breaks down a realistic, step-by-step approach that combines technique, consistency, and feedback—so you build muscle memory efficiently and avoid common pitfalls. By the end of this month-long journey, you’ll be able to type confidently without glancing at the keys, significantly boosting both speed and precision.
The Foundation: Understanding Touch Typing
Touch typing is the method of typing without using sight to locate keys. Instead, your fingers remain on a “home row”—ASDF for the left hand and JKL; for the right—with each finger assigned to specific keys. This allows for fluid movement across the keyboard based on tactile memory rather than visual cues.
Unlike “hunt and peck” typing, which relies on finding one key at a time, touch typing engages all ten fingers in coordinated motion. It reduces strain, increases accuracy, and over time, dramatically improves typing speed—often from 20–30 words per minute (WPM) to 60+ WPM or higher.
“Touch typing isn’t about speed at first—it’s about building correct habits. Speed follows accuracy.” — Dr. Linda Chen, Human-Computer Interaction Researcher
Many adults attempting to retrain themselves struggle because they try to maintain their old typing style while adding new skills. True progress comes from starting fresh, accepting temporary slowdowns, and focusing on form over speed in the early stages.
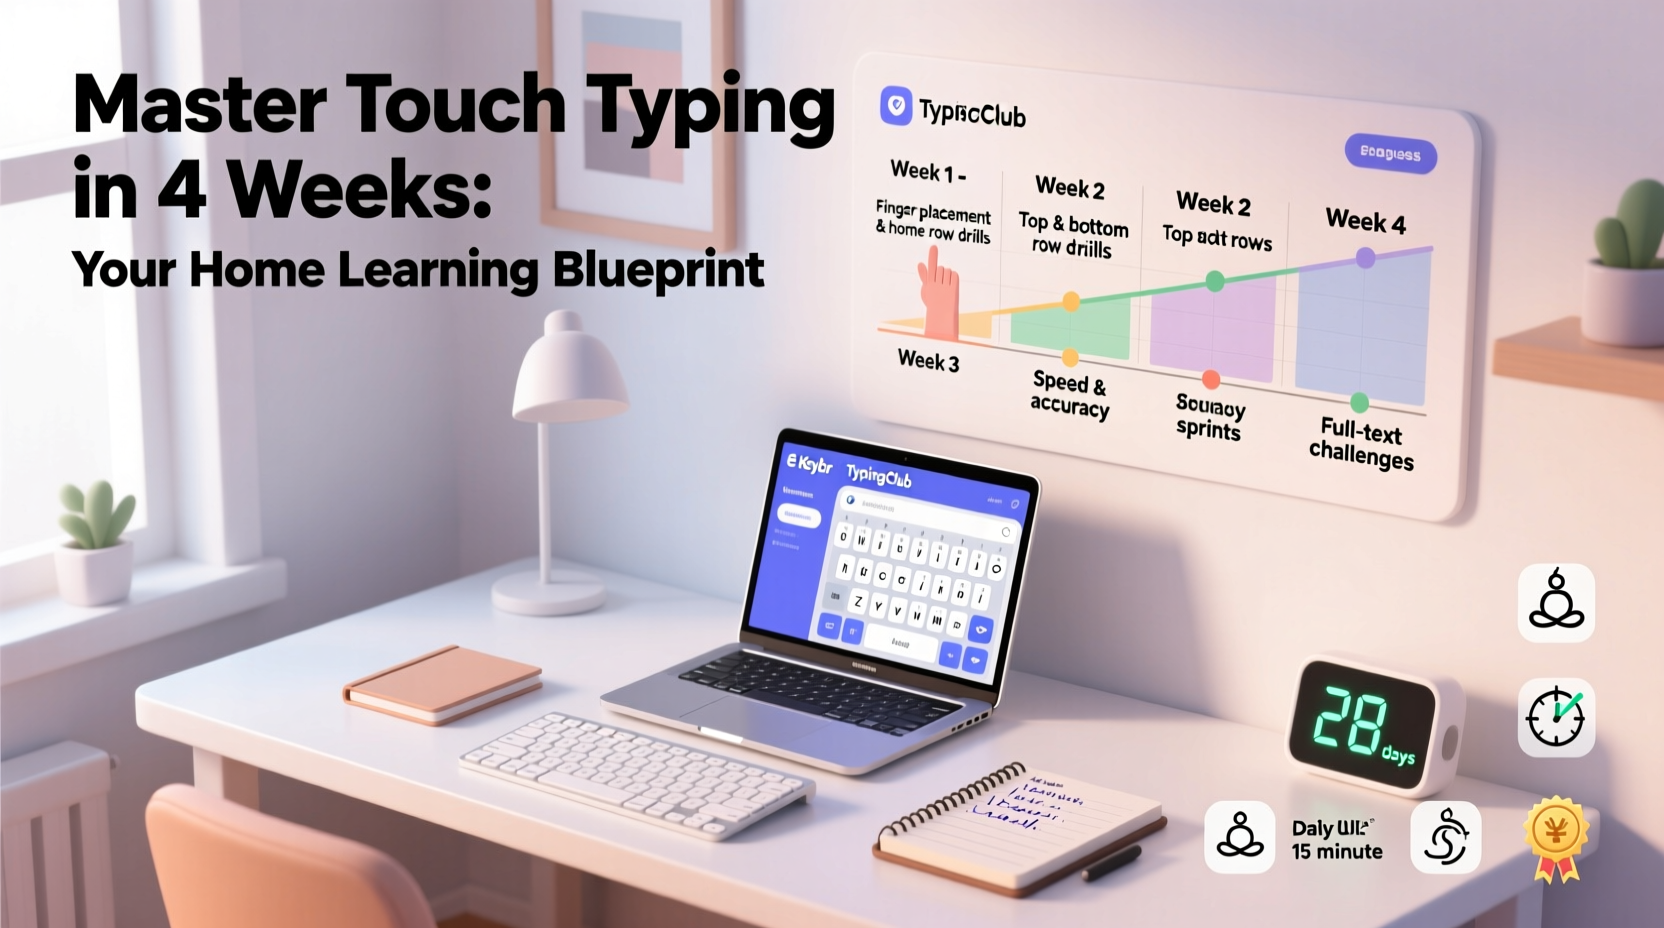
Week-by-Week Plan: A Four-Week Roadmap
Learning touch typing in under four weeks requires structure and daily commitment. Dedicate 30–45 minutes per day, five to six days a week. Follow this progressive timeline to ensure steady improvement:
Week 1: Learn the Home Row and Basic Keys
Begin by positioning your hands correctly. Left index finger on “F,” right index finger on “J.” Most keyboards have small raised bumps on these keys to help you find them by touch. Keep your wrists slightly elevated, elbows bent at 90 degrees, and shoulders relaxed.
Spend the first week mastering only the home row keys: A, S, D, F, J, K, L, ;. Practice typing simple combinations like “fjkl; asdf” repeatedly until your fingers move instinctively. Then gradually introduce adjacent rows—one row above (R, T, G, Y, H, U, J) and one below (V, B, N, M, C, Comm, X, Z).
Week 2: Expand to Full Keyboard Coverage
Now that you’re comfortable with the core letters, expand to numbers, symbols, and less frequently used keys. Focus on proper reach mechanics: use your pinky for Shift and Enter, ring finger for punctuation, and thumbs for the spacebar.
Practice sentences that incorporate capitalization, commas, and periods. Avoid shortcuts like using the same finger for multiple keys. Consistency in finger assignment builds long-term muscle memory.
Week 3: Build Speed and Accuracy
By now, you should be able to type short phrases without looking. This week, shift focus to reducing errors while increasing pace. Set goals: aim for 95% accuracy before pushing for higher WPM.
Use timed drills—type for three-minute intervals and track your average speed. Don’t rush. If you make frequent mistakes, slow down and reinforce correct form. Speed gains come naturally once neural pathways are reinforced.
Week 4: Real-World Application and Fluency
Apply your skills outside training platforms. Write journal entries, draft emails, or transcribe short articles using only touch typing. Resist the urge to glance at the keyboard—even when stuck.
Test your final speed using standardized tests like those on 10FastFingers or TypeRacer. Most learners reach 50–70 WPM by week four with consistent practice. More importantly, they develop confidence in sustained typing sessions.
Essential Tools and Resources
You don’t need special equipment—just a standard keyboard and internet access. However, choosing the right tools accelerates learning. Here’s a comparison of popular free typing platforms:
| Platform | Best For | Key Features | Time to First Lesson |
|---|---|---|---|
| TypingClub | Beginners & visual learners | Interactive animations, gamified lessons, progress tracking | Immediate |
| Keybr | Data-driven learners | Adaptive exercises, detailed analytics, custom word generation | Immediate |
| Ratatype | Structured learners | Certification upon completion, clear lesson hierarchy | Immediate |
| 10FastFingers | Speed testing | Live typing races, multi-language support, community challenges | Immediate |
All of these are free to start and accessible via browser. No downloads required. Choose one and stick with it for at least two weeks to avoid fragmentation of muscle memory.
Common Mistakes to Avoid
Even with the best intentions, learners often sabotage their progress through subtle but damaging habits. Watch out for these:
- Peeking at the keyboard: Glancing down reinforces dependency. If you lose position, close your eyes, feel for F and J, then resume.
- Using incorrect fingers: Assign each key to a specific finger and stick to it—even if another finger feels closer.
- Prioritizing speed too early: Fast but inaccurate typing creates bad habits. Aim for 98% accuracy before increasing difficulty.
- Practicing inconsistently: One hour on Saturday won’t compensate for no practice Monday through Friday. Daily repetition is essential.
- Ignoring posture: Slouching or wrist bending leads to discomfort and RSI (repetitive strain injury). Sit upright, feet flat, screen at eye level.
“Over 60% of self-taught typists who fail do so because they skip foundational accuracy work.” — Mark Rivera, Digital Literacy Instructor
Real Progress: A Mini Case Study
Sophie, a 28-year-old administrative assistant, spent years typing at 32 WPM using three fingers. She made frequent typos and felt embarrassed during live document sharing meetings. Determined to improve, she followed a structured four-week program similar to this one.
She started with TypingClub, dedicating 35 minutes each morning before work. Week one was frustrating—her speed dropped to 18 WPM as she unlearned bad habits. But by week two, her fingers began moving automatically. She kept a sticky note on her monitor reminding her: “No looking. Trust your hands.”
By day 25, Sophie reached 58 WPM with 96% accuracy. She began drafting emails twice as fast and reported feeling less mental fatigue at the end of the day. After six months, her average speed stabilized at 72 WPM—more than double her original rate.
Her success wasn’t due to talent, but consistency and willingness to embrace initial discomfort. As she put it: “It felt like relearning to walk at first. But now I can’t imagine going back.”
Action Checklist: Your 4-Week Success Plan
Follow this checklist daily to stay on track:
- Set up a distraction-free workspace with proper ergonomics.
- Choose one typing platform and commit to it for all sessions.
- Warm up with 2 minutes of home row drills before each session.
- Type for 30–45 minutes with full attention—no multitasking.
- Maintain 95%+ accuracy; reduce speed if error rate climbs.
- End each session with a 3-minute timed test to track progress.
- Review mistakes and repeat problematic sequences slowly.
- Practice real-world typing (emails, notes) at least twice a week.
- Take one rest day per week to prevent burnout.
- After week four, take a benchmark test and celebrate your improvement.
Frequently Asked Questions
Can I learn touch typing if I’ve been typing the wrong way for years?
Absolutely. Age and prior experience aren’t barriers. While retraining takes more discipline than learning from scratch, thousands of adults successfully transition from hunt-and-peck to touch typing every year. The key is patience and adherence to correct form.
How fast should I expect to type after four weeks?
Most learners reach 50–70 WPM within four weeks of consistent practice. However, individual results vary based on starting point, practice quality, and prior keyboard familiarity. Focus on accuracy first—speed will follow.
Is a mechanical keyboard better for learning?
Not necessarily. While mechanical keyboards offer tactile feedback that some find helpful, any responsive, well-maintained keyboard works. What matters most is key layout and comfort. Avoid flimsy laptop keyboards if possible, but don’t delay practice waiting for ideal equipment.
Final Thoughts: Start Today, Type Freely Tomorrow
Learning to touch type in under four weeks is not a lofty goal—it’s an achievable transformation available to anyone willing to invest half an hour a day. The benefits extend far beyond typing speed: improved focus, reduced stress, enhanced job performance, and greater confidence in digital environments.
The hardest part isn’t the typing itself—it’s starting. The first few days will feel awkward. You’ll make more mistakes. But each session strengthens the connection between your brain and fingers. Within weeks, what once required intense concentration becomes automatic.


 浙公网安备
33010002000092号
浙公网安备
33010002000092号 浙B2-20120091-4
Comments
No comments yet. Why don't you start the discussion?