
Makeup brushes are essential tools in any beauty routine, but they often go unnoticed until performance declines or skin issues arise. Over time, bristles accumulate bacteria, product buildup, and environmental debris—compromising both hygiene and makeup finish. Knowing when to clean your brushes and when to replace them is critical for maintaining skin health and achieving flawless results. Unlike skincare products with expiration dates, brushes don’t come with labels indicating their lifespan. Instead, their condition depends on usage, care, and material quality. This guide breaks down the signs that signal it’s time to deep clean—or finally retire—your favorite tools.
When and Why Cleaning Matters
Cleaning your makeup brushes isn’t just about aesthetics; it’s a fundamental step in preventing breakouts, irritation, and infections. Every time you apply foundation, concealer, or powder, your brush picks up not only product but also dead skin cells, oils, and bacteria from your face. These contaminants multiply over time, especially in damp bristles left uncleaned. The longer you wait between washes, the higher the risk of transferring harmful microbes back onto your skin.
Experts recommend cleaning frequency based on use:
- Daily users: Clean foundation, concealer, and cheek brushes weekly.
- Weekly users: Clean every two to three weeks.
- Eyeshadow brushes: Can be cleaned monthly unless used with cream products, which require more frequent washing.
A simple rule: if a brush smells musty, feels stiff, or leaves residue on a tissue when swiped, it’s overdue for a wash.
Signs Your Brushes Need Replacing
No matter how well you care for your brushes, they won’t last forever. Over time, even high-quality tools degrade. Recognizing the warning signs helps prevent poor blending, patchy application, and skin irritation caused by shedding bristles or mold growth.
Here are the key indicators it’s time to replace your brushes:
- Bristles fall out excessively. Some shedding after washing is normal, especially with natural hair brushes. But if multiple bristles detach during regular use, the glue in the ferrule (metal part) has weakened, compromising hygiene and structure.
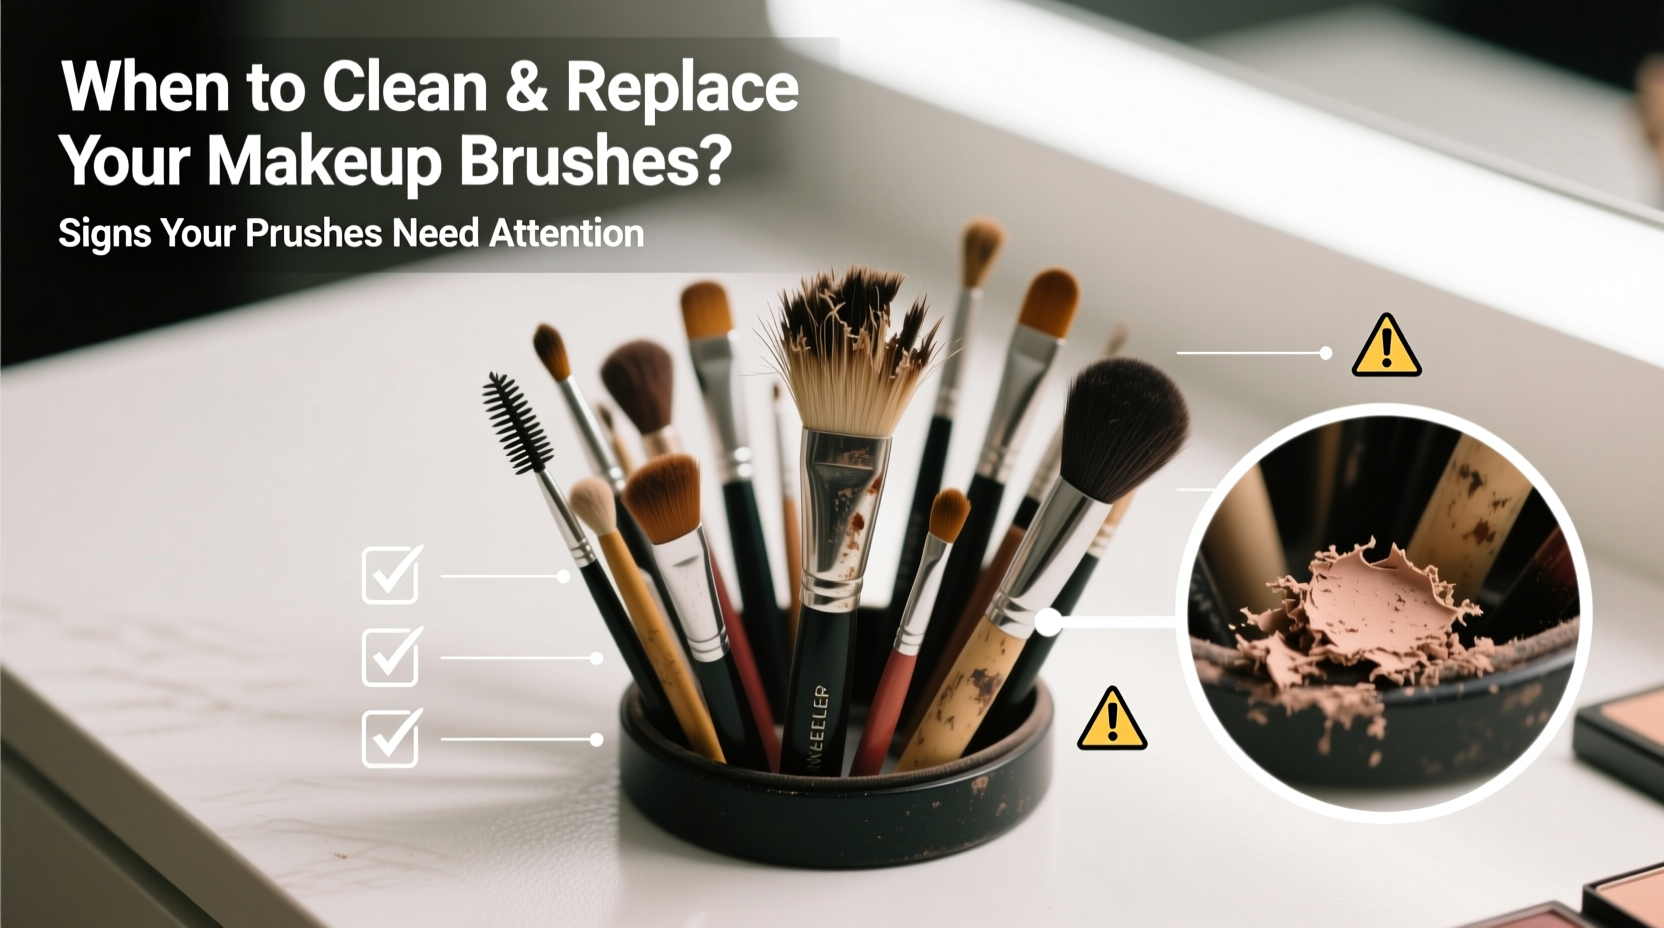
- Bristles are frayed, splayed, or misshapen. A brush that no longer holds its form can't deliver precise application. If the tip fans out or bends unnaturally, it won’t blend properly and may tug at the skin.
- The handle is cracked or loose. Structural damage increases bacterial retention and poses a safety risk. Loose handles can separate completely, leaving you mid-routine without a tool.
- They harbor persistent odor or mildew. Even after thorough cleaning, if a brush still smells sour or musty, bacteria or fungus may be embedded deep in the bristles or ferrule.
- You’ve used them during an active skin infection. If you applied makeup with brushes while experiencing acne flare-ups, cold sores, or fungal infections, it's safest to replace them—even after cleaning—to avoid reinfection.
“Makeup brushes should be treated like skincare tools. When they’re compromised, they can do more harm than good.” — Dr. Lena Patel, Cosmetic Dermatologist
Step-by-Step Guide to Cleaning Your Makeup Brushes
Regular cleaning extends brush life and ensures hygienic application. Follow this proven method for deep-cleaning both synthetic and natural bristle brushes.
- Rinse under lukewarm water. Hold brushes at an angle so water doesn’t seep into the ferrule, which can loosen the glue and cause shedding.
- Apply cleanser to palm or cleaning mat. Use a few drops of brush shampoo, baby shampoo, or a dedicated cleaner. Gently swirl the bristles in circular motions to lift dirt.
- Rinse thoroughly. Continue rinsing until water runs clear and no suds remain.
- Squeeze out excess water. Use a clean towel to gently press moisture from the bristles. Avoid wringing, which can bend or pull hairs.
- Reshape and dry flat. Lay brushes horizontally on a towel with bristles hanging slightly off the edge to prevent water pooling in the ferrule. Drying upright can cause water to drip into the handle, promoting mold.
- Allow 6–12 hours to dry completely. Never use a wet brush—it dilutes product and becomes a breeding ground for bacteria.
Do’s and Don’ts of Brush Maintenance
| Do’s | Don’ts |
|---|---|
| Clean brushes regularly based on use frequency | Soak brushes fully in water |
| Store brushes upright in a breathable container | Leave wet brushes lying flat on a surface |
| Use a gentle, sulfate-free cleanser | Use hot water or harsh detergents |
| Replace heavily worn or contaminated brushes | Share brushes without sanitizing first |
| Rotate brushes to extend lifespan | Store in humid areas like bathrooms |
Proper storage plays a major role in longevity. Keep brushes in a cool, dry place away from direct sunlight and humidity. Avoid sealed plastic containers, which trap moisture. Instead, opt for open-top jars or fabric roll-up cases that allow airflow.
Real-Life Example: The Foundation Brush That Caused Breakouts
Sophia, a 28-year-old marketing executive, noticed recurring chin breakouts despite following a strict skincare regimen. She switched cleansers, avoided comedogenic products, and consulted a dermatologist—but the issue persisted. After reviewing her makeup habits, her esthetician asked about her foundation brush. Sophia admitted she hadn’t cleaned it in over two months and used it daily. Upon inspection, the brush had hardened bristles, visible yellow buildup near the base, and a faint sour smell. She washed it thoroughly and replaced it within a week. Within 10 days, her breakouts began to clear. The culprit? Bacteria-laden bristles reintroducing impurities to her skin each morning.
This case highlights how easily hygiene can be overlooked—even by diligent self-care enthusiasts. A single neglected tool can undermine an entire routine.
Brush Lifespan by Type and Care Level
Not all brushes age at the same rate. Material, frequency of use, and cleaning habits all influence longevity.
| Brush Type | Average Lifespan (with proper care) | Lifespan (with poor care) |
|---|---|---|
| Natural Hair (e.g., goat, sable) | 3–5 years | 6–12 months |
| Synthetic Fibers | 2–4 years | 6–18 months |
| Hybrid Blends | 2–3 years | 1 year |
| Disposable or Drugstore Brushes | 6–12 months | 3–6 months |
Natural hair brushes tend to last longer when cared for correctly but are more prone to damage from improper drying. Synthetic brushes resist water absorption and are ideal for cream products, which are harder to clean out of porous natural fibers.
Frequently Asked Questions
Can I use dish soap to clean my makeup brushes?
Yes, but sparingly. Mild dish soap like Dawn can cut through oil-based products, but it’s stronger than necessary for regular cleaning. Overuse can strip bristles and dry out natural hairs. Reserve it for deep cleans and always follow with a conditioner if using on natural fiber brushes.
Is it safe to share makeup brushes with others?
It’s not recommended without thorough sanitization. Sharing brushes transfers bacteria, viruses (like herpes), and fungi. If sharing is unavoidable—such as in a professional setting—clean and disinfect brushes between each client using a 70% isopropyl alcohol spray after washing.
How can I make my brushes last longer?
Extend lifespan by rotating tools, avoiding excessive pressure during use, cleaning promptly after using heavy products (like full-coverage foundation), and storing them in a dry, ventilated space. Never let brushes sit in water or leave them soaking in a cup.
Checklist: When to Clean or Replace Your Brushes
- ☐ Clean foundation and concealer brushes every 7–10 days
- ☐ Wash eyeshadow brushes monthly (or weekly if using creams)
- ☐ Inspect bristles for shedding or splaying every month
- ☐ Check for foul odors after washing
- ☐ Replace brushes used during active skin infections
- ☐ Discard brushes with loose handles or cracked ferrules
- ☐ Deep clean before storing brushes long-term
Final Thoughts: Treat Your Tools Like Part of Your Routine
Your makeup brushes are more than accessories—they’re extensions of your skincare and beauty practice. Just as you wouldn’t reuse a dirty sponge, you shouldn’t apply makeup with unwashed or deteriorating tools. Regular cleaning prevents bacterial accumulation, preserves bristle quality, and ensures smooth, even application. Replacement isn’t about luxury or trends; it’s about hygiene and performance. By monitoring wear, adhering to a cleaning schedule, and knowing when to let go, you protect your skin and elevate your makeup game.


 浙公网安备
33010002000092号
浙公网安备
33010002000092号 浙B2-20120091-4
Comments
No comments yet. Why don't you start the discussion?