
If your TV screen appears dim, flickers, or turns completely black while sound continues playing, the issue may not be with the display panel itself — it could be a failing backlight. The backlight is a critical component in most modern LED and LCD TVs, responsible for illuminating the screen so images are visible. When it begins to degrade or fails entirely, the viewing experience suffers dramatically. Unlike a cracked screen or dead pixels, backlight issues can be subtle at first but progressively worsen. Recognizing the signs early and understanding your next steps can save time, money, and frustration.
Understanding the Role of the Backlight
In an LCD or LED television, the image you see isn’t self-illuminating like on OLED screens. Instead, liquid crystals form the picture by blocking or allowing light to pass through, and that light comes from a series of LEDs positioned either along the edges (edge-lit) or behind the entire panel (full-array). These LEDs make up the backlight system. Without proper illumination, even a fully functional display will appear dark, washed out, or inconsistent in brightness.
Backlights typically last between 30,000 to 60,000 hours under normal use — roughly 10 to 15 years. However, factors like excessive brightness settings, poor ventilation, power surges, and manufacturing defects can shorten their lifespan significantly.
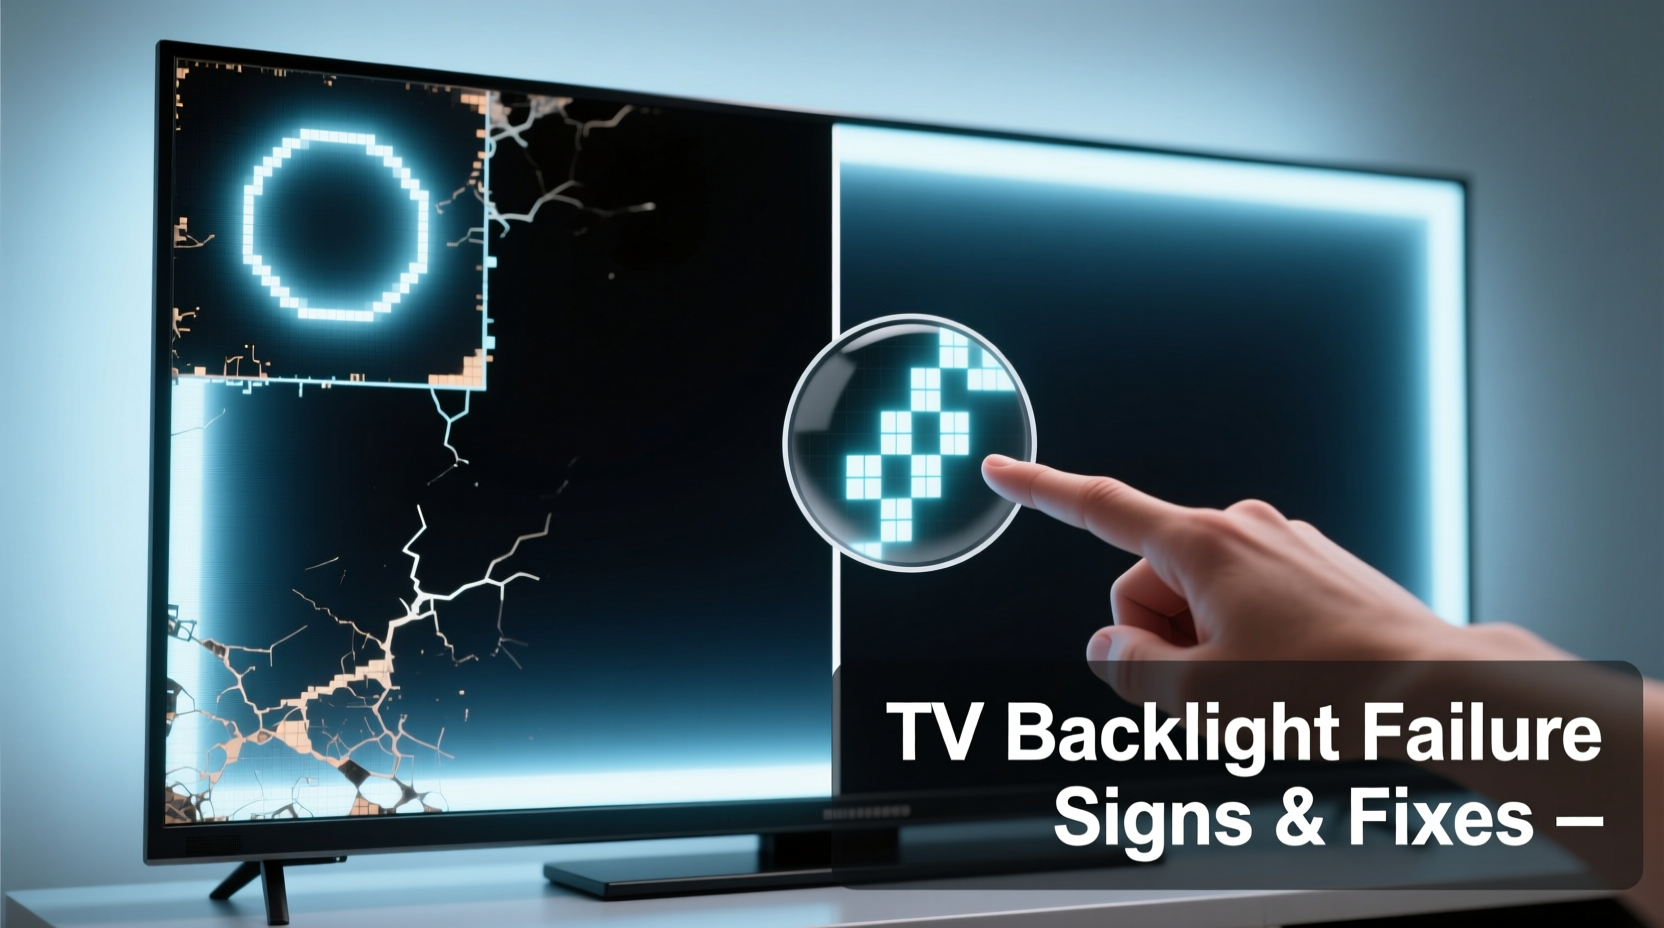
Common Signs of a Failing TV Backlight
Backlight failure doesn’t always mean total darkness. Symptoms can range from mild inconsistencies to complete loss of illumination. Here are the most common indicators:
- Screen appears dim even at maximum brightness: If adjusting brightness settings has little effect, especially in well-lit rooms, the LEDs may be degrading.
- Flickering or pulsing light: Intermittent flashing, particularly when the TV first turns on, often points to unstable current delivery to the backlight array.
- Uneven lighting (clouding or banding): Bright patches, horizontal lines, or shadowy areas across the screen suggest some LEDs are failing while others remain functional.
- No picture but audio still works: A completely black screen with sound indicates the display panel isn’t receiving illumination, though signal processing remains intact.
- Rainbow-like glow or yellow tint in corners: This color distortion often occurs when edge-lit backlights begin to deteriorate unevenly.
- Intermittent screen blackout: The screen cuts out temporarily, then returns — usually worsening over time as thermal stress affects weak connections.
“Backlight issues are among the most frequently misdiagnosed TV problems. Many users assume the panel is dead, but in over half the cases we see, it’s the backlight or its driver circuit causing the symptom.” — Mark Tran, Certified AV Technician with 12 years of repair experience
How to Diagnose a Backlight Problem at Home
You don’t need specialized tools to perform a basic diagnostic check. Follow this step-by-step process to determine whether the backlight is the culprit:
- Turn on the TV and press play on a video source. Ensure audio plays normally.
- Shine a flashlight directly onto the screen. Look closely for any faint image beneath the surface. If you can see outlines of menus or moving scenes, the LCD panel is working — the backlight is not illuminating it.
- Check in a dark room. Sometimes a severely dimmed backlight is only visible in low ambient light. Watch for faint grayish images or flickers.
- Test different inputs. Switch between HDMI sources, built-in apps, and antenna signals. If the problem persists across all inputs, it's hardware-related rather than a signal issue.
- Listen for buzzing or clicking sounds near the edges of the TV. These noises may indicate electrical arcing or failing drivers powering the LEDs.
What It Means If You See an Image With Flashlight Test
If you observe a visible image when shining a light on the screen, the main logic board and display panel are likely functional. The absence of illumination strongly suggests a backlight or power supply fault. This simple test rules out full panel replacement, which is far more expensive.
Step-by-Step: What to Do Next After Confirming Backlight Failure
Once you’ve confirmed the backlight is failing, consider these actions in order of practicality and cost-effectiveness.
1. Check Warranty and Manufacturer Support
Some manufacturers cover backlight components under extended warranties, especially if the TV is less than five years old. Visit the brand’s support site, enter your model and serial number, and review coverage details. Brands like Samsung, LG, and Sony occasionally offer partial coverage for backlight repairs even after standard warranty expires.
2. Evaluate Repair vs. Replacement
Repairing a backlight involves disassembling the TV, diagnosing faulty LED strips or driver boards, and replacing components. Labor costs range from $150 to $400, with parts adding another $80–$200 depending on model availability.
Consider replacement if:
- Your TV is older than 7 years.
- The repair cost exceeds 50% of a comparable new model.
- The model uses outdated technology (e.g., 1080p, no smart features).
Repair makes sense if:
- You own a high-end 4K or HDR TV with superior picture quality.
- You’re attached to the size or mounting setup.
- You’re comfortable attempting a DIY fix (more below).
3. Explore Professional Repair Options
Seek certified technicians who specialize in flat-panel displays. Avoid general electronics shops that lack specific TV repair experience. Ask about:
- Diagnostic fees (some apply toward repair cost).
- Warranty on labor and parts (should be at least 90 days).
- Whether they test both LED strips and power supply boards.
4. Consider a DIY Fix (For Technically Inclined Users)
If you’re experienced with electronics and have proper tools, repairing the backlight yourself is possible. Kits including replacement LED strips, soldering wires, and driver boards are available online for $40–$120.
Danger: Always unplug the TV and wait at least 30 minutes before opening the back panel. Capacitors inside can hold lethal voltage even when unplugged.
Steps for DIY repair:
- Identify your TV model and locate service manual online (sites like PanelSwap.com or ManualsLib.com).
- Order compatible backlight kit or driver board.
- Remove rear casing using appropriate screwdrivers.
- Inspect LED strips for dark spots or burnt areas.
- Test continuity with a multimeter if possible.
- Replace damaged strips or driver board following wiring diagrams.
- Reassemble carefully and test before full reassembly.
5. Recycle or Donate (If Not Repairable)
If the TV cannot be economically repaired, responsibly recycle it through programs like Best Buy’s recycling service, local e-waste facilities, or manufacturer take-back initiatives. Never dispose of electronics in household trash due to hazardous materials.
Backlight Issues: Repair Costs and Alternatives Compared
| Action | Avg. Cost | Time Required | Best For |
|---|---|---|---|
| Professional Repair | $200–$500 | 1–2 weeks | Premium TVs under 6 years old |
| DIY Backlight Kit | $50–$150 | 3–6 hours | Experienced hobbyists; common models |
| Buy New Mid-Range TV | $300–$700 | Same day | Outdated or large-screen TVs |
| Use as Audio-Only Device | $0 | Immediate | Repurposing for music/smart home |
| Recycle | Free–$25 | 1–3 days | Non-functional, obsolete units |
Real-World Example: Sarah’s Living Room TV Recovery
Sarah noticed her 5-year-old 55-inch TCL Roku TV had become increasingly dim over several months. At first, she thought it was a setting issue and adjusted brightness repeatedly. Eventually, the screen went completely black one evening — but she could still hear dialogue from her show.
She performed the flashlight test and saw a faint image. Research led her to suspect the backlight. She contacted TCL support, where a technician confirmed the model (Series 6) had known backlight driver issues. TCL offered a discounted repair program: $120 for parts and labor, down from $380.
Sarah accepted the deal. The repair took six days, including shipping. Her TV now performs like new, saving her nearly $500 compared to buying a similar-sized replacement with equivalent HDR performance.
Frequently Asked Questions
Can a failing backlight damage other parts of my TV?
Not directly. However, a malfunctioning backlight power board can sometimes send irregular voltage to other circuits. If left unattended, this could lead to secondary failures in the main board or T-con board. Early diagnosis helps prevent cascading issues.
Is it safe to keep using a TV with a flickering backlight?
Yes, in terms of safety. Modern TVs include protective circuits that shut down problematic components. However, continued use may accelerate degradation. Frequent on-off cycling due to flicker can also strain internal components over time.
Will turning off my TV when not in use prevent backlight failure?
Yes. Reducing runtime extends LED lifespan. Additionally, enabling automatic brightness controls and avoiding static images (like news tickers or logos) reduces thermal stress on the backlight array, slowing wear.
Prevention Tips to Extend Backlight Lifespan
Even if your TV is currently healthy, adopting preventive habits can delay or avoid backlight issues altogether:
- Enable Eco Mode or Ambient Light Sensing: Automatically adjusts brightness based on room lighting.
- Avoid Maximum Brightness Settings: Set brightness to 50–70% for daily use unless needed for HDR content.
- Ensure Proper Ventilation: Leave at least 2–3 inches of space around the TV, especially at the back and sides.
- Use Surge Protectors: Voltage spikes can damage sensitive LED drivers.
- Power Down Completely: Standby mode still draws power; use a smart plug to cut electricity when off.
Conclusion: Act Early, Save Time and Money
Recognizing the early signs of backlight failure empowers you to act before the problem becomes irreversible. Whether you choose professional repair, a DIY solution, or upgrading to a new model, understanding your options puts you in control. Don’t dismiss a dark screen as “the end” — in many cases, the core technology is still sound, and restoring illumination brings your TV back to life.
Take action today: test your screen with a flashlight, check warranty status, and evaluate cost-effective solutions. Your favorite shows, movies, and games deserve a bright, clear display. Share your experience or questions below — helping others navigate repair decisions strengthens the community of informed consumers.


 浙公网安备
33010002000092号
浙公网安备
33010002000092号 浙B2-20120091-4
Comments
No comments yet. Why don't you start the discussion?