
Tying a tie shouldn’t be a morning obstacle. For professionals rushing to meetings, groomsmen preparing for weddings, or anyone needing a polished look in a flash, mastering a quick and clean knot is essential. While many know the full Windsor or Four-in-Hand, few have perfected a technique that delivers a sharp appearance in under half a minute. This guide reveals the fastest, most efficient way to tie a tie—using a streamlined version of the Four-in-Hand knot—along with pro tips, common mistakes, and real-world applications to ensure you’re ready in seconds.
The Speed Tie: Why It Matters
In high-pressure environments, every second counts. Whether you're adjusting your outfit before a client call or stepping into a formal event with minutes to spare, knowing how to tie a tie quickly without sacrificing style gives you an edge. The ideal fast-tie method balances simplicity, symmetry, and speed. It must work with standard-length ties (57–59 inches), suit collars, and require minimal re-adjustment.
The Four-in-Hand knot, though often considered basic, is the foundation of rapid tying. Its asymmetrical shape works well with most collar styles, especially narrow spreads, and requires only four core movements. When optimized, it can be tied in as little as 20 seconds with practice.
“Time efficiency in grooming reflects professionalism. A man who can present himself flawlessly in under 30 seconds commands attention.” — Daniel Reyes, Menswear Stylist & Grooming Consultant
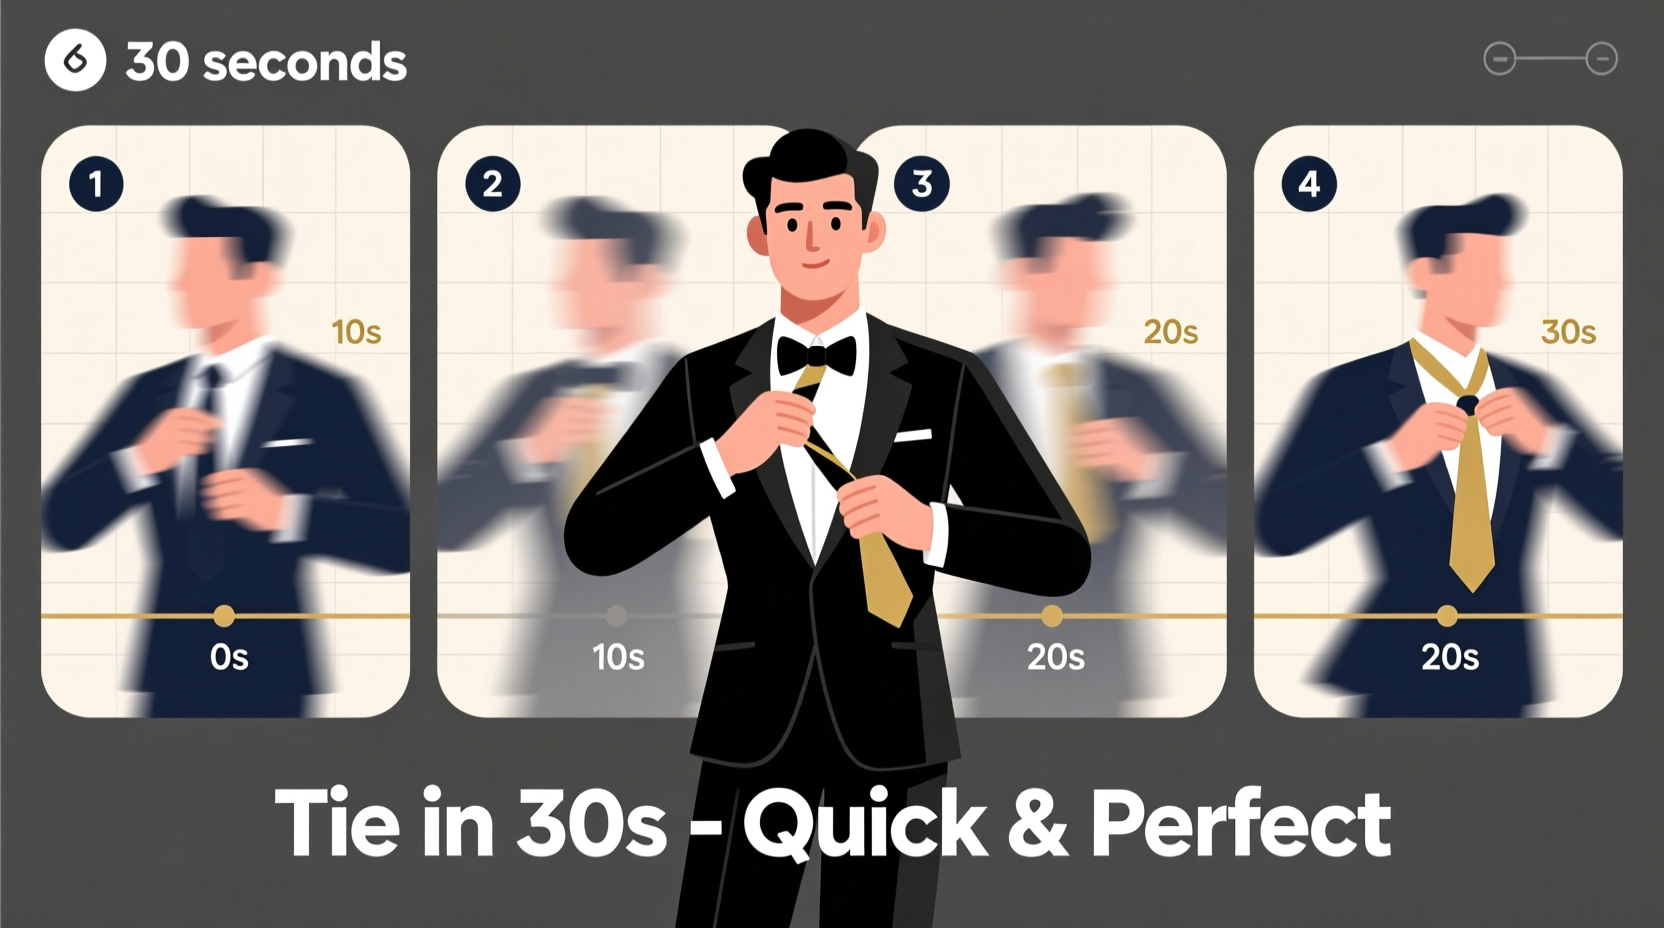
Step-by-Step: The 30-Second Four-in-Hand Method
This refined sequence eliminates unnecessary steps, reduces fumbling, and ensures consistent results. Follow these steps precisely for optimal speed:
- Start with the right position: Drape the tie around your neck with the wide end on your right side, extending about 12 inches below the narrow end. This pre-measurement avoids mid-tie adjustments.
- Cross wide over narrow: Bring the wide end horizontally across the front of the narrow end, forming an “X” just below your chin.
- Loop wide under narrow: Pull the wide end underneath the narrow end and back up through the neck loop. Keep tension light at this stage.
- Bring wide down through the front loop: Guide the wide end straight down through the triangular loop now formed at the front.
- Final pull and tighten: Hold the knot gently with one hand and slide the wide end down smoothly. Use your other hand to tug slightly on the narrow end from behind to center the knot. Adjust the dimple just above the knot by pinching.
Timing Breakdown: What Each Step Should Take
| Step | Action | Target Time |
|---|---|---|
| 1 | Position tie correctly | 5 seconds |
| 2 | Cross wide over narrow | 3 seconds |
| 3 | Loop under and up through neck loop | 6 seconds |
| 4 | Pass through front loop | 4 seconds |
| 5 | Tighten and adjust | 7 seconds |
| Total | Complete tie | ~25 seconds |
With repetition, experienced users consistently achieve 20–25 seconds. The key is minimizing hesitation between steps and maintaining consistent starting length.
Common Mistakes That Slow You Down
Even small errors can add 10–15 seconds to your routine. Avoid these frequent pitfalls:
- Incorrect starting length: If the wide end begins too short or too long, you’ll need to untie and restart. Always measure so the wide end hangs 10–12 inches below the narrow end before beginning.
- Over-tightening mid-process: Yanking the tie during steps 2–4 distorts the knot and makes final adjustment harder.
- Forgetting the dimple: Skipping the fabric pinch above the knot results in a flat, lifeless appearance. This small detail takes two seconds but elevates the entire look.
- Mis-threading the front loop: Passing the wide end behind instead of through the front loop creates a tangled mess. Focus on guiding it directly through the triangle formed after step 3.
Checklist: Master the 30-Second Tie
Use this checklist daily until the process becomes automatic:
- ✅ Ensure collar is up and shirt is fully buttoned
- ✅ Drape tie with wide end 12 inches below narrow end
- ✅ Cross wide over narrow just below chin
- ✅ Loop wide under and up through neck loop
- ✅ Pull wide end down through front loop
- ✅ Tighten gradually while holding knot base
- ✅ Adjust narrow end so tip hits belt line
- ✅ Pinch dimple into place above knot
- ✅ Smooth lapels and check alignment
Repeat this checklist silently as you tie. Within days, it becomes second nature.
Real-World Example: The Executive’s Morning Rush
James, a financial analyst in Chicago, used to spend 5–7 minutes every morning wrestling with his tie. On late starts, he’d arrive at the office with crooked knots or skip wearing one altogether. After learning the optimized Four-in-Hand method, he practiced for five minutes each day during his coffee break. By day six, he consistently tied his tie in 26 seconds—without a mirror.
During a surprise board meeting called at 8:15 a.m., James had only 90 seconds to get ready after spilling coffee on his first shirt. He changed shirts, tied a fresh tie using the method, and walked into the conference room composed and sharply dressed. Colleagues later commented on his “effortless professionalism.” The skill didn’t just save time—it boosted confidence and perception.
Do’s and Don’ts of Fast-Tie Mastery
| Do’s | Don’ts |
|---|---|
| Practice with the same tie and shirt height | Switch tie lengths or shirt collars during training |
| Keep movements smooth and deliberate | Rush or yank fabric aggressively |
| Use your non-dominant hand to hold the narrow end | Let the narrow end dangle unattended |
| Pre-position the tie before starting the clock | Include setup time in your 30-second goal |
| Store ties properly to prevent creasing | Leave ties knotted overnight, which strains fibers |
Consistency in tools and environment accelerates mastery. Choose one dress shirt and one tie for initial training, then expand to variations once the muscle memory is locked in.
Frequently Asked Questions
Can I use this method with any tie material?
Yes, but silk and polyester blends respond best due to their smooth glide. Thicker materials like wool or knit ties may require slight tension adjustments but still work with this method. Avoid ultra-stiff designer knots—they defeat the purpose of speed.
What if my knot ends up too loose or too tight?
If the knot is too loose, apply slightly more tension during the final pull. If too tight, ease up when threading through the front loop. The ideal knot sits snug against the collar without restricting movement. Practice adjusting pressure—not speed—during early attempts.
Is the Four-in-Hand knot professional enough for job interviews?
Absolutely. While the Full Windsor is more formal, the Four-in-Hand is widely accepted in corporate, legal, and finance settings. Its slimmer profile suits modern suit cuts and narrow lapels. As long as the knot is centered, dimpled, and balanced, it projects competence and attention to detail.
Advanced Tips for Sub-25 Second Tying
Once you’ve mastered the basics, refine your technique with these pro-level strategies:
- Pre-set the neck loop: Before placing the tie on, form the neck loop with your hands so it’s ready to accept the wide end during step 3.
- One-motion tuck: Instead of pausing after looping through the neck, continue the motion forward into the front loop without stopping.
- Neck-thumb anchor: Rest your thumb lightly against the inside of your collar to stabilize the knot area while pulling the wide end down.
- Blind-tie readiness: Practice closing your eyes during the final three steps. This builds tactile confidence useful in dimly lit areas or moving vehicles.
Conclusion: Efficiency Meets Elegance
Tying a tie in under 30 seconds isn’t about cutting corners—it’s about mastering precision through repetition. The Four-in-Hand method, when executed with intention, offers a clean, professional finish faster than any other traditional knot. From rushed mornings to unexpected formal occasions, this skill ensures you’re always ready to present your best self.
Start today. Dedicate five minutes each morning to practice. Use the checklist, avoid common errors, and track your time. In less than a week, you’ll tie your tie faster than it takes to brew a cup of coffee. That’s not just convenience—it’s confidence built into your routine.


 浙公网安备
33010002000092号
浙公网安备
33010002000092号 浙B2-20120091-4
Comments
No comments yet. Why don't you start the discussion?