
Turning cherished memories into wall-worthy displays doesn’t require a professional studio or expensive equipment. With the right approach, you can convert your favorite digital photos into gallery-quality canvas art from the comfort of your home. Whether it’s a family portrait, a travel snapshot, or a pet photo that brings a smile, transforming it into canvas art adds depth, warmth, and personal character to any room. This guide walks through the entire process—from selecting the perfect image to mounting and framing—so you can create pieces that feel intentional, artistic, and timeless.
Selecting the Right Photo
The foundation of great canvas art is a strong photograph. Not every photo translates well when enlarged and printed on canvas. Prioritize images with high resolution (at least 300 DPI at the intended print size), balanced lighting, and emotional resonance. Avoid heavily cropped smartphone shots unless they were taken in high-resolution mode.
Consider composition: images with clear focal points, minimal background clutter, and natural contrast tend to stand out best on canvas. Landscapes, candid portraits, and architectural shots often work particularly well due to their inherent visual depth.
Preparing Your Image for Print
Once you’ve chosen your photo, editing enhances its impact on canvas. Use free or professional software like Adobe Lightroom, Canva, or GIMP to adjust brightness, contrast, and color balance. Canvas has a slightly textured surface that can mute fine details, so slightly increasing clarity or sharpness helps preserve definition.
Keep edits subtle. Over-saturation or excessive sharpening can look unnatural once printed. Also, consider converting high-emotion portraits to black and white—this classic treatment often amplifies mood and minimizes distractions.
If your canvas frame has a specific aspect ratio (e.g., 8x10, 16x20), resize your image accordingly to avoid awkward cropping. Most online printing services provide templates to help align your photo correctly.
Step-by-Step Guide to Creating Canvas Art at Home
- Choose your canvas size: Measure your wall space and decide on dimensions. Common sizes include 11x14, 16x20, and 24x36 inches.
- Edit and finalize your photo: Adjust exposure, crop to fit, and save in high-resolution JPEG or PNG format.
- Select a printing method: Decide between at-home printing (if you own a large-format printer) or using an online service like Shutterfly, CanvasChamp, or Mixbook.
- Order or print your canvas: If ordering, upload your file and confirm proof previews. For DIY printing, use premium canvas paper compatible with your printer.
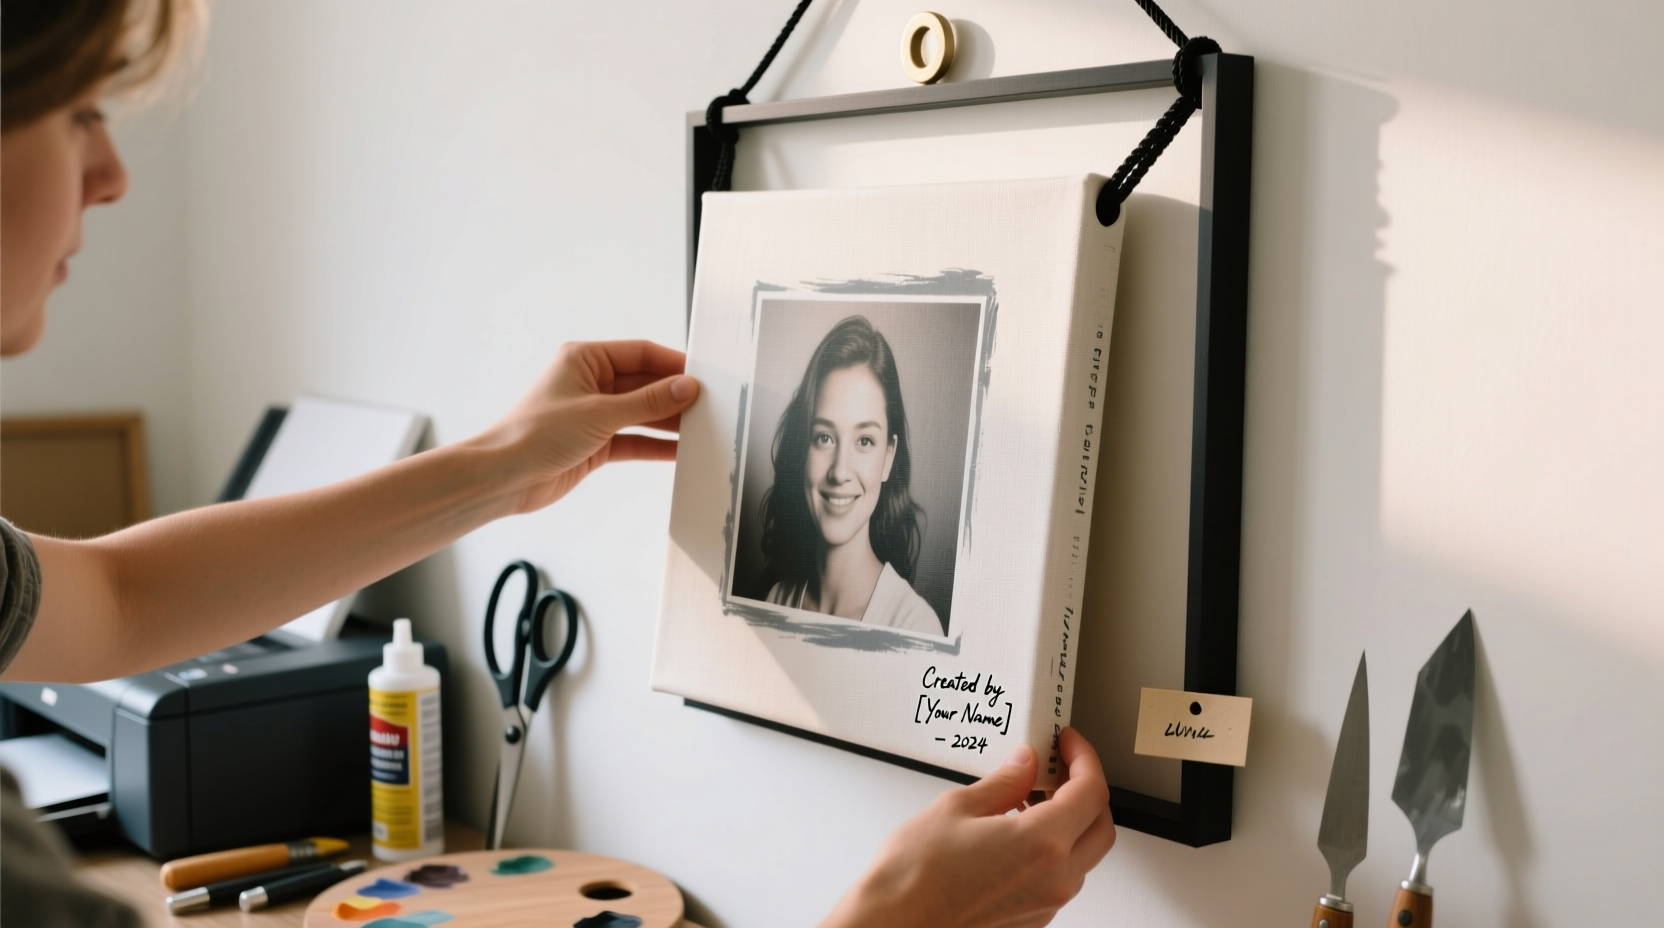
- Mount the print (if not pre-stretched): Apply archival glue evenly to a wooden stretcher frame and carefully adhere the print, pulling taut to avoid wrinkles.
- Seal and protect: Spray with a UV-protective matte varnish to prevent fading and add durability.
- Hang with care: Use picture hooks rated for the weight, and ensure the wall is level for a polished look.
Canvas Printing Options: Pros and Cons
You don’t need to own specialized equipment to make canvas art. Many options balance quality, cost, and convenience.
| Method | Cost | Quality | Time Required | Best For |
|---|---|---|---|---|
| Online Printing Services | $$ | High (professional-grade) | 5–10 days | Beginners, gifts, large-scale pieces |
| Home Inkjet + Canvas Paper | $ | Moderate (depends on printer) | 1–2 hours | Hobbyists with wide-format printers |
| Premade Canvas Panels + Transfer | $ | Good (with proper technique) | 2–4 hours | Crafters, custom framing projects |
| Local Print Shop | $$$ | Excellent (custom support) | 2–5 days | High-value or large commissions |
“Canvas isn’t just a medium—it’s a texture that interacts with light. A well-printed canvas changes throughout the day as sunlight shifts.” — Lena Torres, Fine Art Printer & Gallery Curator
A Real Example: Turning a Backyard Snapshot into Wall Art
Sarah, a teacher from Portland, wanted to honor her late dog, Milo. She had a simple photo of him sitting in the backyard, taken on her phone during golden hour. The image was warm but slightly underexposed. Using free editing tools, she brightened the shadows, enhanced the orange tones in his fur, and converted it to a slight sepia tone for vintage warmth.
She ordered a 16x20 stretched canvas from an online service, opting for a matte finish to reduce glare in her sunlit living room. When it arrived, she framed it in a reclaimed wood floater frame she assembled herself. The result became a conversation piece—guests assumed it was a professional painting. Sarah later created a series of seasonal pet photos, turning her hallway into a heartfelt timeline of companionship.
Essential Checklist Before You Begin
- ✅ Choose a high-resolution photo (minimum 300 DPI at print size)
- ✅ Edit for brightness, contrast, and composition
- ✅ Confirm canvas dimensions and aspect ratio
- ✅ Decide between DIY printing or online service
- ✅ Select finish: matte, satin, or glossy (matte recommended for most interiors)
- ✅ Plan hanging location and hardware needs
- ✅ Apply protective sealant if printing at home
Frequently Asked Questions
Can I use a smartphone photo for canvas printing?
Yes, provided the photo was taken in good light, isn’t overly zoomed, and comes from a modern smartphone with a high-megapixel camera. Avoid digital zoom and low-light shots with noise. Check the file size—larger than 3MB usually indicates sufficient detail for standard canvas sizes.
How do I prevent my canvas print from fading?
Use UV-protective coatings and avoid direct sunlight. Even indoor sunlight can degrade pigments over time. Opt for pigment-based inks (common in professional prints) instead of dye-based, as they resist fading up to 100 years under ideal conditions.
What’s the difference between stretched and unstretched canvas?
Stretched canvas is already mounted over a wooden frame, ready to hang. Unstretched (or “rolled”) canvas is the printed fabric alone, which you can stretch yourself or take to a framer. Stretched is more convenient; unstretched offers flexibility for custom framing or larger sizes.
Bring Your Memories to Life
Creating canvas art at home blends creativity, technology, and sentiment. It transforms fleeting digital moments into tangible heirlooms that enrich your space and spark connection. You don’t need artistic training—just intention, attention to detail, and a photo that matters to you. Whether you’re commemorating a milestone, celebrating a loved one, or simply elevating your decor, the process is accessible, rewarding, and deeply personal.


 浙公网安备
33010002000092号
浙公网安备
33010002000092号 浙B2-20120091-4
Comments
No comments yet. Why don't you start the discussion?