
A tissue box is a household staple—practical, necessary, and often overlooked. But what if this everyday object could become more than just a dispenser for tissues? With a little creativity and minimal effort, you can elevate a plain cardboard box into a stylish decor piece that complements your interior design. Whether placed on a coffee table, nightstand, or bathroom counter, a customized tissue box adds personality, charm, and cohesion to any room. This guide walks through innovative ways to repurpose and beautify your tissue box while maintaining its functionality.
Why Upgrade Your Tissue Box?
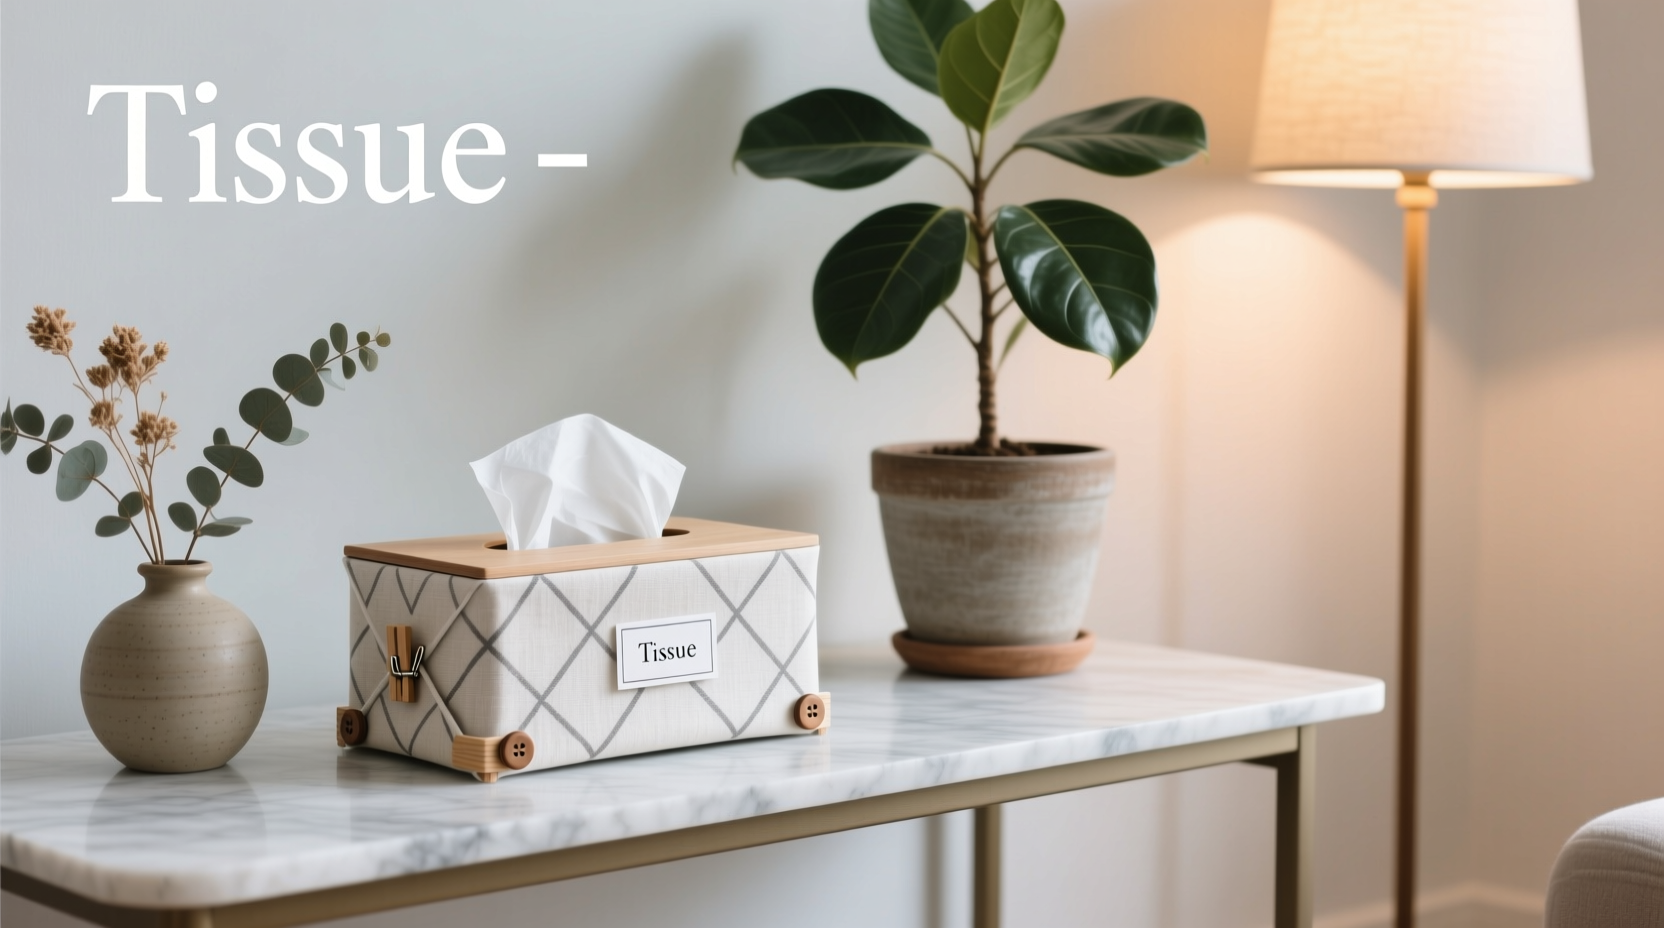
Most people accept the tissue box as it comes: white, utilitarian, and visually unremarkable. Yet, in spaces where aesthetics matter—living rooms, guest bathrooms, or styled shelves—its presence can feel jarring. By transforming it, you do more than hide an eyesore; you integrate utility with artistry. A well-designed tissue box cover can reflect your taste, match seasonal decor, or even serve as a conversation starter.
Interior designer Lena Torres notes:
“Small details define a space. A thoughtfully decorated tissue box isn’t just functional—it’s a signal of intentionality in design.” — Lena Torres, Interior Stylist & Home Editor at *Modern Living Quarterly*
Beyond aesthetics, a custom tissue box can also improve durability. Cardboard boxes degrade quickly when exposed to moisture or frequent handling. A protective cover extends the life of both the box and its contents.
Step-by-Step Guide to Creating a Custom Tissue Box Cover
Transforming your tissue box doesn’t require advanced crafting skills. Follow these steps to create a durable, attractive cover using common household materials.
- Measure your tissue box. Use a ruler to record the length, width, and height. Most standard tissue boxes measure approximately 5” x 3” x 5”, but sizes vary slightly by brand.
- Select your material. Options include fabric, scrapbook paper, wallpaper remnants, or even upcycled book covers. Choose something sturdy yet flexible enough to fold cleanly.
- Cut your material. Add one inch to each dimension for seam allowance. For example, cut two pieces at 6” x 4” (top and bottom), two at 6” x 6” (sides), and two at 4” x 6” (front and back).
- Assemble the box. Use double-sided tape, glue dots, or a hot glue gun to join the sides. Avoid wet adhesives that may warp paper or fabric.
- Add a functional opening. Cut a 3” x 3” square in the center of the top panel. Reinforce edges with washi tape or ribbon if needed.
- Insert the tissue box. Slide the full tissue pack into your new cover. Replace easily when empty.
Design Ideas for Every Room and Season
Your tissue box should harmonize with its environment. Consider these thematic approaches based on location and occasion:
- Living Room: Use linen fabric with embroidered monograms or geometric prints that echo your throw pillows or rug.
- Bathroom: Waterproof vinyl or oilcloth with nautical stripes, botanical prints, or marble-effect designs withstand humidity.
- Nursery or Kids’ Room: Bright colors, cartoon characters, or animal motifs make tissue access fun and engaging.
- Seasonal Rotation: Swap covers for holidays—plaid for winter, pastels for spring, florals for summer, and rustic burlap for fall.
For renters or those who frequently redecorate, having multiple interchangeable covers offers flexibility without permanent changes.
Material Comparison: Do’s and Don’ts
| Material | Best For | Do’s | Don’ts |
|---|---|---|---|
| Fabric (Cotton, Linen) | Living areas, bedrooms | Use iron-on interfacing for stiffness; machine-washable options preferred | Avoid delicate silks or stretchy knits that sag |
| Scrapbook Paper | Temporary displays, kids’ crafts | Laminate or seal with Mod Podge for durability | Don’t use in humid areas like bathrooms |
| Wallpaper Remnants | Designer look on a budget | Back with cardstock for structure; matches existing wall patterns | Avoid peeling edges by sealing all seams |
| Upcycled Book Covers / Magazines | Library nooks, reading corners | Great for vintage or literary themes | Not suitable for high-touch or damp environments |
| Wood Veneer Sheets | Modern, minimalist spaces | Provides a sleek, upscale finish | Requires precision cutting and strong adhesive |
Mini Case Study: The Guest Bathroom Makeover
Sarah M., a freelance graphic designer from Portland, wanted to refresh her guest bathroom without spending much. She had recently adopted a coastal cottage aesthetic—white shiplap walls, rope mirrors, and seagrass baskets. The bright blue tissue box clashed with the serene palette.
She measured the box and cut pieces from leftover navy-and-white striped outdoor fabric meant for cushion covers. Using a hot glue gun, she assembled a sleeve-style cover with a front-facing slot. To finish, she glued a small wooden anchor charm to the top corner.
The result? A cohesive, magazine-worthy vignette. Guests complimented the attention to detail, and Sarah now keeps three seasonal covers ready for rotation. “It took less than 20 minutes,” she says, “but it feels like I upgraded the whole room.”
Checklist: Create Your First Tissue Box Cover
- ☐ Measure your tissue box dimensions
- ☐ Choose a theme or room-specific design
- ☐ Select appropriate material based on location (dry vs. humid)
- ☐ Cut six panels with 1-inch seam allowance
- ☐ Assemble using dry adhesives (glue dots, double-sided tape)
- ☐ Cut a centered dispensing hole in the top
- ☐ Test fit and insert a fresh tissue box
- ☐ Optional: Add embellishments (ribbons, buttons, labels)
Frequently Asked Questions
Can I wash my fabric tissue box cover?
Yes, if made from machine-washable fabric and not glued directly to cardboard. For longevity, hand wash gently and air dry flat. Removable covers with Velcro or ties are ideal for easy cleaning.
What if my tissue box has a pop-up lid?
Preserve the original lid by cutting only a partial opening in the top of your cover. Alternatively, remove the internal pop-up mechanism and convert to a front-dispensing model for easier integration with decorative covers.
Are there eco-friendly options for tissue box transformation?
Absolutely. Use scrap fabric, old clothing, recycled paper, or thrifted materials. Avoid plastic laminates and opt for water-based glues. Some crafters even repurpose tea tins or ceramic containers as permanent tissue holders lined with refillable paper rolls.
Creative Alternatives Beyond Covers
If sewing or gluing isn’t your preference, consider non-traditional vessels:
- Ceramic Canisters: Drill a 3” hole in the lid of a decorative jar or crock. Insert folded tissues for a boutique hotel feel.
- Wooden Boxes: Sand and stain a small wooden crate. Add felt lining and a front slot for a rustic-chic look.
- Themed Dispensers: Repurpose miniature suitcases, vintage tins, or dollhouse furniture into whimsical tissue holders.
These alternatives offer greater durability and can become permanent fixtures in your decor.
Final Thoughts
Transforming a tissue box is a small act with outsized impact. It bridges the gap between necessity and beauty, proving that even the most mundane objects deserve thoughtful design. Whether you spend five minutes wrapping a box in pretty paper or invest time in a tailored fabric cover, the result is a space that feels more intentional, polished, and uniquely yours.


 浙公网安备
33010002000092号
浙公网安备
33010002000092号 浙B2-20120091-4
Comments
No comments yet. Why don't you start the discussion?