
Switching from straight to curly hair is more than a style change—it's a journey that requires patience, strategy, and care. Many people attempt the transition only to abandon it halfway due to frizz, inconsistent texture, or what’s commonly known as the “awkward phase.” This period—when new curls grow in while old layers remain chemically altered or heat-damaged—can be frustrating. But with the right approach, you can minimize discomfort and even skip the awkwardness entirely.
The key lies not in waiting passively, but in actively managing your hair’s health, styling intelligently, and understanding your natural curl pattern. Whether you’re growing out a relaxer, stopping heat tools, or embracing newly discovered curls, this guide offers a realistic roadmap to make the shift smooth, confident, and visually cohesive.
Understanding the Transition Challenge
The awkward phase isn’t a myth—it’s a real physiological stage during which two different hair textures coexist: processed or heat-altered ends and new, naturally textured growth at the roots. This contrast creates visual inconsistency, tangling, and uneven volume. For many, this leads to split ends, breakage, and loss of definition.
But here’s the truth: the awkward phase is optional. It’s not an inevitable part of going curly; it’s a symptom of poor management. With intentional care, strategic cutting, and smart styling, you can maintain a polished look throughout your transition.
“Most clients who feel stuck in the awkward phase are missing one critical element: consistency in moisture and protection.” — Dr. Lena Patel, Trichologist and Curl Specialist
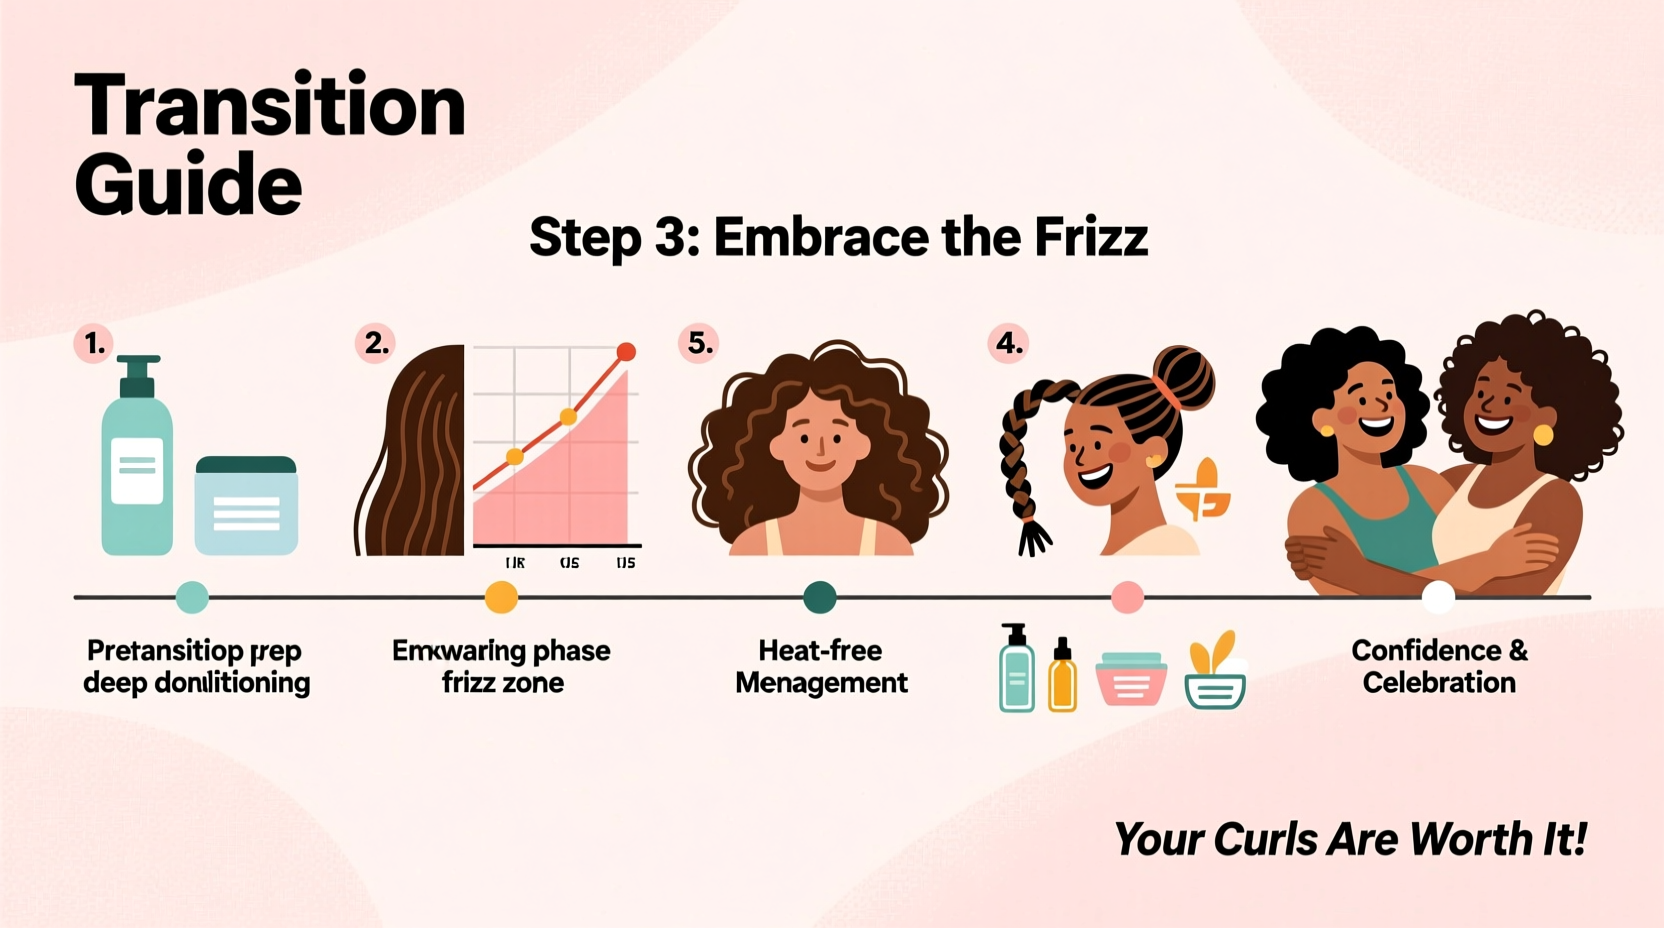
Step-by-Step Guide to a Seamless Transition
A successful transition hinges on preparation and routine. Follow this 6-step process to move from straight to curly hair with confidence and control.
- Assess Your Hair’s Current State: Determine whether your hair has been relaxed, heat-styled, or colored. This affects porosity and elasticity, which in turn influence product selection and handling.
- Define Your Natural Curl Pattern: Let your hair grow out untouched for 2–3 weeks. Observe how it behaves when air-dried. Use resources like the Andre Walker curl typing system (2A–4C) to identify your type.
- Trim Strategically: Instead of an all-or-nothing big chop, opt for gradual trims every 6–8 weeks. Remove only the most damaged sections, preserving length while improving blend.
- Adopt a Curly-Friendly Routine: Replace sulfates and silicones with moisturizing shampoos, conditioners, and leave-in products designed for curls.
- Style with Purpose: Use techniques like twist-outs, braid-outs, or roller sets to train mid-lengths and ends to mimic curl patterns.
- Protect at Night: Sleep on a satin pillowcase or use a satin bonnet to reduce friction and preserve curl definition.
Styling Techniques That Bridge the Texture Gap
The visual disconnect between straight ends and curly roots can be minimized through styling methods that create uniformity. These aren’t about hiding your hair—they’re about harmonizing it.
- Twist-Outs: Section damp hair into two-strand twists from root to tip. Once dry, unravel gently. This technique encourages looser waves at the ends to match tighter curls at the crown.
- Braid-Outs: Similar to twist-outs but gentler on fine hair. Braids produce soft, defined S-waves ideal for blending wavy and curly textures.
- Rope Twists: Combine small sections into rope-like twists before drying. Offers more stretch and control, especially for 3B–4A hair types.
- Flexi-Rod Sets: Ideal for adding volume and curl where natural texture lacks spring. Use near the ends to mimic root volume.
These styles work because they manipulate the hair shaft temporarily, creating a unified appearance. Over time, as damaged ends are trimmed, your natural curl pattern takes over uniformly.
Essential Product Checklist for Transition Success
Using the wrong products can sabotage your progress. Transitioning hair needs hydration, definition, and protection. Here’s what to include in your regimen:
- Sulfate-free, low-poo shampoo (cleanses without stripping)
- Deep conditioner (use weekly for moisture retention)
- Leave-in conditioner (applied to damp hair daily)
- Curl cream or mousse (defines pattern without crunch)
- Lightweight oil (seals moisture on ends—jojoba or argan)
- Microfiber towel or cotton T-shirt (dries hair gently)
- Wide-tooth comb or Denman brush (detangles without snapping)
Apply products using the \"prayer hands\" method (smooth palms over sections) or raking for thicker textures. Avoid heavy gels if your hair leans fine—they can weigh down emerging curls.
Do’s and Don’ts: Managing Damage and Breakage
Maintaining strength during transition prevents shedding and keeps your hair looking full. The table below outlines best practices versus common pitfalls.
| Do’s | Don’ts |
|---|---|
| Use protein treatments every 4–6 weeks to strengthen weakened strands | Overuse protein—can make hair brittle if not balanced with moisture |
| Co-wash (conditioner-only wash) between shampoos to retain oils | Wash too frequently with clarifying shampoos—strips natural moisture |
| Apply leave-in conditioner to dry areas daily | Scrunch dry hair with hands—can cause frizz and disruption |
| Protect styles like braids or buns to reduce manipulation | Sleep with loose hair—leads to tangles and breakage |
| Trim every 6–8 weeks to remove split ends gradually | Wait until hair breaks off naturally—weakens overall structure |
Real Example: Maya’s Gradual Transition Success
Maya, a 28-year-old teacher from Atlanta, had worn relaxed hair for over a decade. When she decided to go natural, she feared the 6-month awkward phase her friends described. Instead of a big chop, she began a gradual transition plan.
She started by trimming half an inch every eight weeks, focusing only on the most damaged ends. She adopted a Sunday deep conditioning ritual and switched to a sulfate-free brand. To style, she used braid-outs twice a week and protected her hair nightly with a satin scarf.
Within four months, her hair looked consistently wavy from root to tip. By month six, she had fully embraced her 3C curls—without ever feeling self-conscious. “I didn’t realize I could look put together the whole time,” she said. “It wasn’t about waiting it out. It was about caring for what I had.”
Expert Insight: What Dermatologists Recommend
Dermatologists emphasize scalp health and structural integrity during transitions. As hair changes texture, the follicle environment must support strong growth.
“The transition period is when the scalp is most vulnerable to buildup and inflammation. Exfoliate weekly with a gentle scrub to keep follicles clear and promote healthy curl formation.” — Dr. Nadia Reyes, Board-Certified Dermatologist
In addition to scalp care, experts stress the importance of internal health. Omega-3 fatty acids, biotin, and adequate hydration contribute to stronger, more resilient hair. Consider a supplement after consulting your doctor, especially if you notice thinning or slow growth.
Frequently Asked Questions
How long does the transition from straight to curly hair take?
On average, it takes 6 to 12 months to fully transition, depending on your starting length and growth rate (typically ½ inch per month). However, with proper blending techniques, you can look cohesive much sooner—even within 2–3 months.
Can I speed up the process without a big chop?
You can accelerate visual results without cutting everything off. Regular micro-trims, consistent styling, and protective routines help create the illusion of faster progress. True speed, however, depends on your biology—hair grows at its own pace. Focus on health over haste.
Why do my curls look frizzy at first?
Frizz during transition often comes from uneven porosity. Relaxed or heat-damaged ends absorb moisture differently than new growth, leading to puffiness. Combat this with leave-in conditioners, sealing oils, and diffusing instead of air-drying in humid conditions.
Final Tips for Confidence Through Change
Transitioning to curly hair isn’t just about appearance—it’s a reconnection with your natural self. The process teaches patience, self-awareness, and adaptability. Embrace the learning curve. Experiment with styles. Take progress photos monthly to see subtle improvements that daily mirrors might miss.
Remember, there’s no single “right” way to go curly. Some thrive with a big chop. Others prefer a slow fade. Your journey is personal. What matters is consistency, care, and the courage to show up as you are—every stage of the way.


 浙公网安备
33010002000092号
浙公网安备
33010002000092号 浙B2-20120091-4
Comments
No comments yet. Why don't you start the discussion?