
Every holiday season, the frustration is familiar: you pull out your favorite string of Christmas lights, plug them in, and only half the strand flickers—or worse, nothing happens at all. While it’s tempting to toss the whole set and buy new ones, most lighting issues can be diagnosed and repaired with a simple tool: a multimeter. Using a multimeter allows you to pinpoint problems like broken filaments, loose bulbs, or faulty sockets without guesswork. This guide walks through the precise methods for diagnosing and fixing malfunctioning light strands, helping you save money, reduce waste, and keep your holiday display glowing.
Understanding How Mini Christmas Lights Work
Most traditional incandescent Christmas light strands are wired in series, meaning electricity flows from one bulb to the next in a continuous loop. If one bulb burns out or becomes dislodged, the circuit breaks, and the entire section—or sometimes the whole strand—goes dark. Newer LED strands may use parallel wiring or shunted sockets that allow current to bypass a dead bulb, but many still rely on series circuits for cost efficiency.
The key to troubleshooting lies in understanding continuity—the unbroken path of electrical current. A multimeter measures continuity and resistance, allowing you to test whether each component in the strand is conducting electricity properly. By isolating breaks in the circuit, you can identify bad bulbs, damaged wires, or defective sections without replacing every bulb by trial and error.
“Using a multimeter transforms Christmas light repair from a guessing game into a diagnostic process. It’s the most reliable way to find faults in older strands.” — Daniel Ruiz, Electrical Technician & Holiday Lighting Specialist
Step-by-Step Guide: Testing a Light Strand with a Multimeter
Before beginning any electrical testing, ensure the strand is unplugged. Safety comes first—never test live circuits unless using appropriate protective gear and tools rated for voltage detection.
- Gather your tools: You’ll need a digital multimeter (set to continuity or ohms), needle-nose pliers, spare bulbs (same voltage and wattage), and a small notepad to track findings.
- Inspect the strand visually: Look for obvious damage—cracked sockets, frayed wires, melted insulation, or missing bulbs. Replace any visibly damaged components before testing.
- Test the plug and fuse (if applicable): Many light strands have fuses inside the male plug. Use the multimeter in continuity mode to check if the fuse beeps when probes touch both ends. No beep means the fuse is blown—replace it with an identical type (usually 3A or 5A).
- Set the multimeter to continuity or Ω (ohms): Continuity mode emits a tone when a complete circuit exists. If your meter lacks this feature, use the lowest resistance setting (e.g., 200Ω).
- Test overall strand continuity: Place one probe on the brass tab inside the female plug socket and the other on the corresponding contact in the male plug. A beep indicates the main circuit is intact. Silence suggests a wire break somewhere along the strand.
- Isolate sections: If the full strand shows no continuity, divide it mentally into halves. Test each half separately by probing across smaller segments. Narrow down until you locate the open circuit.
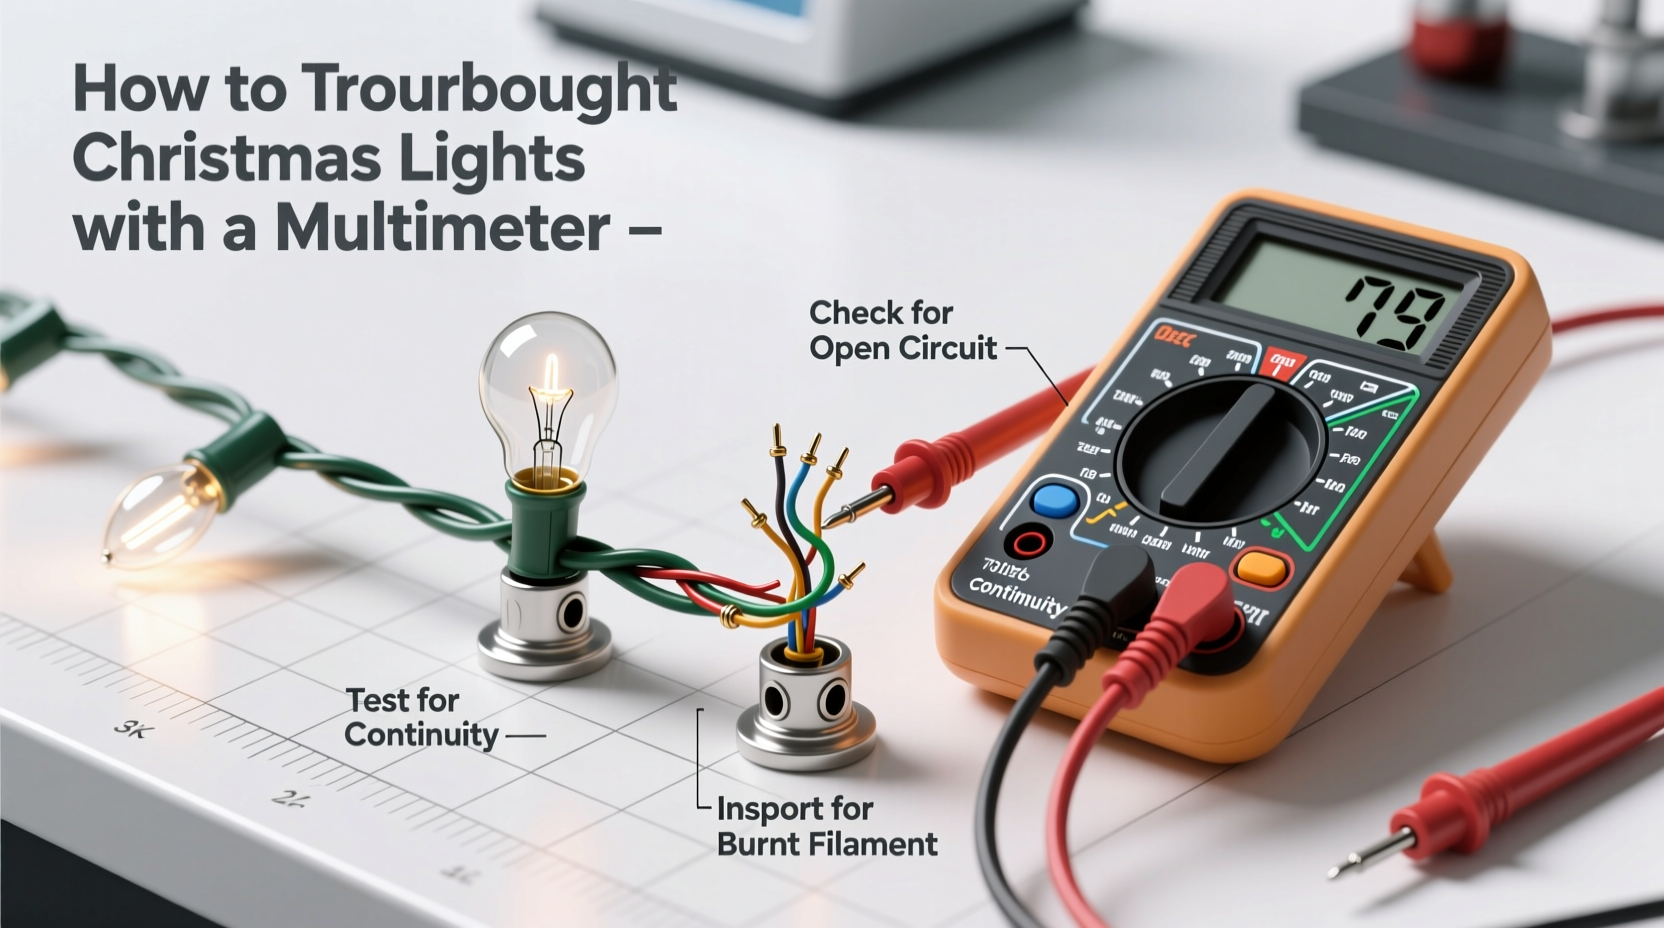
- Check individual bulbs: Remove each bulb and test its filament. Touch one probe to the bottom tip and the other to the side casing. A good bulb will show low resistance (typically 1–10Ω). High or infinite resistance means the filament is broken.
- Test sockets for continuity: With the bulb removed, insert one probe into the socket’s center contact and the other into the threaded side. There should be no continuity when empty. If there is, the socket may be shorted.
- Reassemble and retest: Replace any faulty bulbs or sockets. Recheck continuity across the entire strand before plugging in.
Common Faults and What They Mean
Different symptoms point to specific underlying issues. Recognizing these patterns speeds up diagnosis:
| Symptom | Most Likely Cause | Multimeter Finding |
|---|---|---|
| Entire strand dead | Blown fuse, broken wire, or total circuit break | No continuity between plug contacts |
| Half the strand lit | Burnt-out bulb or loose connection in unlit section | Open circuit detected in dark half |
| Flickering lights | Loose bulb, corroded socket, or intermittent wire contact | Intermittent continuity when wiggling wires |
| Bulb lights dimly | Partial short or incorrect replacement bulb (wrong voltage) | Higher-than-normal resistance reading |
| One bulb dark, rest work | Dead bulb (common in non-shunted sockets) | Bulb shows infinite resistance |
Troubleshooting a Real-World Example
Consider Sarah, who unpacks her 100-light C7 strand only to find that the last 25 bulbs won’t illuminate. She checks the fuse—intact. She swaps known-good bulbs into the dark section, but nothing changes. Using her multimeter, she tests continuity from the first working bulb to the first dark one. The meter reads OL (open loop), indicating a break.
She carefully inspects the wire between the two sections and notices a small nick where the strand was bent sharply in storage. She strips back the insulation slightly and finds a severed copper conductor. After splicing and soldering the connection, then insulating it with heat-shrink tubing, she retests: continuity is restored. When plugged in, the entire strand lights up evenly.
This scenario illustrates how a multimeter prevents wasted time replacing dozens of bulbs when the real issue is a single wire fault. Without testing, Sarah might have assumed multiple bulb failures or discarded the strand entirely.
Essential Tips for Effective Diagnosis
- Always begin with the simplest explanation—check the fuse and outlet first.
- Use a multimeter with an audible continuity setting; it frees your hands and makes detecting breaks faster.
- Don’t assume a bulb is good just because the filament looks intact—test it. Vibration or thermal stress can cause internal breaks invisible to the eye.
- Be cautious with older strands—insulation can become brittle, and wires may crack when handled.
- For long strands, work in thirds rather than halves to isolate faults more efficiently.
Checklist: How to Troubleshoot Christmas Lights with a Multimeter
- Unplug the light strand from power.
- Inspect for visible damage (wires, plugs, sockets).
- Locate and test the fuse(s) in the plug.
- Set multimeter to continuity or low ohms (Ω).
- Test continuity across the entire strand (male to female plug).
- If no continuity, divide and test segments to locate the break.
- Remove and individually test each bulb in the affected section. <8>Test sockets for shorts or corrosion.
- Replace faulty bulbs, fuses, or repair broken wires.
- Reassemble and test before plugging in.
Frequently Asked Questions
Can I use a multimeter on LED Christmas lights?
Yes, but with caution. LED strands often have lower voltage requirements and built-in rectifiers. Use the same continuity method to check for breaks, but avoid applying external voltage. Focus on continuity testing rather than resistance readings, as LEDs behave differently than incandescent filaments.
Why does my multimeter show infinite resistance even with a known-good bulb?
This usually means poor contact. Ensure the probes are touching clean metal—wipe the bulb base if corroded. Also, confirm your multimeter batteries are functional and the leads are securely connected.
Do all Christmas light strands have fuses?
No, but most plug-in incandescent strands sold in the U.S. do. Typically, two fuses are housed in the male plug—one for each side of the AC line. Battery-operated or low-voltage decorative strands may not include fuses.
Final Thoughts and Call to Action
Fixing a strand of Christmas lights doesn’t require magic—it requires method. With a $20 multimeter and a few minutes of focused attention, you can rescue lights others would throw away. Beyond saving money, you’re reducing seasonal waste and preserving sentimental decorations that hold memories. The next time a strand fails, resist the urge to replace it. Instead, grab your multimeter and trace the fault like a professional.
Holiday lighting maintenance is a skill that grows easier with practice. Each repair builds confidence and sharpens your ability to diagnose electrical issues quickly. Share your success stories, teach a neighbor, or host a community “light clinic” before the holidays. Small actions make a big difference—not just in brightness, but in sustainability and tradition.


 浙公网安备
33010002000092号
浙公网安备
33010002000092号 浙B2-20120091-4
Comments
No comments yet. Why don't you start the discussion?