
For many, video game consoles are more than just electronics—they’re time capsules of childhood memories, milestones in tech history, and symbols of evolving pop culture. When these devices no longer function or become obsolete, tossing them feels like erasing a chapter of personal and cultural narrative. Instead of recycling or storing them in a closet, consider repurposing them into eye-catching retro decor. With a little creativity and some hands-on effort, old consoles can become striking centerpieces in living rooms, offices, or gaming dens—blending nostalgia with modern interior design.
This guide walks through practical, aesthetic, and technically sound methods for transforming outdated hardware into meaningful art. Whether you're preserving a beloved SNES, giving new life to a dusty PlayStation 2, or showcasing a rare Sega Dreamcast, the possibilities go far beyond simple shelf displays.
Assessing Your Console: Functionality vs. Aesthetics
Before altering any console, determine its current condition and future potential. Some units may still power on and play games; others might be non-functional but visually intact. This assessment shapes your approach:
- Functional units: If the console works, consider dual-purpose use—display it while keeping it operational. Clear acrylic cases or open shelving allow access without sacrificing style.
- Non-functional units: These are ideal candidates for full transformation. You can remove internal components safely and modify casings without concern for future gameplay.
- Rare or collectible models: Before modifying, research the model’s market value. Limited editions (e.g., Nintendo World Championships 1990) should typically remain unaltered unless sentimental value outweighs collectibility.
Creative Display Ideas for Retro Consoles
The simplest way to integrate old consoles into decor is through intentional display. Thoughtful presentation elevates even basic setups into curated exhibits.
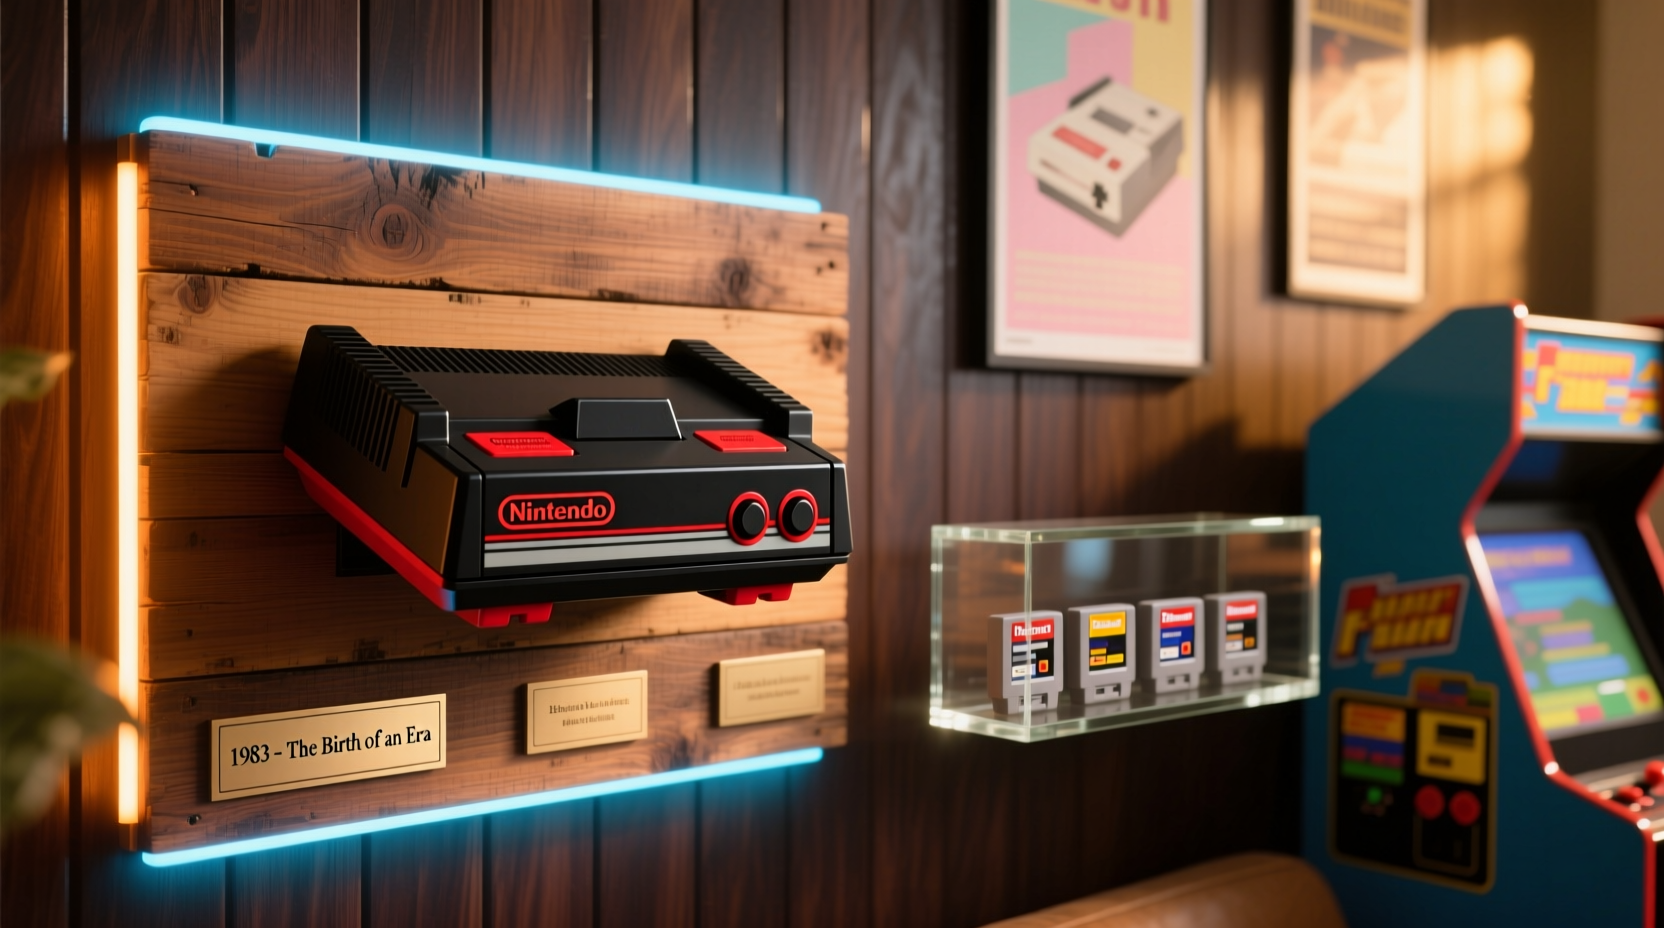
Floating Shelf Gallery
Mount glass or wood shelves at varying heights and arrange consoles alongside vintage cartridges, controllers, and original packaging. Angle lighting from above enhances depth and draws attention. Group systems by era (8-bit, 16-bit, 3D generation) to create a timeline effect across one wall.
Shadow Box Framing
Miniaturize the experience by placing small consoles—like Game Boy models or Atari 2600 cartridges—inside deep shadow boxes. Layer background artwork from classic games (e.g., Super Mario Bros. overworld map or The Legend of Zelda title screen) beneath the hardware for thematic cohesion.
Console as Furniture Accent
Incorporate consoles into functional furniture. Embed a cleaned NES into a coffee table’s surface using a recessed tray with plexiglass cover. Pair it with matching controller coasters and pixel-art rugs to unify the theme.
“Display isn’t just about visibility—it’s about context. A console surrounded by related ephemera tells a richer story than one sitting alone.” — Dana Ruiz, Curator of Digital Nostalgia Exhibit, Museum of Interactive Media
Step-by-Step Guide: Converting a Console into a Lighted Art Piece
One of the most impactful transformations involves turning a non-working console into an illuminated display. This project combines electrical safety, craftsmanship, and visual design.
- Gather materials: LED strip lights (battery-powered or USB), clear acrylic sheet (optional), screwdriver set, soft cloth, adhesive mounting tape, and a mini switch (if hardwiring).
- Disassemble carefully: Remove all screws and gently separate the casing. Keep track of internal components—even if non-functional, save boards and chips for possible future use or resale.
- Clean thoroughly: Use compressed air to remove dust from crevices. Wipe plastic surfaces with isopropyl alcohol on a microfiber cloth to restore luster without scratching.
- Plan lighting layout: Decide whether to backlight the entire shell or highlight specific areas (e.g., cartridge slot, logo). Measure and cut LED strips accordingly.
- Install LEDs: Attach strips inside the casing using adhesive backing. Route wires neatly along edges. For a cleaner look, drill a small hole in the back to feed power cables out discreetly.
- Reassemble partially: Reattach only the outer shell, leaving internals removed. If desired, place a translucent diffuser panel between the LEDs and exterior to soften glare.
- Power and test: Connect to a USB adapter or battery pack. Adjust brightness and color settings (if RGB-enabled) to complement room lighting.
- Mount or display: Place on a stand, hang on wall with brackets, or integrate into a media cabinet.
Advanced Projects: Repurposing Internal Components
Once stripped of functionality, consoles yield unique parts perfect for deeper artistic integration.
Circuit Board Wall Art
Remove motherboards and clean them with electronic contact cleaner. Frame them in deep-set picture frames with matte backgrounds. Label key components (CPU, GPU, RAM) using archival ink for an educational touch. Group multiple boards by brand or generation for a gallery wall.
Controller Keycap Jewelry or Desk Accessories
Extract buttons from worn controllers and embed them in resin to create paperweights, bookends, or even wearable pendants. Combine directional pads with translucent epoxy molds shaped like cartridges.
Functional Repurposing: Hidden Storage or Smart Hubs
Convert a hollowed-out PlayStation 3 case into a hidden storage compartment for remotes or VR gear. Alternatively, install a Raspberry Pi inside an old Xbox chassis to build a retro-styled media center that boots into an 80s-themed interface.
| Project Type | Skill Level | Time Required | Ideal For |
|---|---|---|---|
| Lighted Shell Display | Beginner | 2–4 hours | First-time modders, renters |
| Circuit Board Framing | Intermediate | 4–6 hours | Artists, educators |
| Internal Hardware Sculpture | Advanced | 8+ hours | Makers, engineers |
| Hybrid Functional Device | Expert | 10–15 hours | Tech enthusiasts |
Do’s and Don’ts of Retro Console Modification
To preserve both safety and aesthetic integrity, follow best practices when altering vintage electronics.
| Do | Don't |
|---|---|
| Label and bag screws during disassembly | Use excessive force when opening clips or ports |
| Wear anti-static wristbands when handling circuitry | Expose plastic shells to direct sunlight during cleaning |
| Test modifications incrementally | Dispose of e-waste improperly—recycle responsibly |
| Document each step with photos for reference | Glue components permanently unless certain of final design |
Real Example: From Basement Dust Collector to Gallery Centerpiece
Mark T., a graphic designer from Portland, inherited his brother’s complete Sega Genesis collection after a move. Rather than sell or store it, he transformed the main unit into a backlit display featuring custom laser-cut acrylic panels depicting Aladdin and Sonic the Hedgehog art. He installed addressable LEDs programmed to pulse slowly in rainbow sequence, mimicking the “Blinking Line” demo mode of early arcade cabinets. Mounted on a walnut base with engraved serial numbers, the piece now sits in his home office and has been featured in two local maker fairs.
“It wasn’t just about saving a machine,” Mark says. “It was about honoring what it represented—the late nights, the shared victories. Now it sparks conversations every time someone visits.”
Checklist: Transforming Your Console into Decor
- ☐ Evaluate the console’s working status and collectible value
- ☐ Gather necessary tools: screwdrivers, gloves, cleaning supplies
- ☐ Choose a transformation goal: display, lighting, sculpture, or hybrid use
- ☐ Disassemble safely and document each stage
- ☐ Clean all components thoroughly
- ☐ Select and install lighting or decorative elements
- ☐ Reassemble or reframe according to design
- ☐ Test stability and electrical safety (if applicable)
- ☐ Position in desired location with complementary decor
- ☐ Share your project online to inspire others
Frequently Asked Questions
Can I damage a console’s value by modifying it?
Yes. Rare, sealed, or fully functional limited editions lose significant collector value when altered. Research your model on databases like PriceCharting or consult forums such as AtariAge before proceeding. For common models, modification often increases personal and decorative worth even if resale value drops.
Are old consoles safe to keep plugged in or modified?
If you're adding new electrical components (like LEDs), ensure they’re low-voltage and properly insulated. Never reuse original power supplies unless tested and certified. Avoid leaving modified units unattended while powered. When in doubt, opt for battery-operated lighting solutions.
What if I want to reverse the changes later?
Whenever possible, avoid permanent alterations like drilling or gluing. Use magnetic mounts, clips, or removable adhesive strips. Store original parts in labeled bags so restoration remains feasible. Document the pre-modification state with photographs.
Conclusion: Honor the Past, Design the Future
Old video game consoles deserve more than digital graveyards or landfill fate. By reimagining them as retro decor, you celebrate their legacy while contributing to sustainable design. Each modification tells a story—not just of technological progress, but of personal connection, creativity, and the enduring joy of play.
Whether you start with a simple shelf display or dive into building a glowing centerpiece, the process is as rewarding as the result. These machines once brought worlds to life on flickering screens; now, they can illuminate your space in entirely new ways.


 浙公网安备
33010002000092号
浙公网安备
33010002000092号 浙B2-20120091-4
Comments
No comments yet. Why don't you start the discussion?