
Every holiday season begins with a familiar ritual: pulling out the Christmas lights, only to discover they’ve transformed into an impossible knot of wires, bulbs, and hope. The struggle isn’t just annoying—it eats up time, drains patience, and can even damage delicate strands. But there’s a better way. The spool method, long trusted by decorators and electricians alike, turns chaos into order. It’s not just about untangling; it’s about preventing tangles before they start. With this approach, you’ll spend less time wrestling with cords and more time enjoying the glow of the season.
The Problem with Traditional Storage
Most people store their Christmas lights by loosely wrapping them around their hands or tossing them into a box. While convenient in the moment, this habit guarantees knots later. When wires cross over themselves repeatedly, small twists accumulate. Over time, these become deep snarls that resist simple pulling. Bulbs get crushed, sockets crack, and entire sections may stop working due to internal wire breaks caused by tension.
The root issue is physics: flexible cords naturally twist when wrapped haphazardly. Without consistent direction and tension control, each loop introduces new points of friction and entanglement. This is where the spool method stands apart. By mimicking industrial cable management techniques, it maintains alignment, reduces stress on connections, and ensures smooth unwinding come next December.
What Is the Spool Method?
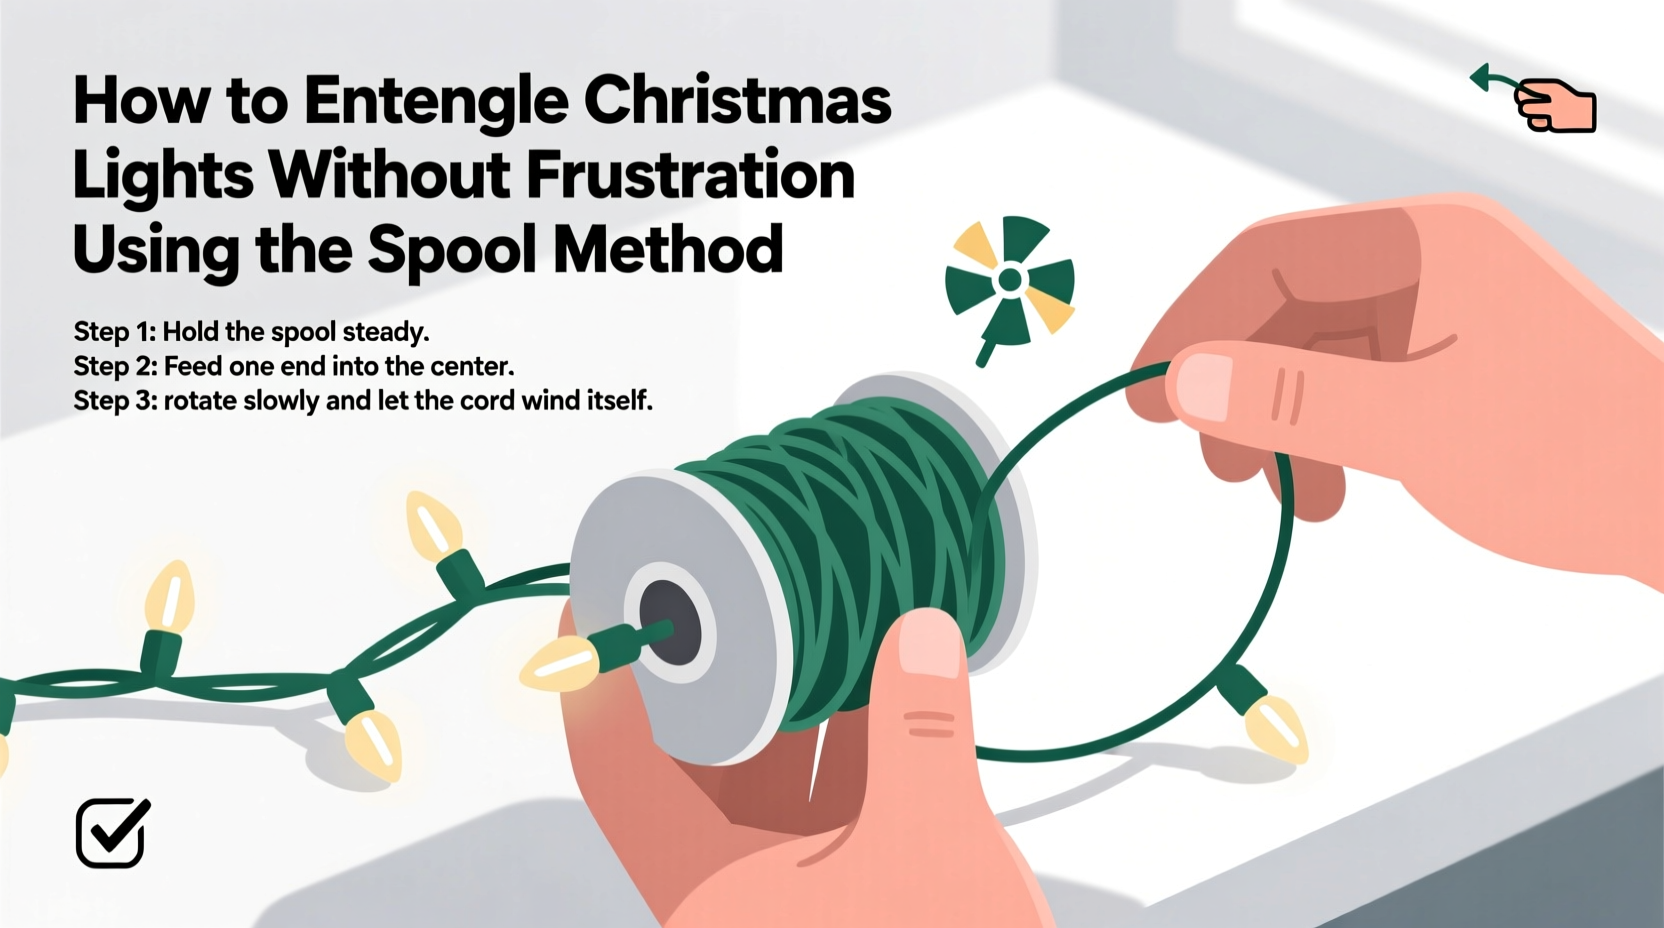
The spool method involves winding Christmas lights around a flat, circular object—like a piece of cardboard, plastic reel, or dedicated light spool—with deliberate care to maintain uniform loops. Unlike hand-wrapping, which allows random overlaps, this technique keeps each turn separate and aligned, minimizing contact between adjacent coils. The result? Lights that unspool cleanly, without resistance or snags.
Originating from theater stagehands and event electricians who manage miles of cabling annually, the spool method prioritizes longevity and efficiency. These professionals rely on tools like cable reels and figure-eight coiling, but for home users, a simplified version works perfectly—and requires minimal equipment.
“Proper coiling isn’t just about neatness. It’s about preserving electrical integrity and saving hours over the lifespan of your lights.” — Daniel Reeves, Stage Lighting Technician & Holiday Display Consultant
Step-by-Step Guide to Untangling and Re-Spooling Lights
If your lights are already tangled, don’t panic. The spool method doubles as both a rescue strategy and a preventive system. Follow this sequence to restore order and prepare for future ease.
- Find a starting end: Lay the tangled mass on a clean, flat surface. Look carefully for one free plug or end. If none is visible, gently pull small sections outward until you locate a terminus. Avoid pulling hard—use finger separation instead.
- Anchor the starting point: Tape the plug or bulb end to the edge of a table or use a heavy book to hold it in place. Keeping one end fixed prevents re-tangling as you work.
- Begin untwisting manually: Work slowly through the knot, using your fingers to tease apart loops. Focus on isolating individual strands rather than removing all tangles at once. Think of it as reverse-wrapping.
- Test continuity periodically: Once a section appears clear, plug it in briefly (if safe) to ensure no bulbs or wires were damaged during storage. Replace faulty sections now if needed.
- Cut stubborn knots only as last resort: If a section is irreparably knotted and non-functional, cut it out and splice or replace it. Otherwise, preserve the full length.
- Create your spool base: Cut a circular piece of corrugated cardboard, plastic lid, or purchase a reusable plastic spool (available online). Ideal diameter: 8–12 inches. Punch two small slits near the outer edge, opposite each other.
- Start winding with control: Feed the plug end through one slit and secure it. Begin wrapping the cord in smooth, even loops—no overlapping. Keep tension light but consistent. Use your non-dominant hand to guide the wire straight as your dominant hand rotates the spool.
- Maintain single-layer winding: Stack multiple strands on top of each other only if necessary, but never cross or twist while winding. For longer strands, consider dividing into two shorter runs on separate spools.
- Secure the finish: After the final loop, thread the open end through the second slit and tighten gently. Optionally, wrap a Velcro tie or soft cloth strip around the coil to prevent loosening.
- Label and store upright: Mark the spool with light type (e.g., “Warm White Icicle, 50 bulbs”) and store vertically in a dry, cool space. Storing flat increases pressure on lower loops, risking deformation.
Do’s and Don’ts of Light Management
| Do | Don’t |
|---|---|
| Use a rigid spool or cardboard cutout for consistent winding | Wrap lights directly around your hand or arm |
| Keep tension even but gentle during coiling | Pull tightly to make the bundle smaller |
| Label each spool with color, length, and location used | Assume you’ll remember which strand goes where |
| Store spools upright in bins or on shelves | Stack heavy items on top of coiled lights |
| Inspect bulbs and wires before and after storage | Leave lights plugged in unattended or outdoors unprotected |
Real Example: From Chaos to Calm in One Afternoon
Sarah Thompson, a homeowner in Portland, Oregon, had spent three Christmases battling the same 200-light string meant for her front porch railing. Each year, untangling took nearly 45 minutes, often ending in broken sockets and half the strand dark. Last January, frustrated and tired of repeating the cycle, she tried the spool method after seeing a demonstration online.
She cut a 10-inch circle from an old shipping box, punched two slits, and spent 20 minutes patiently unwinding and rewinding the lights. She labeled the spool “Porch Rail – Cool White” and stored it upright in her closet. This past November, she retrieved it confidently. In under 30 seconds, the entire strand unspooled perfectly across the floor, ready to hang. No knots. No stress. “It felt like magic,” she said. “I wish I’d learned this years ago.”
Tools You Can Use (And What You Already Have)
You don’t need specialized gear to apply the spool method. Many effective solutions are already in your home. Consider these options:
- Cardboard circles: Repurpose packaging boxes. Cut with scissors or a box cutter. Durable enough for several seasons if kept dry.
- Plastic lids: Large container lids (like from coffee cans or food tubs) offer rigidity and moisture resistance.
- Dedicated light reels: Available in hardware stores or online, these often feature built-in hooks, labels, and ergonomic handles.
- DIY wooden frames: Crafters can build H-shaped wood holders that allow wrapping without direct contact between loops.
- Velcro straps: Instead of twisting wire around the bundle, use soft ties to secure the coil—prevents metal fatigue.
The key isn’t the material—it’s consistency. Whatever you choose, use the same format across all your light sets for predictable results.
Checklist: Master Your Light Season
Follow this checklist annually to keep your display running smoothly:
- ☐ Inspect all strands for damage before storing
- ☐ Choose a consistent spool size and type for all lights
- ☐ Label each spool clearly with usage details
- ☐ Wind clockwise (or always counter-clockwise) for uniformity
- ☐ Store spools upright in a dry, rodent-free area
- ☐ Test each strand immediately after unwinding next season
- ☐ Replace or repair faulty sections before decorating
Frequently Asked Questions
Can I use the spool method for LED and incandescent lights?
Yes. The spool method works for all types of Christmas lights, including mini LEDs, C7/C9 bulbs, rope lights, and icicle strands. LED wires are often thinner and more flexible, making them easier to manage—but equally prone to tangling if stored poorly.
What if my lights are already damaged during untangling?
If a socket breaks or a wire snaps, assess whether the strand is repairable. Many modern light sets have shunt-based systems that bypass dead bulbs. For cuts, use waterproof wire connectors or solder joints if skilled. Otherwise, retire heavily damaged strings and replace with energy-efficient LEDs designed for durability.
How many times can I reuse the same cardboard spool?
A well-maintained cardboard spool can last 3–5 years if kept dry and not crushed. However, inspect it annually for warping or fraying edges. Switch to plastic or wood for long-term reliability.
Conclusion: Turn Frustration Into Tradition
Untangling Christmas lights doesn’t have to be an annual battle. The spool method transforms a chaotic chore into a mindful, repeatable practice—one that pays dividends every holiday season. By investing a few extra minutes in proper storage, you reclaim time, reduce waste, and protect your investment in festive cheer.
This year, treat yourself to a smoother setup. Apply the spool method to just one strand, then expand to the rest. Build the habit now, and future-you will thank you when the holidays arrive with calm, not chaos.


 浙公网安备
33010002000092号
浙公网安备
33010002000092号 浙B2-20120091-4
Comments
No comments yet. Why don't you start the discussion?