
Creating content for YouTube can be exciting, but the first time you try to upload a video, the process might feel overwhelming. With so many settings, options, and optimization tools, it's easy to miss important steps that affect your video’s reach and performance. This guide walks through every stage of uploading a YouTube video—clearly and thoroughly—so you start off on the right foot. Whether you're sharing a vlog, tutorial, or creative project, these steps ensure your video is properly formatted, discoverable, and ready for viewers.
1. Prepare Your Video File and Account
Before you hit upload, make sure your YouTube account is set up correctly and your video file meets platform standards. You’ll need a Google account to access YouTube, and if you haven’t already, sign in at youtube.com using your credentials.
Your video file should be in a supported format such as MP4, MOV, AVI, or WMV. For best quality, use MP4 with H.264 compression and a 16:9 aspect ratio—the standard for most screens. Keep your resolution at 1080p (Full HD) or higher if possible. Larger files take longer to process, so consider compressing your video without sacrificing clarity using free tools like HandBrake or Shotcut.
2. Navigate to the Upload Page
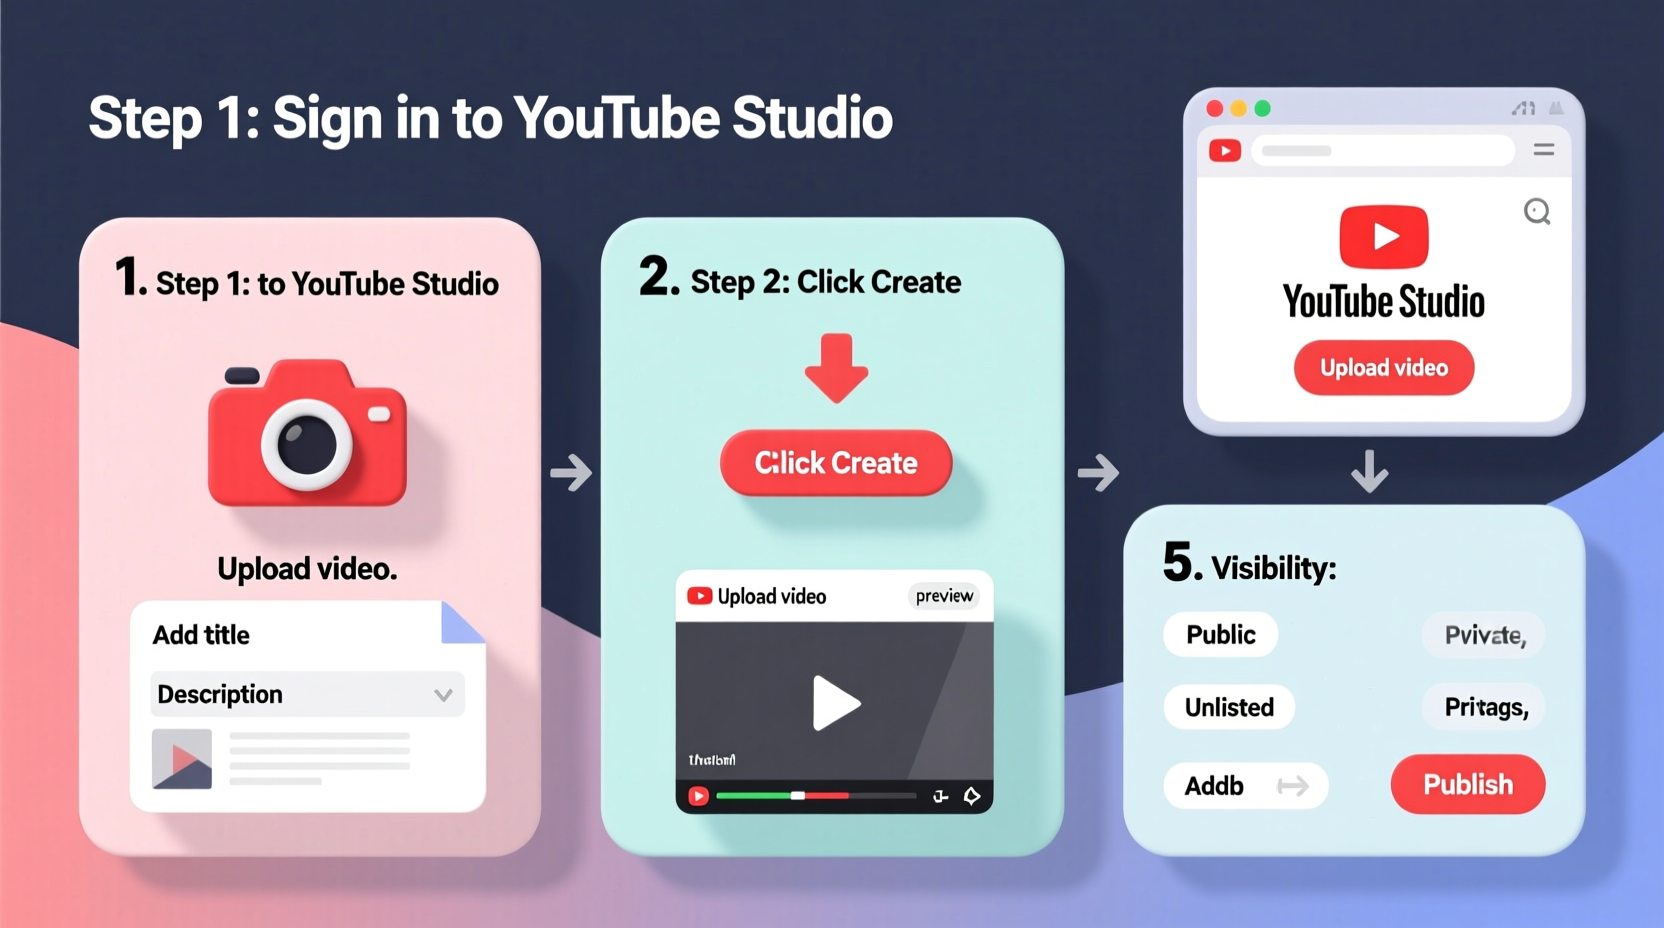
Once logged in, locate the upload button. It’s the red circle with a “+” symbol in the top-right corner of YouTube, just below your profile icon. Click it and select “Upload video” from the dropdown menu.
You’ll be taken to the upload dashboard. Here, drag and drop your video file into the box, or click to browse your computer and select it manually. The upload speed depends on your internet connection and file size. While the video uploads, you can begin filling out the details.
What Happens During Upload?
- Processing: After upload completes, YouTube processes your video to make it viewable across devices.
- Encoding: Multiple versions are created for different resolutions (e.g., 720p, 1080p).
- Duration: Processing time varies—from a few minutes to over an hour for 4K videos.
“Uploading during off-peak hours can reduce server congestion and speed up processing.” — YouTube Creator Academy
3. Optimize Your Video Details for Discovery
Filling out your video’s metadata correctly is one of the most powerful ways to increase visibility. This includes the title, description, tags, thumbnail, and more. Take time here—this information helps YouTube recommend your video to the right audience.
Title
Write a clear, compelling title under 60 characters to ensure it displays fully in search results. Include keywords people might search for, but keep it natural. For example: “How to Make Pancakes in 5 Minutes – Easy Breakfast Recipe.”
Description
The first two lines are critical—they show in preview snippets. Use them to summarize the video and include a call to action (like “Subscribe for more!”). Then expand with additional context, links, timestamps, and relevant hashtags. Aim for at least 150–200 words.
Tags
Tags help YouTube understand your content. Use a mix of broad and specific terms (e.g., “cooking,” “easy breakfast,” “pancake recipe”). Don’t overstuff—5 to 8 relevant tags are sufficient.
Thumbnail
A custom thumbnail increases click-through rates. You can upload one after the video finishes processing. Use high contrast, readable text, and expressive visuals. Tools like Canva offer free templates sized perfectly for YouTube (1280x720 pixels).
4. Set Visibility, Audience, and Advanced Options
After entering basic details, choose who can see your video:
- Public: Anyone can find and view it.
- Unlisted: Only people with the link can watch; doesn’t appear in searches.
- Private: Visible only to you and selected users.
- Scheduled: Choose a future date and time for automatic publishing.
For beginners, “Public” is usually best. If you’re still editing or want feedback before going live, use “Unlisted.” Scheduling is useful for consistent posting, especially if you create content in batches.
Audience Settings
Select whether your video is “Made for Kids” or not. This affects data collection and features like comments and notifications. If your content isn’t specifically directed at children under 13, leave it unchecked. Mislabeling can lead to penalties.
Advanced Settings
Under “Show more,” you’ll find additional options:
- Category: Choose the closest match (e.g., Education, Entertainment).
- Language: Set your spoken language.
- License: Default is Standard YouTube License. If you want to allow reuse, consider Creative Commons (but note: others can re-upload your video).
- Comments: Control who can comment and how they’re sorted.
| Setting | Recommended Option | Why It Matters |
|---|---|---|
| Title | Clear + keyword-rich | Improves SEO and click-through rate |
| Thumbnail | Custom, high-quality image | Increases viewer attraction |
| Visibility | Public or Scheduled | Determines initial reach |
| Audience | Not made for kids (if applicable) | Preserves full functionality |
| Tags | 5–8 relevant keywords | Helps categorization and discovery |
5. Publish and Monitor Performance
Once everything is filled out, click “Publish” (or “Schedule” if you’ve chosen a future date). Your video will go live instantly unless scheduled. After publishing, visit your video page to check how it looks on desktop and mobile.
In the first 24–48 hours, engagement matters most. Share your video on social media, embed it in blog posts, or send it to friends. Early views and interactions signal to YouTube that your content is valuable, increasing its chances of being recommended.
Checklist: Before You Hit Publish
- ✅ Video file is high quality and correctly formatted
- ✅ Title is clear and includes a primary keyword
- ✅ Description has at least 150 words and key links
- ✅ Tags are relevant and limited to 8
- ✅ Thumbnail is custom and eye-catching
- ✅ Visibility is set appropriately (Public/Unlisted/Scheduled)
- ✅ Audience setting is accurate
- ✅ Comments and sharing settings are configured
Real Example: Sarah’s First Tutorial
Sarah wanted to share her homemade skincare routine. She filmed a 6-minute video on her phone, exported it as MP4, and uploaded it directly from her laptop. At first, she used the auto-generated title “Video123” and skipped adding a description. Her video received almost no views.
She re-uploaded it with a better title (“Natural Aloe Vera Face Mask – DIY Skincare at Home”), added a detailed description with ingredients, and designed a simple thumbnail showing the mask in a bowl with bold text. Within a week, the new version gained over 1,200 views and several comments asking for variations. The difference? Optimization.
Frequently Asked Questions
How long does it take for my video to process on YouTube?
Processing time depends on file size, resolution, and server load. Most 1080p videos finish within 10–20 minutes. 4K videos may take significantly longer. You can continue editing details while processing occurs.
Can I change my video after it’s published?
Yes. You can edit the title, description, tags, thumbnail, and even replace the video file without losing views or comments. Go to YouTube Studio > Content, click the three dots next to your video, and select “Edit.”
Why can’t I see the upload button?
If the upload button is missing, ensure you’re logged into a Google account with a linked YouTube channel. New accounts may require verification (like adding a phone number) before enabling uploads.
Final Steps and Moving Forward
Uploading your first YouTube video is a milestone. Now that you know the process, focus on consistency. Upload regularly, engage with comments, and study your analytics in YouTube Studio to learn what resonates with your audience. Each video gives you more insight into your viewers’ preferences and helps refine your content strategy.
YouTube rewards creators who provide value, maintain quality, and interact authentically. Start small, stay patient, and treat each upload as a learning opportunity. The platform reaches billions—your voice has space here.


 浙公网安备
33010002000092号
浙公网安备
33010002000092号 浙B2-20120091-4
Comments
No comments yet. Why don't you start the discussion?