
A patio should be a personal retreat—somewhere for quiet evenings, intimate gatherings, or simply unwinding after a long day. But when your outdoor space is overlooked by neighbors, nearby buildings, or busy sidewalks, that sense of sanctuary can vanish. While traditional privacy solutions like fences or tall plants are effective, they’re not always practical, especially in rental properties or small urban yards. Enter an unexpected but highly functional alternative: Christmas lights.
Often associated with seasonal decor, Christmas lights offer more than just festive sparkle. When thoughtfully arranged, they can serve as both illumination and a visual screen, creating the illusion of enclosure and reducing direct lines of sight. With the right strategy, you can transform your exposed patio into a cozy, semi-private haven using strands of light alone—no construction required.
Why Christmas Lights Work for Privacy
At first glance, it might seem counterintuitive to rely on something as delicate as string lights for privacy. After all, they don’t block views like a wall or hedge. But their effectiveness lies in perception and distraction. Bright, densely layered lights draw the eye upward and toward the glow, making it harder to focus on what’s behind or within the illuminated zone. This phenomenon, known in design as “visual noise,” disrupts clear sightlines without physical barriers.
Moreover, warm-toned lighting casts soft shadows and limits depth perception at night, further cloaking activity on the patio. The human eye struggles to distinguish fine details in low-contrast, flickering environments. Strategically placed lights exploit this limitation, turning your patio into a softly blurred vignette rather than a clearly visible scene.
“Lighting doesn’t just illuminate—it shapes how space is perceived. A well-lit area can feel enclosed even without walls.” — Daniel Reeves, Landscape Lighting Designer
Step-by-Step Guide to Installing Privacy-Focused Light Layouts
Creating privacy with Christmas lights isn't about randomly draping strands. It requires deliberate placement and layering. Follow this timeline to build an effective setup:
- Assess Sightlines (Daytime): Stand in your patio and note where visibility from neighboring windows, balconies, or sidewalks is strongest. Use a notepad or phone to sketch these angles.
- Choose Your Fixture Points: Identify anchor points—eaves, railings, posts, pergola beams, or nearby trees—where lights can be attached. These will form your structural framework.
- Select the Right Bulb Type and Density: Opt for mini lights or globe bulbs with close spacing (3–6 inches apart). Higher density increases visual coverage.
- Plan Coverage Zones: Focus on perimeter edges—especially corners and open sides. Prioritize vertical zones over horizontal runs, as height builds enclosure.
- Install in Layers: Begin with a base layer outlining the ceiling or top rail. Add secondary layers along side supports and third layers diagonally across corners to fill gaps.
- Test at Night: Once installed, observe the effect after dark. Adjust spacing or add supplemental strings where sightlines remain too clear.
- Add Timers or Dimmers: For consistent privacy, ensure lights turn on automatically at dusk. Dimmable options allow adjustment based on occasion.
Design Strategies for Maximum Effectiveness
The layout of your lights determines how successfully they obscure views. Consider these proven configurations:
- Ceiling Canopy Grid: String lights in parallel rows across the overhead plane, then weave perpendicular lines to form a grid. This mimics a starry sky and blocks upward glances from adjacent floors.
- Corner Curtain Effect: Run multiple vertical strands tightly together in problem corners. The dense column of light acts like a shimmering curtain.
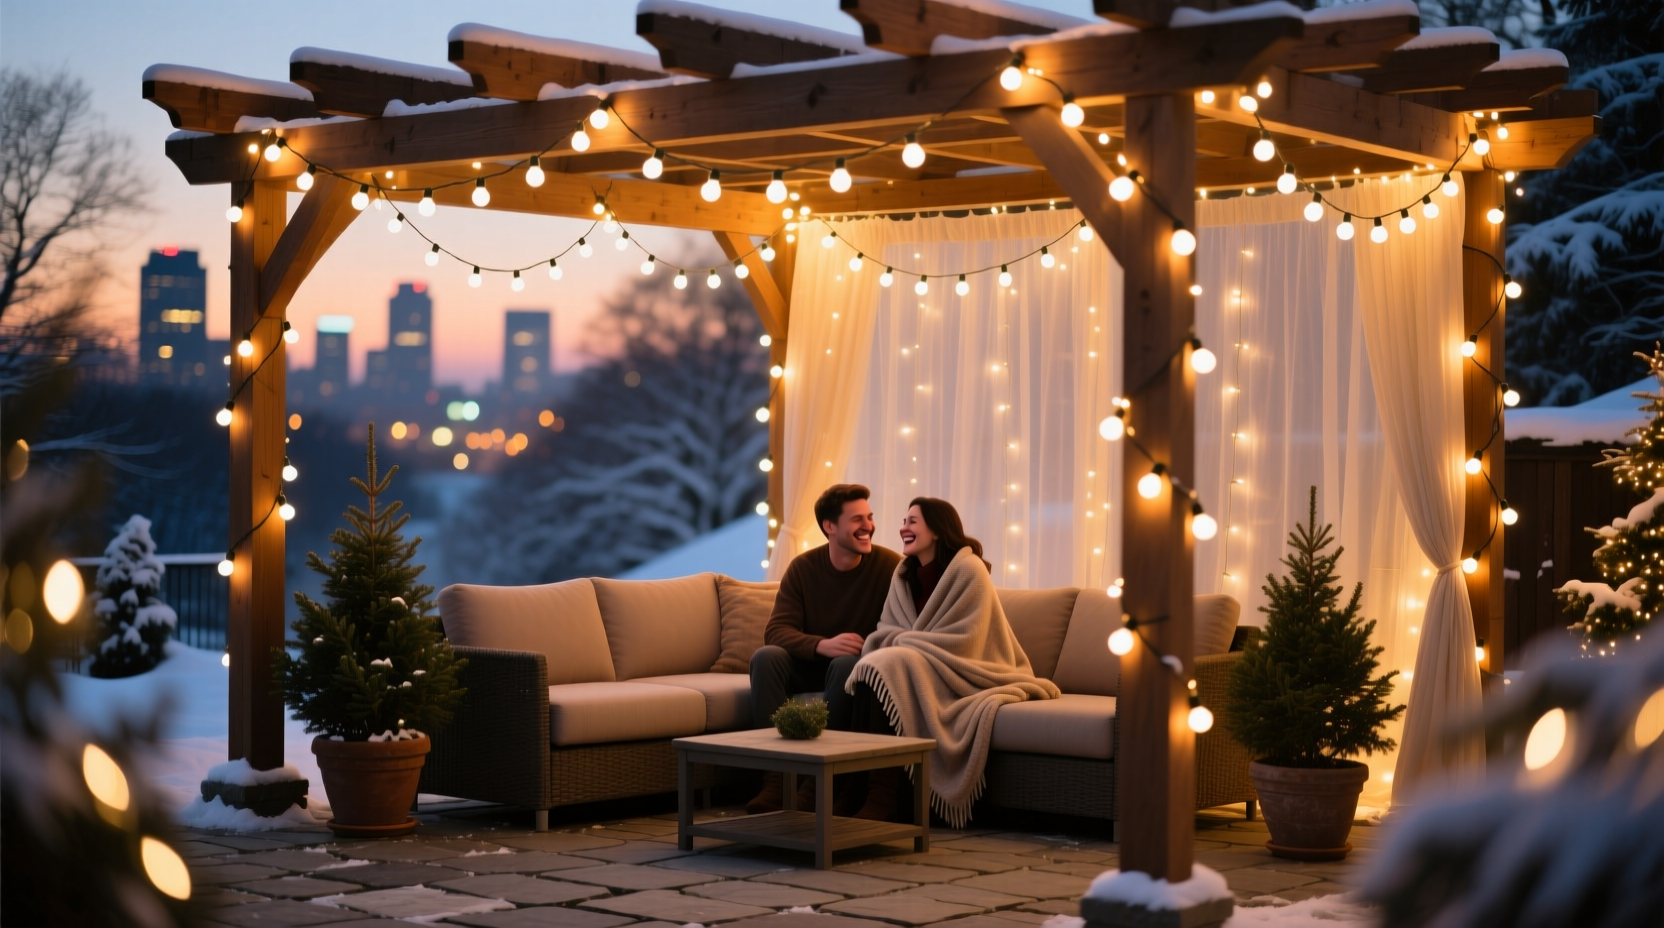
- Pergola Wrap Technique: If you have a pergola, wrap lights around each vertical post and horizontal beam. Add diagonal cross-strands for depth.
- Wall Wash Along Fences: Attach lights vertically along any existing fence or railing. Even a short barrier becomes more opaque when glowing.
- Suspended Netting Integration: Combine string lights with black mesh netting (commonly used in landscaping). Weave lights through the net for dual function: structure and glow.
For best results, choose warm white (2700K–3000K) bulbs. They emit a softer, more diffused light compared to cool white, which tends to be harsher and highlight rather than conceal.
Comparison: Lighting Options for Privacy Performance
| Light Type | Density | Privacy Effectiveness | Best Use Case |
|---|---|---|---|
| Mini String Lights (C6/C7) | High (3\"–6\" spacing) | ★★★★☆ | Ceilings, railings, tight corners |
| Globe String Lights (G40/G50) | Medium (6\"–12\" spacing) | ★★★☆☆ | Pergolas, overhead spans |
| Rope Lights | Very High (continuous) | ★★★☆☆ | Edges, frames, curved areas |
| Fairy Light Nets | Extremely High (grid pattern) | ★★★★★ | Walls, fences, large flat surfaces |
| LED Strip Lights (mounted) | Continuous | ★★☆☆☆ | Under eaves, built-in structures |
Note: Fairy light nets—pre-woven grids of lights—are among the most effective for privacy due to their uniform, high-density coverage. They can be clipped directly to chain-link fences or stretched across wooden panels.
Real Example: Transforming a Rooftop Patio in Brooklyn
Jamie Rivera, a graphic designer living in a converted warehouse loft in Williamsburg, struggled with her fourth-floor rooftop patio. Directly facing two neighboring apartment buildings, she felt constantly observed during evening relaxation. Fencing wasn’t allowed by her building’s regulations, and potted plants were too bulky for the narrow space.
She experimented with a combination of C7 warm white string lights and 6'x6' fairy light nets. First, she created a ceiling grid using 10 parallel strings across the overhead beams, spaced 8 inches apart. Then, she hung two light nets vertically on the two most exposed sides, securing them with S-hooks to existing railings. She added dimmable plug-in timers so the lights activated at sunset.
The result? Neighbors later told her they could see “a lovely glow” but couldn’t make out specific activities. Jamie reported feeling significantly more relaxed, often hosting small wine nights without self-consciousness. Her total investment was under $120, and installation took less than three hours.
Essential Checklist for a Privacy-Optimized Light Setup
Before powering up your display, run through this checklist to ensure maximum functionality:
- ✅ Identified primary visibility threats (windows, balconies, footpaths)
- ✅ Selected warm white, high-density lights (preferably mini or net style)
- ✅ Secured non-damaging fasteners (zip ties, clips, hooks)
- ✅ Installed lights in overlapping layers, focusing on vertical planes
- ✅ Tested nighttime visibility from external vantage points
- ✅ Added timer or smart plug for automatic operation
- ✅ Ensured all electrical connections are weatherproof and GFCI-protected
Remember: The goal isn’t complete invisibility, but plausible obscurity. If someone knows to look closely, they may still glimpse movement—but casual onlookers will see only a pleasant, twinkling ambiance.
Common Mistakes to Avoid
Even well-intentioned installations can fall short if key errors are made. Steer clear of these pitfalls:
- Using only horizontal runs: Horizontal lines emphasize openness. Always incorporate vertical or diagonal elements.
- Spacing lights too far apart: Gaps between bulbs create “windows” through which views penetrate. Stick to 6 inches or less for privacy-focused zones.
- Choosing cool white or multicolor lights: These draw attention rather than diffuse it. Warm white blends naturally with evening environments.
- Ignoring power sources: Running extension cords across walkways creates tripping hazards. Plan outlet access and use covered, outdoor-rated sockets.
- Leaving ends dangling: Exposed plugs or loose wires undermine the aesthetic and safety. Conceal them behind planters or railings.
FAQ
Can I leave Christmas lights up year-round for ongoing privacy?
Yes, many modern LED Christmas lights are designed for permanent outdoor use. Look for labels indicating “all-season,” “weather-resistant,” or “UL-listed for outdoor use.” Ensure connections stay dry and replace any frayed wires promptly.
Will this work during daylight hours?
No—this method relies on contrast and darkness. During the day, lights are ineffective for privacy. Combine them with other solutions like bamboo screens or sheer outdoor curtains for daytime coverage.
Are solar-powered lights suitable for this purpose?
Solar options can work, but they often lack the brightness and consistency needed for reliable privacy. Most produce a softer glow and may not activate until full dark. For critical zones, wired or plug-in systems are more dependable.
Final Thoughts: Lighting as Functional Design
Privacy doesn’t always require demolition, permits, or major renovations. Sometimes, the simplest interventions are the most elegant. By reimagining Christmas lights not just as decoration but as tools of spatial design, homeowners and renters alike can reclaim their outdoor spaces with minimal effort and cost.
The beauty of this approach lies in its flexibility. You can adjust layouts seasonally, remove strands temporarily, or enhance them with greenery and fabric for layered effects. Unlike rigid structures, lighting adapts to changing needs and moods.
More than just a seasonal flourish, a well-lit patio becomes a psychological boundary—one that says, “This is my space,” without raising a single wall.


 浙公网安备
33010002000092号
浙公网安备
33010002000092号 浙B2-20120091-4
Comments
No comments yet. Why don't you start the discussion?