
Installing indoor Christmas lights can instantly transform a space into a festive haven, but the challenge often lies in securing them without damaging walls, paint, or trim. Traditional nails and staples are out of the question for renters or anyone who values wall integrity. Command hooks offer a damage-free alternative that’s both reliable and versatile—when used correctly. Understanding how to select, place, and maintain these adhesive solutions ensures your holiday display stays bright, safe, and intact throughout the season.
Why Command Hooks Are Ideal for Indoor Light Displays
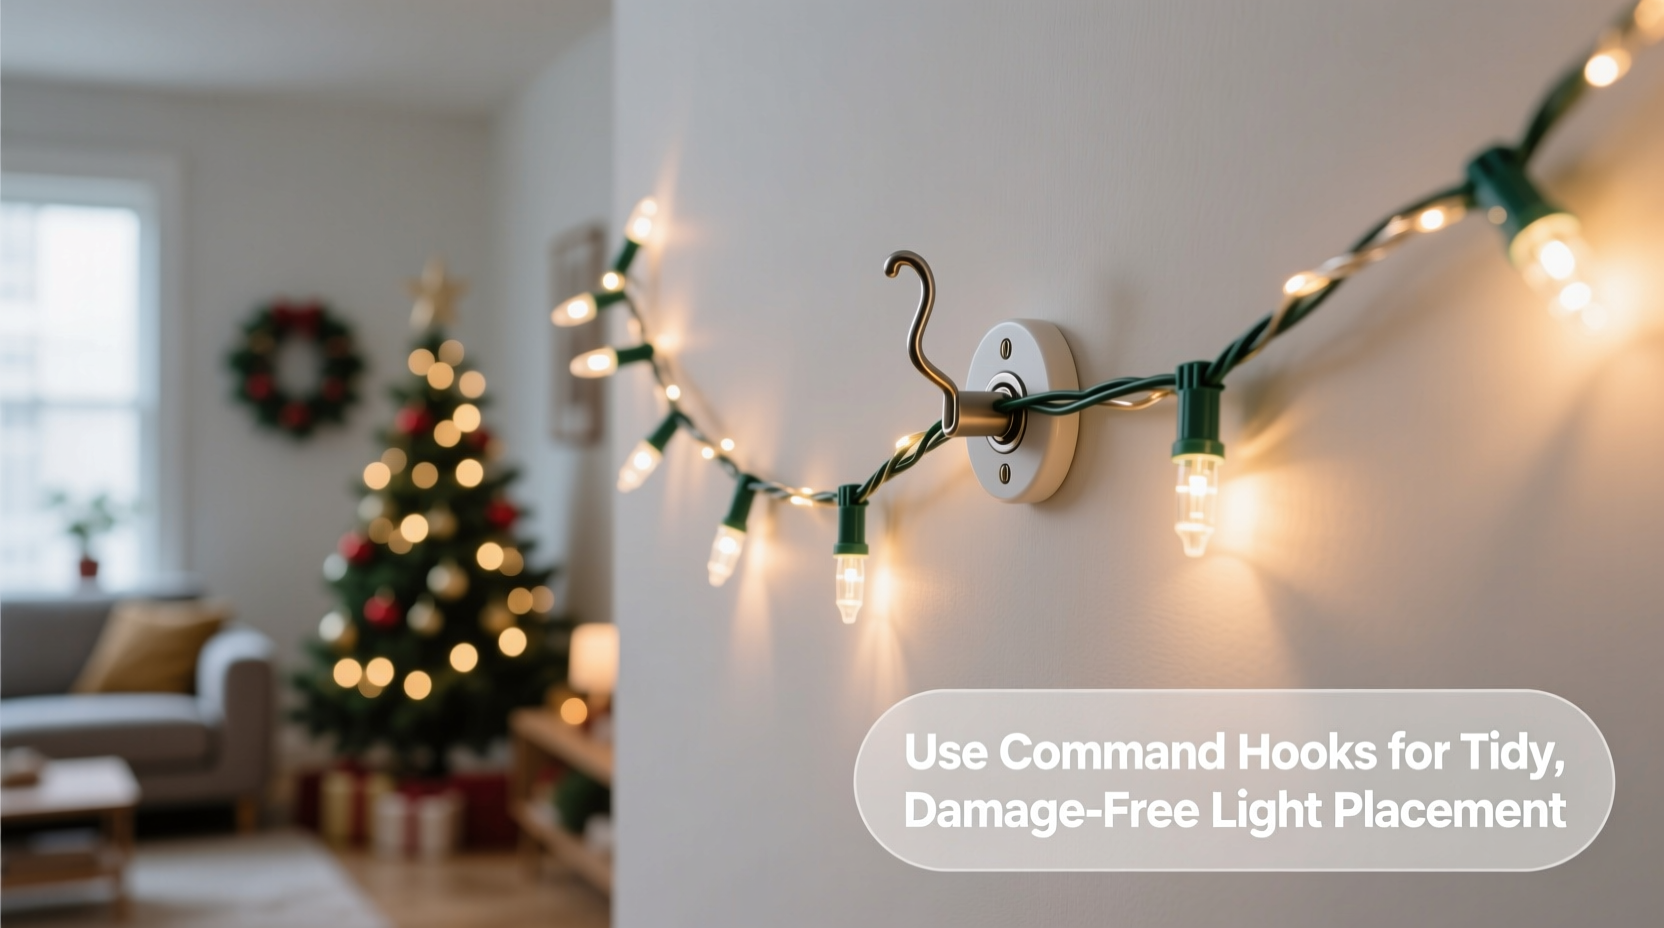
Command hooks have revolutionized temporary home décor, especially during holidays when decorations demand secure mounting with zero long-term consequences. Their design combines industrial-strength adhesives with removable backing technology, allowing users to hang items securely while preserving surface finishes. For Christmas lights, this means no holes, no residue (if removed properly), and no landlord complaints.
The versatility of Command hooks comes from their range: small clear hooks for lightweight string lights, larger utility versions for heavier garlands, and even specialty shapes like clips and strips designed specifically for lighting. Unlike tape or putty, which can sag or fail under weight, Command products are engineered to hold specific load capacities under controlled conditions.
“Adhesive-based hanging systems like Command hooks have made seasonal decorating accessible and risk-free for millions of households.” — Dana Reeves, Interior Stylist & Seasonal Décor Consultant
When installed on appropriate surfaces—clean, smooth, non-textured walls—these hooks provide consistent support. They work exceptionally well on painted drywall, glass, tile, and wood trim, making them ideal for anchoring light strands along baseboards, windows, mantels, and crown molding.
Selecting the Right Command Hook for Your Lights
Not all Command hooks are created equal. Choosing the wrong type can lead to drooping strands, sudden detachment, or even damage upon removal. The key is matching the hook’s weight capacity and shape to your lighting setup.
| Type of Command Hook | Weight Capacity | Best For | Avoid Using With |
|---|---|---|---|
| Clear Small Hooks | Up to 1 lb | Mini LED string lights, fairy lights | Heavy-duty incandescent sets |
| Medium Clear Hooks | Up to 3 lbs | Standard LED curtain lights, medium garlands | Ceiling-mounted swags |
| Utility Hooks (Large) | Up to 7.5 lbs | Denser light clusters, thick garlands with bulbs | Rough or porous surfaces |
| Light Clips / Adhesive Strips | Holds per clip: ~0.5 lb | Direct wire attachment, straight runs | Outdoor exposure or high humidity |
For most indoor Christmas light applications, a combination of small hooks and adhesive light clips works best. Use hooks at anchor points—corners, ends, and vertical drops—while clips keep horizontal runs taut and evenly spaced. Always check the packaging for indoor-specific ratings; outdoor variants may leave residue indoors due to stronger adhesives.
Step-by-Step Installation Guide
Proper installation is critical to ensuring Command hooks perform as intended. Even high-quality adhesives fail when applied incorrectly. Follow this timeline to install your indoor Christmas lights safely and effectively.
- Plan Your Layout (Day 1)
Sketch your desired light pattern on paper or visualize it room by room. Identify starting points, endpoints, corners, and areas needing extra support such as over doors or along ceilings. - Gather Materials (Day 1)
Collect your lights, selected Command hooks, rubbing alcohol and cotton pad, measuring tape, pencil (for light marking), and a level if needed. - Clean Surfaces Thoroughly (Day 2 – Installation Day)
Wipe each attachment point with rubbing alcohol. Let dry completely. Dust, oils, and residues prevent strong bonding. This step cannot be skipped. - Apply Hooks According to Spacing Needs (Day 2)
Place hooks every 12–24 inches depending on light density. Heavier strands need closer spacing. Press firmly for 30 seconds per hook to activate adhesive. - Wait One Hour Before Hanging (Critical Step)
Command recommends waiting at least one hour after application before loading hooks. This allows the adhesive to fully bond with the surface. - Hang Lights Gradually
Begin at the power source and work outward. Loop cords gently over hooks—do not pull tight. Allow slight slack to accommodate minor shifts and thermal expansion. - Test and Adjust
Plug in lights to ensure full coverage and even distribution. Re-position any sagging sections by adding supplemental clips or adjusting hook placement.
This methodical approach prevents rushed mistakes and maximizes longevity. Installing too quickly—especially skipping the curing period—leads to premature failure.
Real-World Example: A Renter’s Holiday Makeover
Sophie, a tenant in a historic Boston brownstone, wanted to decorate her living room and hallway for Christmas but feared damaging the original plaster walls. She opted for warm-white micro LED string lights to outline windows and frame doorways. After researching options, she chose Command Clear Small Hooks and Adhesive Light Clips.
She began by cleaning all mounting zones with alcohol wipes, then marked hook locations every 18 inches. She applied the hooks two days before hanging, giving them ample time to set. On installation day, she threaded the lights carefully, using clips along the ceiling line for straight alignment. Despite New England’s fluctuating indoor temperatures, the display remained secure for six weeks.
When it came time to remove the lights, she followed the release instructions: pulling the tab downward in a slow, steady motion. All hooks detached cleanly, leaving no marks. Her landlord later complimented the tasteful décor—without knowing it had been attached temporarily.
Maximizing Safety and Longevity
While Command hooks eliminate physical damage to walls, electrical safety remains paramount. Overloading circuits or mismanaging cords can pose fire hazards, especially with extended use. Ensure all indoor-rated lights carry UL certification and avoid daisy-chaining more than three sets unless manufacturer-approved.
To extend the life of both your lights and hooks, avoid placing hooks near heat sources like radiators or vents. Temperature extremes weaken adhesive bonds over time. Similarly, high-humidity areas such as bathrooms or kitchens are poor environments for Command products, even if they’re labeled for indoor use.
If you plan to reuse the same layout next year, take photos and label stored hooks by location (e.g., “living room window top”). While reused hooks aren’t recommended (adhesive degrades after removal), planning ahead saves time and reduces errors during reinstallation.
Common Mistakes and How to Avoid Them
- Using the wrong hook size – Lightweight hooks may seem sufficient, but cumulative weight adds up. When in doubt, go one size larger.
- Skipping surface prep – Applying hooks to dusty or greasy walls is the leading cause of early failure.
- Removing hooks improperly – Yanking sideways or upward can peel paint. Always pull the removal strip straight down.
- Overcrowding hooks – Placing multiple hooks too close together stresses the wall surface and reduces individual grip strength.
- Ignoring temperature guidelines – Install only in rooms between 50°F and 100°F (10°C–38°C) for optimal adhesion.
“Most failures I see aren't due to product flaws—they're due to user error. Taking five extra minutes to prepare the surface pays off in reliability.” — Marcus Lin, Home Improvement Technician with 12 years of experience
Frequently Asked Questions
Can I use Command hooks on textured walls?
Generally, no. Textured, cracked, or porous surfaces like stucco or unfinished drywall don’t allow proper adhesion. In such cases, consider tension rods, removable cord clips, or magnetic solutions on metal frames instead.
What should I do if a hook starts to fall?
Immediately reinforce the area. Add a second hook nearby and redistribute the load. Do not attempt to re-stick the original hook—once detached, its adhesive effectiveness drops significantly.
Are Command hooks safe for painted walls?
Yes, when used and removed correctly. They’re designed to come off cleanly from most painted surfaces. However, very old paint or low-quality finishes may still chip. Test one hook in an inconspicuous area first.
Essential Checklist for Success
- Before You Begin
- ☐ Measure total length of light strands
- ☐ Calculate combined weight of lights and accessories
- ☐ Select appropriate Command hook types
- ☐ Purchase extra hooks for backup (10–15% more than calculated)
- Installation Day
- ☐ Clean all mounting surfaces with alcohol
- ☐ Mark hook positions lightly in pencil
- ☐ Apply hooks with firm pressure for 30 seconds each
- ☐ Wait at least one hour before hanging lights
- After Installation
- ☐ Test lights for full functionality
- ☐ Check for sagging or uneven tension
- ☐ Ensure removal tabs are visible and accessible
- ☐ Take photos for reference next year
Conclusion: Shine Bright Without the Regret
Indoor Christmas lights bring warmth, nostalgia, and joy—but they shouldn’t come at the cost of damaged walls or seasonal stress. By leveraging Command hooks wisely, you gain the freedom to create stunning displays regardless of your living situation. From careful selection and meticulous surface preparation to strategic spacing and gentle removal, every step contributes to a seamless, damage-free holiday experience.
The beauty of this method lies in its simplicity and reversibility. With thoughtful planning and attention to detail, your lights stay up securely for weeks, then come down just as easily, leaving no trace behind. Whether you're in an apartment, rental home, or simply want to protect your investment in freshly painted walls, Command hooks empower you to celebrate boldly and responsibly.


 浙公网安备
33010002000092号
浙公网安备
33010002000092号 浙B2-20120091-4
Comments
No comments yet. Why don't you start the discussion?