
Hanging Christmas lights can instantly transform a home into a festive wonderland, but the process often comes with challenges—especially when it involves drilling holes, using nails, or risking damage to siding, trim, or paint. Command strips offer a compelling alternative: they’re removable, reliable, and designed to hold weight without leaving residue. However, not all Command strips are created equal, and using them incorrectly for heavy light strings can lead to sagging wires, fallen decorations, or even property damage.
This guide walks through the best practices for using Command strips to hang heavy Christmas light strings—those exceeding standard incandescent sets in length, bulb count, or combined weight. Whether you're decorating brick, stucco, wood trim, or vinyl siding, the right approach ensures your holiday display stays up securely from Thanksgiving through New Year’s—and comes down just as easily.
Understanding Weight Limits and Strip Types
One of the most common mistakes people make is assuming all adhesive hooks or strips are interchangeable. When dealing with heavy-duty Christmas light strings—especially commercial-grade LED or incandescent strands that can weigh 3–5 pounds or more—standard lightweight strips won’t suffice.
Command offers several product lines, each rated for different weights:
| Strip Type | Weight Capacity (per pair) | Best For |
|---|---|---|
| Small Clear Outdoor Strips | 4 oz (0.25 lbs) | Indoor lights, garlands under 1 lb |
| Large Clear Outdoor Strips | 1.5 lbs | Medium-length string lights on smooth surfaces |
| Jumbo Hook + Loop Outdoor Strips | 7.5 lbs | Heavy light strings, multiple strands, gutter mounting |
| Metal Wire Hooks with Outdoor Strips | Up to 5 lbs (hook-dependent) | Vertical runs along eaves or railings |
The key is matching the strip's capacity to your total load. A single 25-foot commercial LED strand may weigh around 2 pounds. If you're bundling two or three together, or running them along an extended eave, you’ll need jumbo-rated strips spaced appropriately to distribute the weight.
“We’ve tested outdoor Command products in extreme conditions—from sub-zero winters to humid coastal summers. When applied correctly, they maintain adhesion far better than most people expect.” — Sarah Lin, Product Engineer at 3M Consumer Group
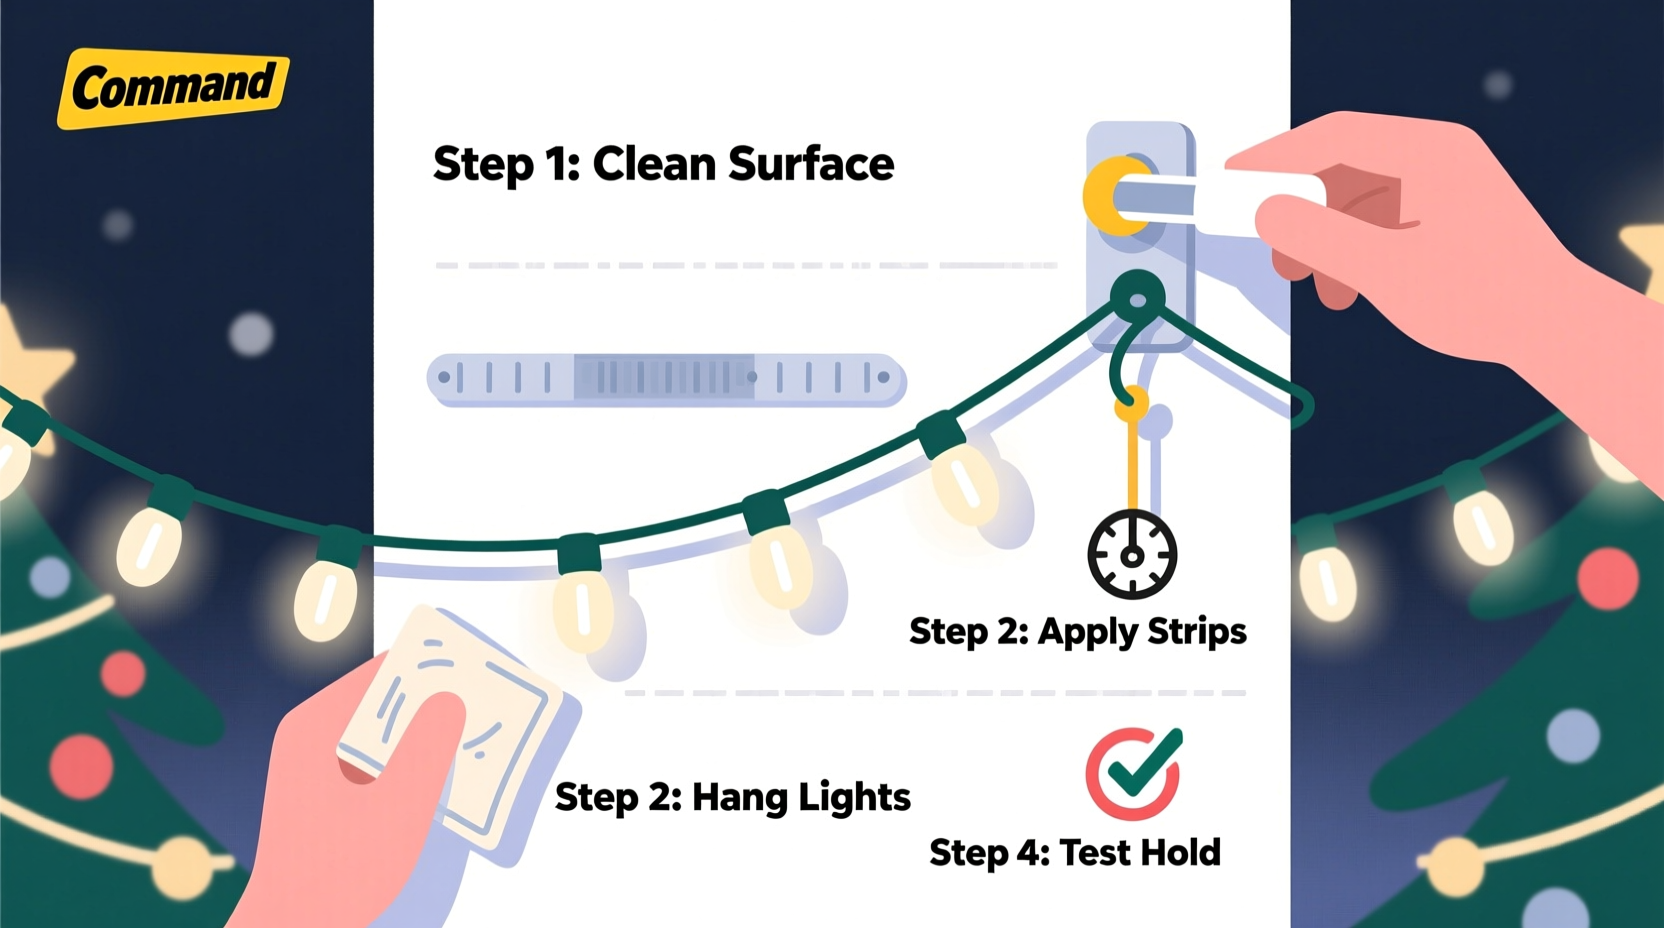
Step-by-Step: Installing Heavy Light Strings Safely
Success hinges not only on choosing the right strip but also on proper installation. Adhesive failure almost always stems from poor surface prep or rushed application. Follow this timeline to ensure maximum hold:
- Inspect and plan your layout (Day 1): Walk around your house and mark where lights will go. Note areas with direct sun exposure, moisture accumulation, or textured surfaces like stucco. Avoid placing strips over peeling paint or cracked caulk.
- Clean all mounting zones thoroughly (Day 1): Use isopropyl alcohol and a lint-free cloth to wipe down each attachment point. Let dry completely—this removes oils, dust, and residues that interfere with bonding.
- Acclimate strips indoors (Day 1): Keep unopened strips at room temperature for at least 24 hours before use. Cold strips don’t adhere well, even if installed in warm weather.
- Apply strips during optimal conditions (Day 2): Install when temperatures are between 50°F and 90°F (10°C–32°C). Avoid rainy days or high humidity. Press each strip firmly for 30 seconds—don’t just stick and walk away.
- Wait 1 hour before loading: This curing period allows the adhesive to bond fully with the surface. Skipping it drastically reduces holding power.
- Hang lights gradually: Start at one end and work toward the other, clipping lights onto hooks or threading through loop strips. Do not yank or stretch the strand.
- Check tension every few feet: Ensure no section sags excessively. Add additional strips mid-span if needed—especially for runs over 6 feet.
Surface-Specific Tips for Maximum Hold
Not all exterior surfaces react the same way to adhesive strips. Smooth, non-porous materials provide the best grip, while rough textures require special consideration.
- Vinyl Siding: Surprisingly compatible with outdoor Command strips due to its smooth finish. Wipe with alcohol, let dry, and press firmly. Avoid placing strips near seams where flexing occurs.
- Brick or Stucco: These porous surfaces reduce adhesion. Use Command’s Stucco & Brick Hooks, which come with longer backing tabs that conform to texture. Alternatively, mount strips to a thin wooden furring strip first, then attach the wood to the wall with masonry anchors—allowing the Command strips to serve as secondary fasteners.
- Wood Trim or Soffits: Ideal for standard outdoor strips, provided the paint is intact and not flaking. Sand lightly if glossy, clean with alcohol, and allow full cure time.
- Gutters: Never rely solely on adhesive strips here. Gutter material expands and contracts with temperature, weakening bonds. Instead, use gutter clips for primary support and Command strips only for guiding wire along fascia.
In cold climates, consider installing lights earlier in the season when daytime temps are still above 50°F. Once bonded, the strips remain secure even after temperatures drop below freezing.
Real-World Example: The Two-Story Colonial Makeover
Mark T., a homeowner in Portland, Maine, wanted to decorate his two-story colonial without damaging historic wood trim or hiring a professional. His plan included 120 feet of commercial LED net lights (total weight: ~8 lbs) across the front façade, plus icicle lights along the second-floor eaves.
He used Large Outdoor Strips along the first-floor soffit (every 18 inches) and upgraded to Jumbo Hook + Loop Strips for upper sections, where wind exposure was greater. Each strip was cleaned with alcohol, pressed for 30 seconds, and left unloaded for one hour. He also added diagonal support lines using thin nylon cord anchored at corners—a backup measure in case of partial failure.
The display stayed intact through December, including a 48-hour snowstorm with 30 mph winds. In January, he removed all strips by slowly stretching the removal tab parallel to the wall—no paint lifted, no residue remained.
“I was skeptical at first,” Mark said. “But seeing those lights stay put through winter storms changed my mind. It’s now part of our annual tradition.”
Checklist: Preparing for a Secure Installation
Before hanging a single strand, verify these critical steps:
- ☐ Determine total weight of light strings (check packaging or weigh at home)
- ☐ Select Command strips rated for at least 20% above expected load
- ☐ Inspect wall surfaces for cracks, peeling paint, or moisture issues
- ☐ Clean all mounting points with isopropyl alcohol
- ☐ Allow strips to acclimate indoors for 24 hours
- ☐ Plan strip placement every 16–24 inches along straight runs
- ☐ Install during dry weather with temperatures above 50°F
- ☐ Press each strip firmly for 30 seconds
- ☐ Wait 1 hour before attaching lights
- ☐ Test stability gently by tugging on sections after installation
Avoid These Common Mistakes
Even experienced decorators fall into traps that compromise adhesive performance. Steer clear of these pitfalls:
- Using indoor strips outdoors: Indoor formulations degrade quickly when exposed to UV rays and moisture.
- Skipping surface cleaning: Grease, pollen, or old wax creates a barrier that prevents bonding.
- Installing in cold weather: Below 50°F, adhesives become less tacky and fail to cure properly.
- Pulling down instead of sideways during removal: Always stretch the removal tab horizontally to avoid paint lifting.
- Overloading a single strip: Distribute weight evenly—never exceed the listed capacity per set.
Frequently Asked Questions
Can Command strips hold up in rain and snow?
Yes—specifically the Outdoor line of Command products. They are engineered with water-resistant adhesives and UV protection. As long as they’re applied correctly on clean, dry surfaces, they perform reliably through wet conditions. However, prolonged immersion (e.g., constant dripping or pooling) should be avoided.
What if I need to remove the strips in winter?
Removal works best above freezing. If temperatures are below 32°F, warm the strip gently with a hairdryer on low heat for 20–30 seconds. This softens the adhesive and reduces resistance, lowering the risk of paint damage. Always pull slowly and horizontally.
Can I reuse Command strips once removed?
No. Once detached, the adhesive loses integrity and cannot re-bond effectively. Always replace with new strips. Reusing leads to premature failure and dropped lights.
Final Thoughts: Decorating Smarter, Not Harder
Using Command strips for heavy Christmas light strings isn’t just about convenience—it’s about preserving your home’s appearance while enjoying seasonal joy. With thoughtful planning, correct product selection, and disciplined installation, you can achieve a professional-looking display without a single nail or drill bit.
The holidays bring enough stress; your lights shouldn’t add to it. By trusting science-backed adhesives and respecting their limits, you gain peace of mind knowing everything will stay in place until you’re ready to take it down—intact, undamaged, and ready to shine again next year.


 浙公网安备
33010002000092号
浙公网安备
33010002000092号 浙B2-20120091-4
Comments
No comments yet. Why don't you start the discussion?