
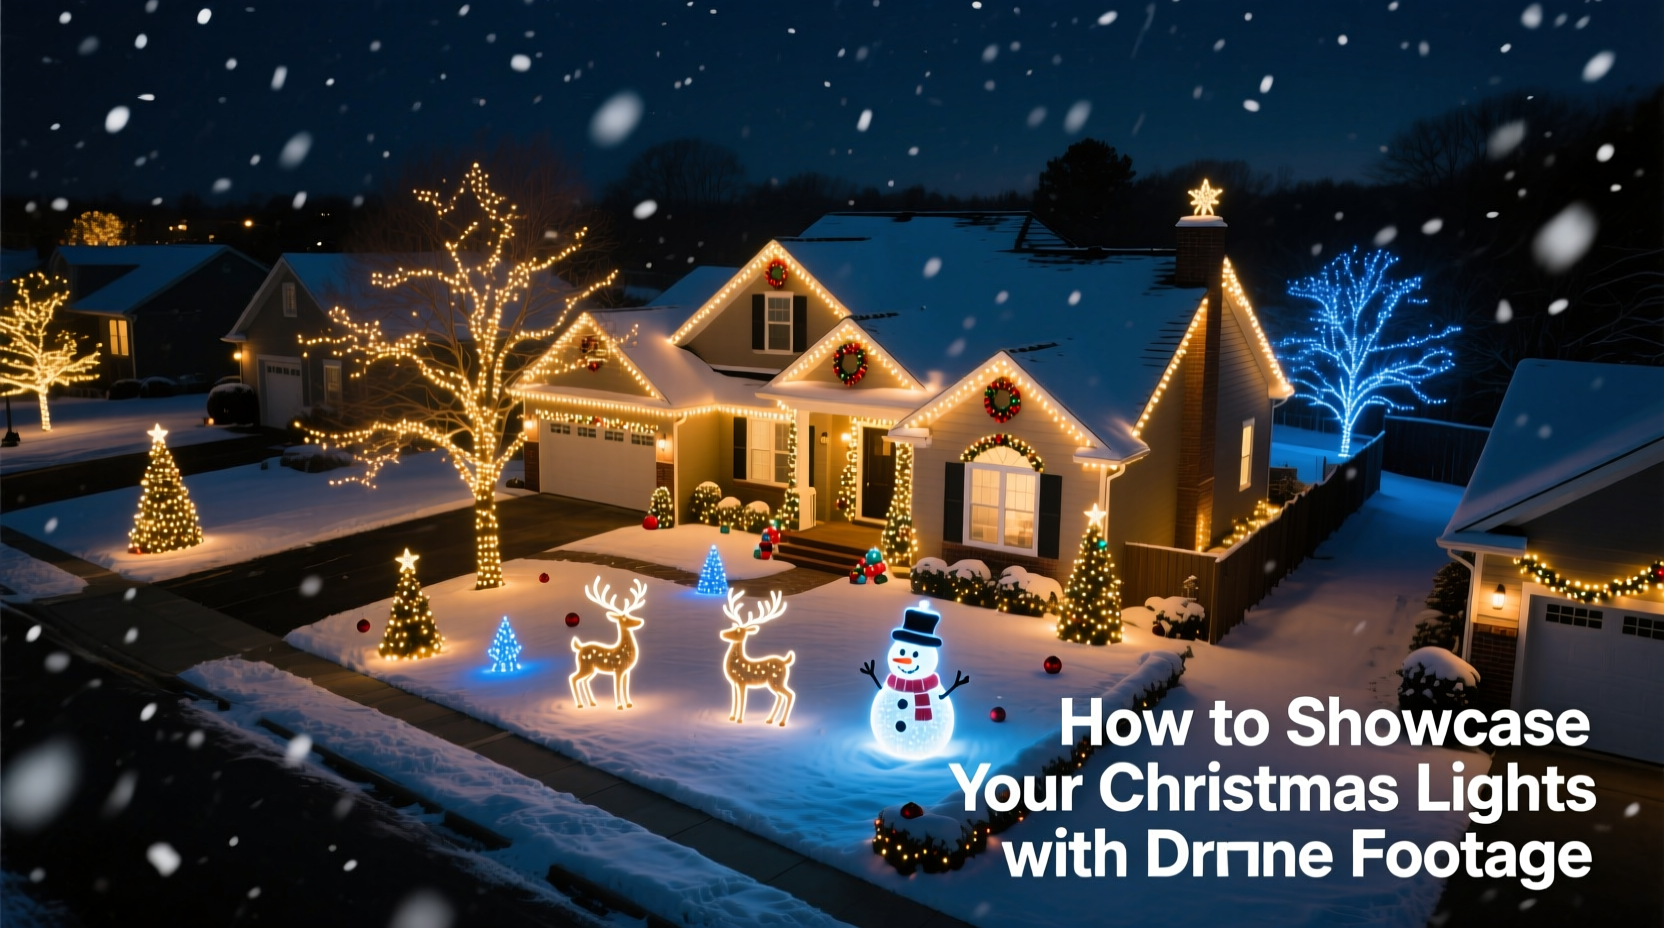
For years, homeowners have invested hundreds—or even thousands—of dollars into elaborate Christmas light displays: synchronized musical sequences, animated figures, custom archways, and immersive neighborhood experiences. Yet most of that effort remains invisible beyond the street curb. A ground-level smartphone video captures only fragments—glowing eaves, a flickering reindeer, maybe a neighbor’s smile—but misses the full spatial narrative: the symmetry of a light-wrapped tree canopy, the rhythmic pulse of a 30-foot candy cane path, or how your display flows across the entire yard like a constellation mapped onto grass and roofline. Drone footage changes that. It transforms your display from a local attraction into a shareable, cinematic experience—ideal for social media, community newsletters, real estate listings, or even holiday card videos. But capturing compelling aerial footage isn’t just about flying high and pressing record. It requires planning, legal awareness, technical finesse, and thoughtful storytelling. This guide walks through every practical layer—not as a hobbyist experiment, but as a deliberate visual strategy.
Understanding Legal & Safety Requirements First
Before powering up your drone, you must navigate two overlapping frameworks: federal aviation rules and local community expectations. In the United States, the Federal Aviation Administration (FAA) classifies recreational drone flights under Part 107 guidelines—even for personal holiday use—if the drone weighs over 0.55 lbs (250 g). Most consumer drones—including the DJI Mini series—fall into this category. That means registration ($5, valid for three years), passing the TRUST online safety test (free), and adhering to strict operational limits.
Key restrictions include: flying below 400 feet above ground level; staying within visual line of sight (no FPV goggles alone); avoiding airports (check B4UFLY app in real time); and never flying over people or moving vehicles. Crucially, many neighborhoods enforce additional rules—especially during December, when emergency response times are critical and airspace near fire stations, hospitals, and police departments becomes more sensitive. One homeowner in Portland, Oregon, had his drone grounded mid-flight by a responding fire department after a nearby chimney fire escalated—despite being legally compliant—because his drone hovered near the incident perimeter.
Equally important is neighbor consent. A drone hovering over adjacent properties—even at 200 feet—can feel intrusive. Documented cases show disputes arising not from noise or privacy laws per se, but from perceived surveillance, especially when lights are visible through windows. Proactively knock on doors, explain your intent (“We’re creating a short highlight reel to share with the neighborhood Facebook group”), and offer to blur rooftops or windows in post-production. Transparency builds goodwill—and avoids escalation.
Equipment & Setup: What You Really Need
You don’t need a $3,000 cinema drone. For residential Christmas light displays, reliability, low-light capability, and intuitive controls matter more than raw resolution. The DJI Mini 4 Pro (released late 2023) has become the de facto standard for this use case: sub-250g weight (exempt from some FAA requirements in certain jurisdictions), 4K/60fps HDR video, advanced obstacle sensing, and exceptional low-light stabilization. Its f/1.7 aperture lens gathers significantly more light than older models—critical when shooting at dusk or under dim ambient conditions.
Avoid drones with only electronic image stabilization (EIS)—they crop aggressively and degrade quality. Prioritize models with three-axis mechanical gimbal stabilization. Also essential: a fully charged battery (cold temperatures reduce capacity by up to 40%), ND filters (to control shutter speed in twilight), and a tablet or smartphone with DJI Fly app installed and updated.
| Feature | Why It Matters for Light Displays | Minimum Recommendation |
|---|---|---|
| Low-light sensor | Preserves color fidelity of warm white vs. cool blue LEDs without excessive noise | 1-inch CMOS or larger; f/2.8 or wider aperture |
| Battery life | Allows multiple passes without landing—essential for consistent sequencing | 30+ minutes nominal (22+ min real-world at 10°C) |
| Return-to-home (RTH) | Automatically lands if signal drops or battery dips below safe threshold | GPS + GLONASS + Galileo dual-band support |
| Manual camera controls | Enables precise exposure lock during light transitions (e.g., from dark sky to bright display) | Shutter speed, ISO, and white balance adjustment |
Ground prep matters just as much. Clear snow or ice from your takeoff zone. Use reflective tape to mark boundaries if filming at night. And charge batteries indoors—not in a cold garage—two hours before flight. Lithium-polymer cells lose responsiveness below 5°C (41°F), increasing drift risk.
Step-by-Step Filming Workflow: From Dusk to Delivery
Timing is everything. The “blue hour”—the 20–40 minutes after sunset when ambient sky retains soft indigo tones—is ideal. During this window, lights pop against deepening contrast, and artificial glare is minimized. Avoid full darkness: without ambient sky fill, drone footage looks flat and noisy; avoid midday: harsh shadows obliterate light detail.
- Pre-flight checklist (30 mins before): Verify firmware updates, calibrate IMU and compass outdoors, check propeller integrity, confirm SD card formatting and space (minimum 32GB UHS-I Speed Class 3).
- Setup & framing (15 mins): Launch at least 50 feet from your display’s center point. Set manual mode: ISO 100, shutter speed 1/50s (for 24fps), white balance 3200K (preserves warm LED tones), exposure compensation +0.3.
- First pass – Wide establishing shot (2 mins): Ascend vertically to 150 ft. Hover. Rotate 360° slowly. Capture 30 seconds—this anchors viewers spatially.
- Second pass – Dynamic movement (3 mins): Fly forward along your main light path (e.g., driveway → porch → tree line) at 3 mph, maintaining 80–100 ft altitude. Keep gimbal tilted down 15° for natural perspective.
- Third pass – Detail emphasis (2 mins): Descend to 40 ft over focal points (e.g., animated snowman, lit gazebo). Circle clockwise at 1 mph for 15 seconds each. Use “D-Cinelike” color profile for maximum grading flexibility.
- Post-flight (immediately): Download all clips to a backup drive. Tag files with date, location, and shot type (e.g., “20231215_Wide_150ft”).
This workflow balances coverage with battery efficiency. Each pass serves a narrative purpose: orientation, immersion, and intimacy. Skipping the wide shot creates disorientation; rushing the detail pass sacrifices emotional resonance.
Editing & Storytelling: Turning Footage into Impact
Raw drone footage rarely tells a story—it documents space. To make it compelling, edit with intention. Start by selecting only the cleanest 3–4 clips totaling 60–90 seconds. Trim shaky starts/stops. Then apply subtle enhancements:
- Color grading: Lift shadows slightly (+10) to reveal texture in dark areas; desaturate blues by -15 to prevent sky from competing with cool-white lights; boost red/orange hues (+8) to enrich warm incandescent strings.
- Motion smoothing: Use DaVinci Resolve’s “Optical Flow” or Premiere Pro’s “Warp Stabilizer” set to *No Motion* (not Smooth Motion)—this preserves intentional movement while eliminating micro-jitters.
- Sound design: Layer a subtle 3-second ambient track: distant carols (low volume), gentle wind, or even silence. Avoid music with copyright restrictions unless licensed. Many creators use Epidemic Sound’s royalty-free “Holiday Ambient” library.
- Cropping & composition: Apply the rule of thirds digitally. Position your brightest element (e.g., lit front door) at the right intersection point. Never zoom in optically—rely on drone proximity instead.
“Drone footage works best when it serves the lights—not the tech. If viewers notice the camera movement before they feel the joy of the display, you’ve prioritized technique over emotion.” — Lena Torres, Director of Visual Storytelling at HolidayLighting.org
Export settings matter. For Instagram Reels: H.264, 1080x1920 vertical, 30fps, bitrate 12 Mbps. For neighborhood email newsletters: MP4, 720p, 25 Mbps, embedded subtitles describing key features (“Synchronized to ‘Carol of the Bells’,” “Hand-strung LED icicles”). Always render a 30-second cutdown version for quick sharing.
Real-World Application: The Maple Street Lights Project
In 2022, the Maple Street Homeowners Association in Ann Arbor, Michigan, faced declining visitor turnout despite investing $8,000 in programmable lights and sound systems. Attendance dropped 35% year-over-year—partly due to pandemic fatigue, partly because word-of-mouth couldn’t convey scale. Resident and drone operator David Kim proposed a solution: a 75-second cinematic reel, filmed over two blue-hour sessions, highlighting both macro layout and intimate details (a child’s face lit by a glowing reindeer, the reflection of lights in fresh snow).
He followed the workflow above—adding one crucial twist: he synced drone movements to the display’s 10-minute musical sequence, flying forward as the chorus swelled and circling during instrumental breaks. The final video was shared via Nextdoor, embedded in the city’s “Holiday Happenings” newsletter, and projected on a downtown kiosk. Result? Visitor traffic increased 120% over 2021. More importantly, six new households joined the lighting cooperative in 2023—citing the drone video as their inspiration to participate.
Their success wasn’t about expensive gear. It was about aligning technical execution with human-centered storytelling: showing not just *what* the lights were, but *how they made people feel*.
Frequently Asked Questions
Can I fly my drone at night for Christmas lights?
Yes—but only if your drone has anti-collision lighting (required by FAA for all nighttime operations), you hold a Part 107 remote pilot certificate *or* completed TRUST for recreational use, and you maintain visual line of sight. Never rely solely on screen view in darkness. Use a spotter to monitor surroundings.
My lights are mostly warm white—will the drone capture accurate colors?
Most consumer drones default to auto white balance, which often misreads warm LEDs as “too yellow” and cools them artificially. Manually set white balance to 2800–3200K before takeoff. Shoot in D-Log or D-Cinelike profiles, then grade in post to restore warmth without oversaturation.
How do I avoid reflections or glare from wet pavement or windows?
Shoot during the blue hour—not full dark—to retain sky fill that reduces contrast spikes. Use a polarizing filter (if your drone supports it) rotated to minimize surface reflections. Alternatively, fly higher (120+ ft) and tilt the gimbal down 20–25° to capture light sources directly, avoiding angled bounce off glass or puddles.
Conclusion: Your Display Deserves to Be Seen—From Every Angle
Your Christmas light display is more than decoration. It’s craftsmanship, generosity, and seasonal intention made visible. It represents hours of planning, careful installation, and quiet joy in creation. Yet its impact remains limited if it exists only in proximity—if neighbors walk past without pausing, if distant family can’t grasp its scope, if your own children grow up remembering only fragments of what you built. Drone footage bridges that gap. It doesn’t replace the magic of standing beneath twinkling branches—it expands it. It gives context, scale, and rhythm. It turns a personal labor of love into a shared cultural moment.
You don’t need perfection. You need preparation, respect for airspace and neighbors, and the willingness to see your work from a new vantage point—literally and figuratively. Start small: film one wide pass this weekend. Review it. Notice how the lights interact with the roofline, the trees, the curve of your driveway. Then refine. Next year, add movement. The goal isn’t viral fame—it’s resonance. It’s ensuring that every bulb you strung, every controller you programmed, and every late-night adjustment you made is witnessed—not just by those who happen to pass by, but by anyone, anywhere, who needs a reminder of light in the longest nights.


 浙公网安备
33010002000092号
浙公网安备
33010002000092号 浙B2-20120091-4
Comments
No comments yet. Why don't you start the discussion?