
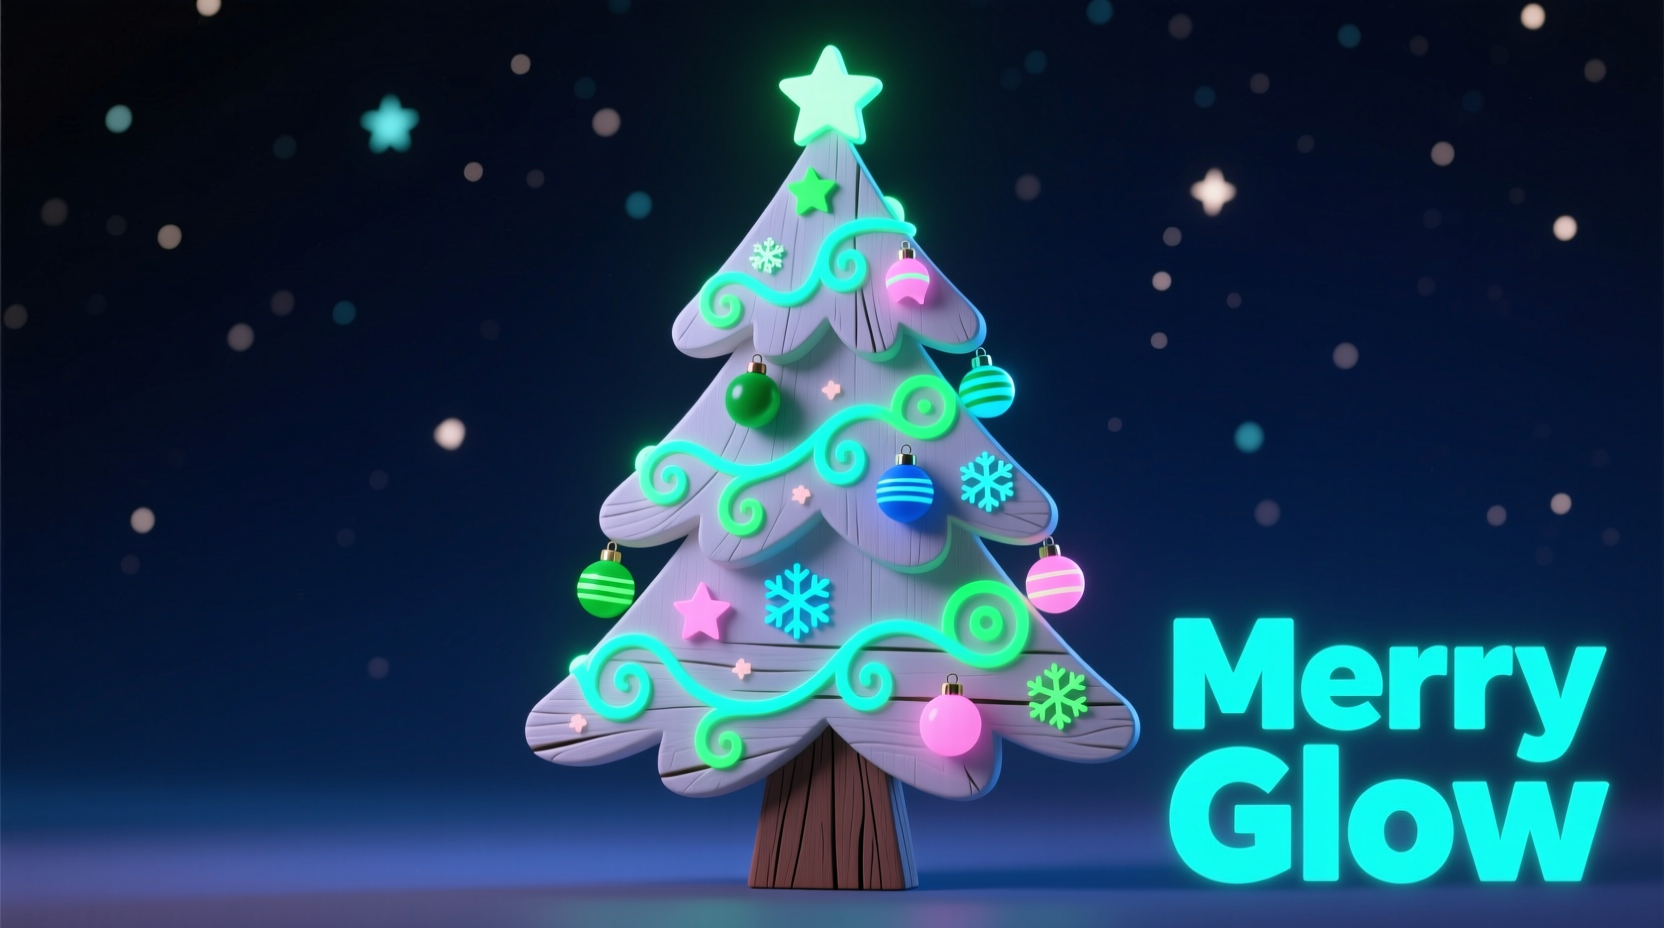
Transforming a traditional Christmas tree into a luminous centerpiece is easier than most people think—especially when glow in the dark paint enters the equation. This innovative medium adds an enchanting twist to holiday decor, turning ordinary ornaments, painted backgrounds, or even full-scale tree silhouettes into radiant displays once the lights go out. Whether you're crafting with kids, designing custom wall art, or enhancing real or artificial trees with subtle glowing accents, integrating this paint creatively can elevate your seasonal aesthetic.
Glow in the dark paint absorbs light and re-emits it slowly in darkness, creating a soft, ethereal glow that lasts for hours. When applied thoughtfully to Christmas-themed artwork, it introduces an element of surprise and wonder—perfect for holiday gatherings, children’s rooms, or festive photo backdrops. The key lies not just in using the paint, but in understanding how to maximize its effect through proper materials, application techniques, and design planning.
Selecting the Right Glow in the Dark Paint
Not all glow paints are created equal. For Christmas tree art projects, choosing the right formulation ensures longevity, brightness, and compatibility with various surfaces like wood, glass, ceramic, fabric, or paper. Most glow paints fall into two categories: water-based and solvent-based. Water-based options are safer, especially for family projects, while solvent-based versions tend to offer longer-lasting luminescence and durability.
The active ingredient in quality glow paint is strontium aluminate, which outperforms older zinc sulfide formulas in both brightness and duration. Strontium-based paints can glow for up to 12 hours after a short charge under light, making them ideal for nighttime holiday displays.
“Strontium aluminate has revolutionized glow products. It’s brighter, lasts longer, and charges faster than anything we had ten years ago.” — Dr. Alan Reyes, Materials Scientist specializing in photoluminescent compounds
Essential Supplies Checklist
Before starting any project, gather all necessary materials. Having everything ready streamlines the process and prevents interruptions mid-application, which could affect finish quality.
- Glow in the dark paint (preferably strontium aluminate-based)
- Clear acrylic sealer (matte or gloss)
- Paintbrushes (various sizes, synthetic bristles recommended)
- Sponges or stencils (for patterned designs)
- Paper plates or palettes (for mixing)
- Painter’s tape (for clean lines on flat surfaces)
- Drop cloths or newspaper (to protect work areas)
- LED blacklight (optional, enhances glow effect)
- Base surface (e.g., canvas, wooden board, ornament, or tree branch)
- Rubber gloves and mask (if working in poorly ventilated space)
Step-by-Step Guide: Creating a Glowing Tree Silhouette on Canvas
A popular and visually striking project is painting a Christmas tree silhouette that glows against a dark background. This piece can be framed and hung in a hallway, bedroom, or living room as a unique holiday accent.
- Prepare the workspace: Lay down protective covering and ensure good ventilation. Wear gloves if sensitive to chemicals.
- Prime the canvas: Use black or deep navy acrylic paint as the base coat. Allow it to dry completely—this creates contrast that makes the glow stand out.
- Sketch the tree shape: Lightly draw a triangular evergreen outline using a white pencil or chalk. Add tiers and a trunk for realism.
- Apply glow paint: Using a medium brush, fill in the tree shape with glow paint. Apply two to three thin coats, allowing each to dry for 30 minutes between layers. Thick applications may crack or take too long to dry.
- Add details: Use a fine brush to paint glowing ornaments, stars, or snowflakes. Consider layering regular white paint over dried glow paint to enhance visibility in daylight.
- Seal the artwork: Once fully dry (wait at least 24 hours), apply a clear acrylic sealer to protect the glow paint from scratches and UV degradation.
- Charge and display: Place the canvas under bright light for 10 minutes, then turn off the lights to reveal the glowing tree.
Incorporating Glow Paint into Ornament Design
Ornaments offer a compact yet impactful canvas for glow paint. From hand-blown glass replicas to DIY salt dough creations, adding luminescent elements turns simple decorations into conversation starters.
For glass or plastic ornaments, pour a small amount of glow paint inside, swirl to coat the interior evenly, then drain excess. Let dry upright overnight. The result is a softly glowing bauble that appears opaque during the day but radiates light at night. For exterior detailing, use a fine-tip brush to trace patterns like snowflakes, icicles, or names.
Salt dough ornaments benefit from a sealant layer before painting. After baking and cooling, apply a base coat of white acrylic paint. Then, paint glowing stars, tree outlines, or messages like “Joy” or “Noel.” Seal again after drying to prevent flaking.
| Ornament Type | Best Application Method | Drying Time | Sealing Required? |
|---|---|---|---|
| Glass bulb | Interior coating with liquid paint | 6–8 hours | Yes (rim only) |
| Salt dough | Exterior brush-on layers | 24 hours total | Yes (before and after) |
| Wood slice | Sponge stamping or freehand | 12 hours | Yes (recommended) |
| Foam tree cutout | Spray or brush-on | 4–6 hours | No, but improves durability |
Real Example: A Family’s Holiday Art Project
The Thompson family in Portland, Oregon, wanted to create personalized holiday decor without cluttering their tree. They decided to make a series of glow-in-the-dark memory ornaments for each child, representing milestones from the past year.
They started with plain wooden slices, sanded smooth. Each child chose a symbol—a soccer ball, a book, a musical note—and painted it using standard acrylics first. Over those shapes, they brushed a thin layer of glow paint. Parents helped seal each piece with varnish. At night, the symbols lit up faintly, visible from across the room after being charged by indoor lighting.
The project took one weekend afternoon. The kids loved seeing their achievements “come alive” in the dark, and the parents appreciated the sentimental value. One parent noted, “It wasn’t just decoration—it became part of our storytelling tradition.”
Do’s and Don’ts of Working with Glow Paint
To avoid common pitfalls and ensure professional-looking results, follow these guidelines.
| Do | Don't |
|---|---|
| Stir the paint thoroughly before use | Shake the container vigorously (can create bubbles) |
| Use non-porous surfaces when possible | Apply directly to untreated fabric without sealing |
| Layer thin coats for even glow | Apply one thick coat (leads to uneven drying and dim spots) |
| Store leftover paint in an airtight container | Leave lids off—moisture loss ruins consistency |
| Recharge frequently for consistent brightness | Expect perpetual glow without light exposure |
Enhancing Real and Artificial Trees with Glow Accents
Beyond standalone art, glow paint can subtly enhance actual Christmas trees. Instead of covering every branch, focus on strategic highlights that surprise and delight.
One effective method is painting the tips of select pine needles on a real tree using a fine brush dipped in diluted glow paint. This works best on trees kept indoors, away from rain or heavy misting. Allow the paint to dry completely before turning off lights—usually within 1–2 hours.
For artificial trees, consider customizing pre-made ornaments or wrapping small sections of tinsel with glow-infused clear spray. Another idea: paint tiny wooden tags with children’s names and attach them to branches. At night, each name glows softly, guiding little ones to their special spot under the tree.
“The magic of Christmas often lives in the small moments. A softly glowing star above a child’s bed can spark imagination and joy long after presents are unwrapped.” — Clara Bennett, Seasonal Decor Stylist and author of *Handmade Holidays*
Frequently Asked Questions
Is glow in the dark paint safe for children to use?
Yes, most modern water-based glow paints are non-toxic and safe for supervised use by children over 3 years old. Always check the label for certifications like AP (Approved Product) from ACMI. Avoid ingestion and contact with eyes. Wash hands after use.
How long does the glow last after charging?
High-quality strontium aluminate paint can emit visible light for 8–12 hours after a 10-minute charge under bright light. Brightness diminishes gradually, starting intense and fading to a soft shimmer. Re-exposure to light restores full brightness.
Can I mix glow paint with other types of paint?
You can mix glow paint with clear mediums like acrylic gel or mod podge, but blending with opaque paints will reduce luminosity. For best results, apply glow paint as a top layer or mix only with transparent bases. Never combine with oil-based paints unless specified by the manufacturer.
Conclusion: Bring Magic to Your Holidays
Glow in the dark paint opens a new dimension in Christmas creativity. Far from a novelty, it's a versatile tool that brings warmth, wonder, and personalization to seasonal art. Whether you're crafting a single glowing keepsake or redesigning your entire holiday display, the technique offers accessible innovation for crafters of all levels.
The beauty of these projects isn’t just in their visual impact, but in the shared experience of making them. Families bond over brushes and palettes; memories are embedded in every stroke. And when the house goes quiet, lights dimmed, the soft radiance of a painted tree reminds us of the quiet magic inherent in the season.


 浙公网安备
33010002000092号
浙公网安备
33010002000092号 浙B2-20120091-4
Comments
No comments yet. Why don't you start the discussion?