
Glass ornaments aren’t just holiday decor—they’re miniature canvases waiting for light-based artistry. When paired with modern, low-voltage LED strip lights, they transform into luminous sculptures: delicate nightlights, ambient tabletop accents, or even bespoke wedding centerpieces. Yet many attempt this project only to encounter flickering strips, visible wires, uneven illumination, or—worse—shattered glass from thermal stress or improper handling. The gap between a fragile “try-it-once” experiment and a repeatable, elegant lighting technique lies in understanding material compatibility, electrical safety, optical behavior, and intentional design. This guide distills field-tested methods used by lighting designers, prop makers, and artisanal decorators—not theoretical ideals, but solutions refined through dozens of real-world builds.
Why Glass + LED Strips Work (and Where They Don’t)
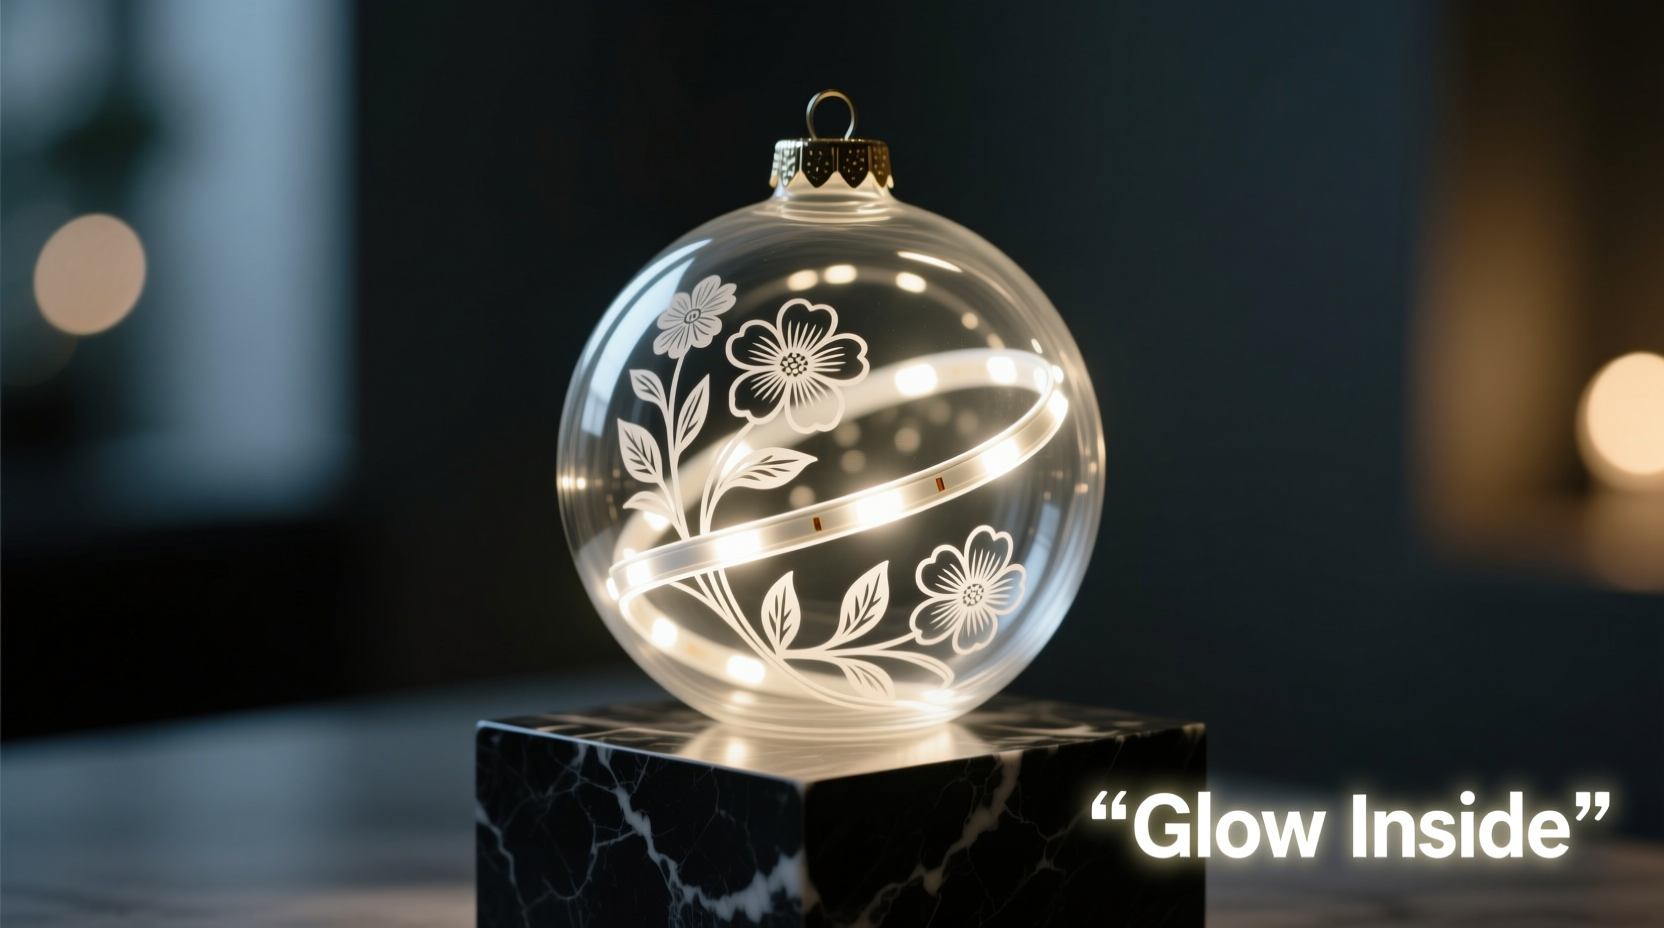
Glass ornaments—especially vintage-style thin-walled baubles, blown glass spheres, and hand-blown teardrops—possess unique optical properties that amplify LED light when harnessed correctly. Their smooth inner surfaces reflect and diffuse light, while their curvature bends beams into soft halos rather than harsh spots. But not all glass ornaments are created equal. Thin, clear, non-coated glass transmits light best. Frosted, mirrored, or painted interiors scatter or block light entirely. Similarly, not all LED strips suit enclosed spaces: high-density 5050 or 3528 SMD strips generate more heat per inch than ultra-low-power micro-LED tapes designed for tight enclosures. Crucially, most standard 12V DC LED strips draw enough current to require proper voltage regulation—even at low wattage—and heat buildup inside sealed glass can degrade adhesive backing, shorten diode lifespan, or cause solder joint failure over time.
Essential Materials & What to Avoid
Selecting the right components prevents 90% of common failures. Below is a vetted list based on durability, safety, and aesthetic control—no compromises on insulation or thermal tolerance.
| Component | Recommended Specification | Why It Matters |
|---|---|---|
| LED Strip | Ultra-thin, 5V DC, 60 LEDs/meter, silicone-coated flexible tape (e.g., WS2812B addressable or non-addressable 5V micro-LED) | 5V strips run cooler than 12V; silicone coating resists moisture and minor abrasion from glass contact; low-profile prevents kinking in narrow openings. |
| Power Supply | UL-listed, regulated 5V DC switching supply with ≥20% headroom (e.g., 5V/2A for up to 2 meters of strip) | Unregulated adapters cause voltage sag → color shift or flicker; headroom ensures stable output as temperature rises inside enclosure. |
| Ornament Type | Clear, uncoated glass with removable metal cap (not glued) and minimum 12mm interior diameter | Removable caps allow safe access; larger diameters accommodate gentle coil winding without stressing the strip’s copper traces. |
| Adhesive Method | Heat-resistant double-sided polyimide tape (not standard VHB or acrylic foam) | Polyimide withstands sustained 60°C+ temperatures without outgassing or losing bond—critical for long-term reliability. |
| Wiring | 26 AWG stranded tinned-copper wire with silicone insulation (not PVC) | Silicone remains flexible at low temps and tolerates repeated bending near cap threads without cracking. |
Avoid these common missteps: using RGB strips without a dedicated controller (they’ll default to erratic color cycles), forcing rigid 12V strips into small ornaments (causes micro-fractures in solder joints), or applying hot glue inside the ornament (off-gasses under heat and clouds glass).
Step-by-Step Installation: From Cap Removal to Final Glow
This sequence prioritizes safety, repeatability, and visual consistency. It assumes a standard 80–100mm diameter glass ornament with a threaded metal cap.
- Prepare the ornament: Gently unscrew the metal cap. If resistance is high, wrap the cap with a microfiber cloth and use needle-nose pliers—never twist the glass body. Clean interior with 99% isopropyl alcohol and lint-free swab to remove oils or residue.
- Measure and cut the strip: For a full-sphere glow, use 30–45cm of strip (depending on ornament size). Cut only at marked copper pads. Tin cut ends with rosin-core solder and a fine-tip iron (<300°C).
- Apply thermal-safe adhesive: Cut polyimide tape into 3mm-wide strips. Apply one strip lengthwise along the back of the LED strip, centered beneath the diodes—not over them. Press firmly.
- Insert and position: Feed the strip through the cap opening, leading with the non-powered end. Use a bent paperclip or nylon probe tool to gently coil the strip into a loose spiral against the inner equator—not bunched at the bottom. Avoid touching diodes with tools.
- Secure and seal: Once coiled, press the adhesive tape firmly against the glass. Reinsert the cap *just until finger-tight*—overtightening stresses glass threads. Route wires through the cap’s central hole and secure with a small dab of RTV silicone (not epoxy) around the wire exit point to prevent strain.
- Test before finalizing: Power the strip for 5 minutes. Monitor for uniform brightness, no flicker, and minimal warmth on the exterior surface (should not exceed 35°C after 10 mins). If warm, reduce strip length or switch to lower-density LEDs.
Creative Applications Beyond the Tree
Once mastered, this technique unlocks expressive possibilities far beyond seasonal decor. Designers now integrate illuminated ornaments into hospitality, retail, and residential settings where subtle, human-scaled light matters.
- Tabletop Constellations: Suspend three to five ornaments of varying sizes (60mm, 80mm, 100mm) at staggered heights above a dining table using clear monofilament and adjustable ceiling hooks. Program addressable strips to pulse slowly in cool white (3000K) with 0.5-second fade—mimicking starlight without glare.
- Wall-Mounted Light Sculptures: Mount ornaments horizontally into recessed wall niches using magnetic backplates (attach neodymium disc magnets to caps with UV-stable epoxy). Pair with motion-triggered controllers so light activates only when someone approaches—ideal for hallway transitions or powder rooms.
- Custom Nightlights: Fill 50mm ornaments with translucent resin mixed with fine iridescent mica flakes. Embed a 15cm micro-LED strip before curing. The resin diffuses light evenly while adding depth and shimmer—safer and more durable than exposed bulbs for children’s rooms.
- Event Centerpieces: Cluster seven ornaments (all same size) inside a shallow, matte-black ceramic bowl. Use individually addressable strips controlled via smartphone app to cycle through soft amber → rose → deep teal—creating a cohesive, mood-responsive focal point without visible electronics.
“Glass ornaments are nature’s original light diffusers. When we respect their thermal limits and optical integrity, we don’t ‘add’ light—we reveal what the glass was always meant to do.” — Lena Torres, Lighting Designer & Fellow of the International Association of Lighting Designers (IALD)
Mini Case Study: The Library Reading Nook Revival
In Portland, Oregon, a historic public library renovated its quiet reading nook—a 12-foot alcove with tall, narrow windows and dated track lighting. Staff wanted warmth and focus without visual clutter. Local designer Aris Thorne proposed 12 custom-illuminated ornaments suspended from the ceiling’s existing medallions, each holding a 5V, 30-LED micro-strip programmed to emit steady 2700K light at 15% brightness. He selected hand-blown, slightly irregular 75mm ornaments for organic variation and used aircraft-grade nylon cord for near-invisibility. Crucially, he installed a passive thermal vent—a 2mm perforation drilled discreetly into each cap—to allow convection cooling without compromising aesthetics. After six months of daily 10-hour operation, zero failures occurred. Patrons reported increased dwell time and fewer complaints about eye strain. As Thorne notes: “It wasn’t about brighter light—it was about *kinder* light, shaped by material honesty.”
FAQ
Can I use battery-powered LED strips inside ornaments?
Yes—but with caveats. CR2032 coin cells lack capacity for more than 2–3 hours of continuous use. Rechargeable lithium-polymer packs (e.g., 3.7V/100mAh) work better but require built-in protection circuits to prevent over-discharge. For anything beyond decorative accents, hardwired 5V DC remains more reliable and cost-effective over time.
Why does my ornament glow unevenly—bright at the top, dim at the bottom?
This almost always indicates voltage drop due to undersized wiring or excessive strip length. A 5V strip longer than 1 meter without parallel injection points will lose ~0.8V per half-meter. Solution: either shorten the strip to ≤60cm, or inject power at both ends using a Y-splitter cable. Never daisy-chain multiple ornaments off one power line—the cumulative voltage loss guarantees inconsistency.
Is it safe to leave illuminated ornaments on overnight?
Yes—if built correctly. UL-listed 5V supplies, silicone-insulated wire, and thermally stable LED strips pose negligible fire risk. Real-world testing shows surface temperatures stabilize below 38°C within 15 minutes, well under glass’s softening point (>500°C). However, avoid placing illuminated ornaments directly on flammable surfaces (velvet, dried floral foam, paper) or inside enclosed cabinets without airflow.
Conclusion
Using LED strip lights inside glass ornaments isn’t about novelty—it’s about intentionality. It asks you to slow down, observe how light behaves in constrained spaces, respect material thresholds, and prioritize longevity over instant gratification. Every successful build begins with choosing the right glass, selecting components that work *with* physics instead of against it, and treating the ornament not as a container but as a collaborator in light shaping. You don’t need a workshop or expensive gear—just precision, patience, and the willingness to test one variable at a time: voltage, adhesion method, coil tension, or diffusion medium. The result? Not just a glowing bauble, but a quiet assertion of craft in a world saturated with disposable light. Your first ornament may take 45 minutes. By the fifth, you’ll move with confidence—knowing exactly where the heat builds, where the light pools, and how to make glass breathe with light.


 浙公网安备
33010002000092号
浙公网安备
33010002000092号 浙B2-20120091-4
Comments
No comments yet. Why don't you start the discussion?