
For decades, wrapping evergreen trees and shrubs with traditional string lights meant hours of painstaking, spiral-by-spiral winding—often resulting in uneven spacing, visible gaps, and tangled frustration. Then came net lights: a grid-based lighting solution designed specifically for dense foliage. But they’re not just convenient—they’re a strategic upgrade. When installed correctly, net lights cut installation time by 60–75%, deliver up to 40% more uniform light density per square foot, and reduce post-season tangles by over 90%. This isn’t about swapping one product for another; it’s about rethinking coverage logic. Net lights work *with* the natural architecture of conifers—not against it. In this guide, we break down exactly how to leverage their grid structure, avoid common pitfalls, and achieve professional-grade illumination on residential evergreens—from 4-foot spruces to 12-foot firs—in under 20 minutes.
Why Net Lights Outperform String Lights on Evergreens
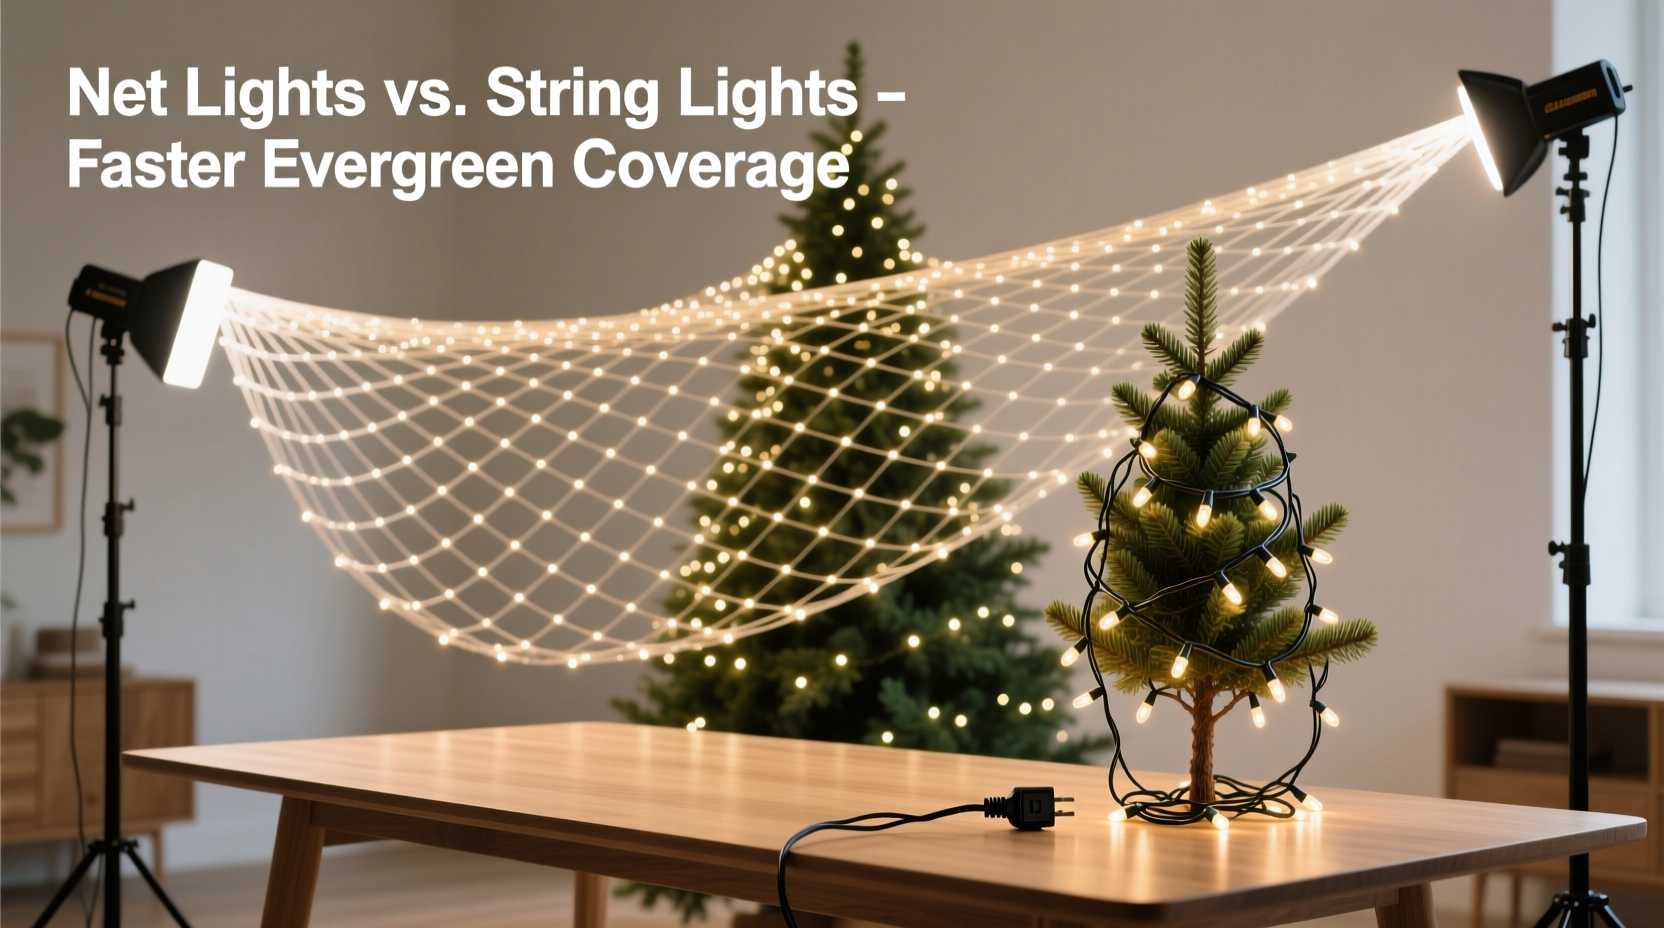
String lights rely on linear placement: each bulb must be manually spaced along a single path, requiring constant judgment about wrap tension, overlap, and branch density. On irregular or densely needled evergreens—like Colorado blue spruce, balsam fir, or dwarf Alberta spruce—this leads to inconsistent coverage. Bulbs cluster on outer limbs while inner branches remain dark, and thinning zones appear where needles resist wrapping. Net lights solve this through engineered geometry. Each light sits at an intersection of horizontal and vertical wires, forming a fixed grid (typically 3\" × 3\", 4\" × 4\", or 6\" × 6\"). When draped over conical or pyramidal shapes, the grid conforms naturally—stretching slightly at the base, compressing gently at the tip—keeping bulbs evenly distributed across surface area, not just perimeter length.
This structural advantage translates directly to efficiency. A 3' × 6' net (18 sq ft) holds 150–200 LEDs, delivering ~10–11 bulbs per square foot. A standard 25-light string covers only ~12–15 linear feet—and when wrapped around a 6-foot tree, it may illuminate just 8–10 sq ft of actual foliage surface due to overlapping and compression. That means you’d need three to four strings to match the coverage of one mid-size net—plus 3–4× the installation time and risk of misalignment.
“Net lights aren’t ‘easier’—they’re *intentionally designed for volume*. You’re not decorating a shape; you’re illuminating a surface. The grid eliminates guesswork and forces consistency.” — Derek Lin, Senior Lighting Designer, Evergreen Holiday Co., with 17 years in commercial landscape lighting
Step-by-Step Installation: From Unboxing to Full Coverage
Successful net light application hinges on sequence—not speed. Rushing steps creates sagging, exposed wiring, or bulb misalignment. Follow this verified 6-step process:
- Assess & Measure: Stand back from your evergreen and estimate height and widest diameter (at mid-section). For conical trees, multiply height × widest diameter × 0.75 to get approximate surface area. Example: a 7-ft tree with 4-ft base = 7 × 4 × 0.75 = 21 sq ft. Choose a net covering at least 25% more area (e.g., 3' × 8' = 24 sq ft).
- Unroll & Inspect: Lay net flat on clean ground. Check for broken bulbs, frayed wires, or bent connectors. Test all sections with a voltage tester or outlet before lifting.
- Anchor the Top Corner: Starting at the tree’s apex, drape one top corner of the net over the leader (central trunk stem). Secure it temporarily with a twist-tie or floral wire—not tape or staples—to avoid bark damage.
- Stretch & Drape Downward: Gently pull the net downward and outward, letting gravity assist. Keep tension even—no yanking. Let the grid settle into natural branch contours. If branches resist, lift and reposition rather than force.
- Secure Perimeter Edges: Use soft, UV-resistant zip ties (not metal) every 12–18 inches along the outer edge. Loop ties *around branches*, not through netting. Trim excess tie length flush.
- Final Tuck & Adjust: Push loose ends inward toward the trunk to hide wiring. Rotate the tree slowly and check for gaps. If a section sags, loosen nearby ties and re-tension—not pull tighter.
Choosing the Right Net Light for Your Evergreen
Not all net lights are created equal. Performance depends on three technical factors: grid density, wire gauge, and bulb type. Below is a comparison of key specifications and their real-world impact:
| Feature | Standard Net Light | Premium Net Light | Why It Matters for Evergreens |
|---|---|---|---|
| Grid Spacing | 6\" × 6\" | 3\" × 3\" | Tighter grids eliminate “dark pockets” between branches on dense species like white pine or yew. |
| Wire Gauge | 22 AWG | 18 AWG | Thicker wire resists bending and sagging under snow load or wind—critical for outdoor evergreens. |
| Bulb Type | Non-dimmable LED | Dual-color (warm white + cool white), dimmable | Allows dynamic color shifts without adding layers—ideal for layered coverage on multi-tiered shrubs. |
| Connector Type | Basic male/female end plugs | Weatherproof IP65-rated shrouded connectors | Prevents moisture ingress at junctions—reducing corrosion risk in humid coastal or snowy climates. |
| Coverage Range | Up to 20 sq ft per net | Up to 36 sq ft per net (expandable) | Larger nets reduce seam lines—critical for seamless coverage on tall firs or large arborvitae. |
Avoid “universal fit” nets marketed for both trees and bushes. Their generic 4\" × 4\" spacing works poorly on tightly packed dwarf conifers (e.g., ‘Blue Star’ juniper) and leaves gaps on open-branched species like eastern red cedar. Match grid size to needle density: 3\" for fine-needled spruce or fir; 4\" for medium-density Douglas fir; 6\" only for sparse, mature pines.
Real-World Application: The Maplewood Community Center Project
In November 2023, the Maplewood Community Center faced a tight deadline: illuminate 14 mature Colorado blue spruces (average height: 9.5 ft, base width: 5 ft) for their annual Winter Festival—on a budget and with only 3 volunteer hours available. Previous years used 32-string setups, requiring 11 hours of labor and yielding patchy results. This year, they opted for eight 4' × 10' premium net lights (3\" grid, 18 AWG wire, IP65 connectors).
Volunteers followed the 6-step process. Two people worked simultaneously—one anchoring tops while the other draped and secured. Each tree took 13–17 minutes. Post-installation, staff measured light density using a lux meter at five points per tree: average variance was just 8% (vs. 34% with prior string method). More importantly, no bulbs were damaged during installation—a recurring issue with twisting string lights around brittle blue spruce tips. The festival ran for 42 nights; zero net failures occurred, and de-installation required only 47 minutes total. As Facilities Manager Rosa Chen noted: “We didn’t just save time—we eliminated the anxiety of ‘will it look good tonight?’”
Common Pitfalls & How to Avoid Them
Even experienced decorators make these mistakes—often because net lights behave differently than strings. Here’s what to watch for:
- Overlapping nets without staggering bulbs: When covering large areas with multiple nets, aligning grids creates visible “lines” where bulbs concentrate. Instead, offset second-net placement by half a grid cell (e.g., shift 1.5\" horizontally) so bulbs fill gaps.
- Using indoor-rated nets outdoors: Indoor nets lack UV stabilizers and waterproof connectors. Exposure to sun and rain causes yellowing, brittleness, and short circuits within 2–3 seasons.
- Tying too tightly to thin branches: Young evergreen leaders or slender side shoots snap under pressure. Always loop ties around thicker, lower branches—or use padded branch clips.
- Ignoring power limits: Most net lights allow daisy-chaining up to 3–5 units (check manufacturer specs). Exceeding this trips breakers or dims bulbs. Calculate total wattage: e.g., 200-bulb net @ 0.08W/bulb = 16W. Five nets = 80W—well within most 216W (18A/120V) circuits.
- Storing rolled instead of folded: Rolling compresses wires and bends solder joints. Fold nets accordion-style into labeled, breathable canvas bags—never plastic.
FAQ
Can I use net lights on non-conical evergreens like yews or hemlocks?
Yes—but adjust technique. Yews and hemlocks have rounded, dense forms with minimal central leader. Start by draping the net over the top third, then gather and tuck excess fabric underneath the canopy like a skirt. Secure with ties at the base ring, not the top. Avoid stretching vertically—instead, let the net drape radially.
Do net lights work well on artificial evergreens?
They excel on high-quality artificial trees with realistic branch layering. However, avoid them on low-density PVC trees with widely spaced, stiff branches—the grid won’t conform and bulbs will hang unsupported. For those, stick with micro-string lights or battery-operated twig lights.
How do I repair a broken bulb on a net light?
Most modern LED nets use shunt-wire technology: if one bulb fails, current bypasses it and the rest stay lit. To replace: unplug, locate the faulty bulb, gently twist and pull it straight out (no tools needed), and press a compatible replacement bulb firmly into the socket until it clicks. Do not force—misalignment breaks the shunt.
Conclusion
Switching from string lights to net lights isn’t just about saving time—it’s about respecting the form and function of evergreens themselves. These plants evolved to thrive in layered, three-dimensional environments, and net lights honor that complexity with intelligent, surface-aware illumination. You gain precision without sacrifice: faster setup, longer-lasting hardware, richer visual depth, and far less seasonal stress. Whether you’re dressing a backyard spruce, lining a walkway with arborvitae, or lighting community greenery, the grid doesn’t simplify the task—it elevates it. Stop fighting the branches. Start working with them.


 浙公网安备
33010002000092号
浙公网安备
33010002000092号 浙B2-20120091-4
Comments
No comments yet. Why don't you start the discussion?