
For years, giant inflatable Christmas displays relied on static printed faces or simple LED eyes with fixed expressions. Today’s most captivating yard displays—those that blink, smile, wink, or even sing along to carols—owe their expressiveness to pixel mapping: a precise digital technique that treats each LED as an individually addressable point in a 2D grid. When applied to inflatable faces (typically 3–6 feet tall with integrated LED strips or matrices), pixel mapping transforms rigid plastic into dynamic, emotionally resonant characters. This isn’t just about flashing lights—it’s about storytelling through light, timing, and spatial intelligence. Done well, it elevates your display from neighborhood curiosity to viral-worthy spectacle. But the barrier isn’t hardware alone; it’s understanding how to translate facial anatomy into coordinate-based animations, calibrate for curvature and stretch, and synchronize movement across dozens or hundreds of pixels without visual distortion.
Understanding the Core Components: What Makes Pixel Mapping Possible
Pixel mapping for inflatables rests on three interdependent layers: physical layout, software translation, and timing logic. First, the hardware must consist of individually addressable LEDs—commonly WS2811, WS2812B, or APA102 strips—wired in series and controlled by a microcontroller like an ESP32, Raspberry Pi Pico W, or dedicated controller such as the Falcon F16v3 or xLights-compatible PixLite. Unlike traditional analog lighting where entire sections turn on/off together, these LEDs accept RGB values per pixel via serial protocols, enabling frame-by-frame control.
The second layer is the mapping file—a digital blueprint that defines the exact X-Y position (and sometimes Z-depth) of every LED relative to a virtual canvas. For flat panels, this is straightforward. For inflatables, however, geometry introduces complexity: curved cheeks, recessed eye sockets, and stretched forehead regions distort linear spacing. A 120-pixel strip wrapped around a spherical nose may occupy only 40% of its physical length in the mapped face’s top-down view—but the software must know *where* each pixel lands visually, not just electrically.
The third layer is sequencing: the timeline-driven assignment of color and brightness values to each mapped coordinate across successive frames. A “blinking” animation isn’t two states (open/closed); it’s 12–18 frames simulating eyelid descent, pause at closure, and smooth retraction—each frame adjusting only the pixels belonging to the upper and lower eyelids, while preserving ambient cheek glow or eyebrow shape.
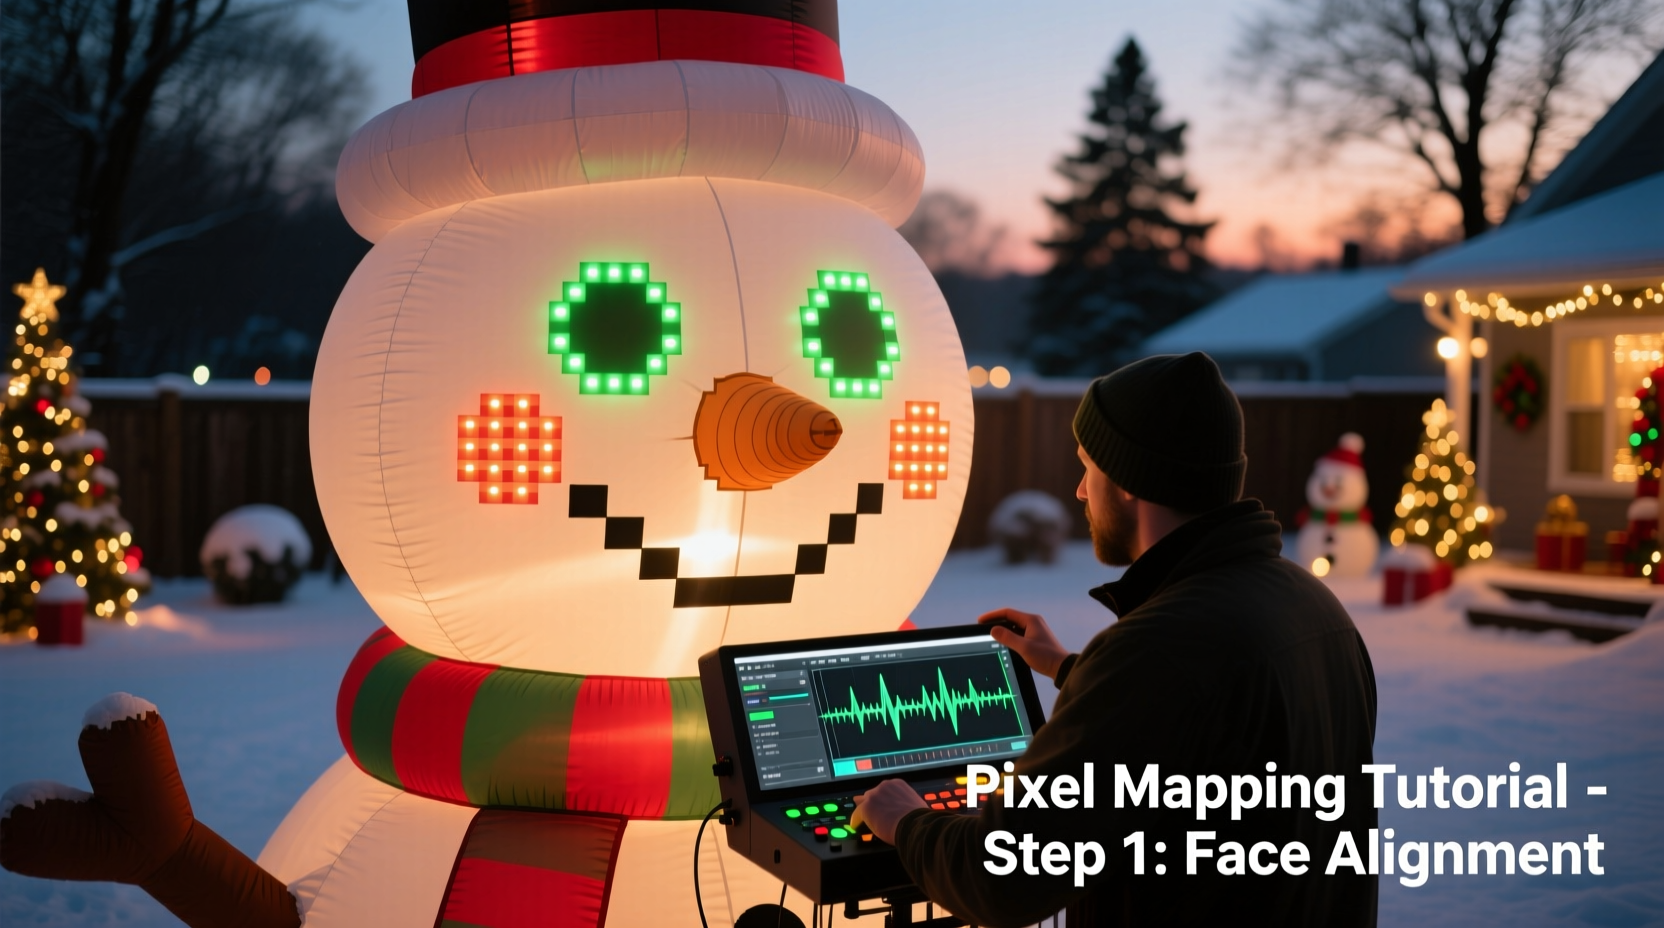
Building Your Face Map: From Tape Measure to Coordinate Grid
Start with a full-scale reference image of your inflatable’s front-facing surface—ideally taken under even daylight with no shadows. Import it into vector software (Inkscape) or pixel-mapping tools like xLights, Vixen 3, or Light-O-Rama’s Pixel Editor. Then follow this calibrated process:
- Outline key features: Trace the perimeter of each eye socket, mouth curve, eyebrow arch, and jawline using Bezier paths. Treat these as non-emissive boundaries—not light sources, but structural guides.
- Assign pixel groups: Physically label each LED strip segment (e.g., “Left Eye Top Rim – Pixels 1–15”). Document total count per zone: typical 5-foot snowman faces use 24–36 pixels for each eye, 40–60 for the mouth, and 12–20 for eyebrows.
- Create the grid: In xLights, use the “Import Image” tool to load your reference photo, then place anchor points at consistent intervals (e.g., every 2 inches). Drag and drop pixel icons onto those points—aligning them precisely with your physical LED positions. Use the “Snap to Grid” and “Rotate View” functions to compensate for inflation-induced skew.
- Validate with test patterns: Run a “rainbow chase” or “pixel number overlay” sequence. If pixel #37 appears where you mapped #52, adjust coordinates—not wiring.
This step often consumes 60–70% of total project time—and rightly so. A misaligned map doesn’t just look “off”; it breaks emotional continuity. An eyebrow that lifts while the opposite eye closes reads as neurological confusion, not whimsy.
Animating Expressions: Beyond Blinking to Believable Behavior
Effective facial animation avoids robotic repetition. Human expressions involve asymmetry, micro-timing, and contextual blending. A genuine smile engages the orbicularis oculi (causing crow’s feet), not just upward mouth corners. To replicate this:
- Layer your sequences: Build base layers first—ambient skin tone (soft amber at 15% brightness), then expressive overlays (white for teeth, cool blue for irises). Never overwrite the base; modulate it.
- Use easing, not stepping: Replace linear “on/off” transitions with cubic-bezier easing curves. A blink should accelerate downward (20% of duration), hold (30%), then decelerate upward (50%). Tools like xLights’ “Easing Editor” let you draw custom acceleration profiles per pixel group.
- Add subtle randomness: Introduce ±5% variation in blink timing between left and right eyes. Let one eyebrow rise 0.3 seconds before the other during a “curious” expression. These micro-delays signal organic intent.
| Expression | Key Pixel Zones Involved | Timing Notes |
|---|---|---|
| Blink | Upper/lower eyelid rims (8–12 pixels each eye) | Duration: 350ms total. Hold closed: 80ms. Asymmetric start offset: ±40ms |
| Smile | Mouth arc (30–50 pixels), outer cheek glow (6–10 pixels), slight iris contraction | Starts at mouth corners → peaks at center → relaxes outward. Cheek glow increases 20% intensity |
| Sing (mouth open) | Mouth interior (15–25 pixels, warm white), tongue highlight (3–5 pixels, soft pink) | Oscillates vertically at 2.5Hz synced to audio amplitude. Interior brightness pulses with bass frequency |
| Wink | One eye closed + opposite eyebrow lift + subtle head tilt simulation (asymmetric cheek dimming) | Non-mirrored: dominant eye winks faster, brow lifts higher. Duration: 280ms |
Real-World Case Study: The Maple Street Snowman (2023 Season)
In suburban Cleveland, the O’Malley family upgraded their 6-foot snowman inflatable after noticing neighbors stopping traffic to film its “reactions.” Their prior version used pre-programmed blink modules—mechanical, predictable, and unengaging. With guidance from the xLights community forum, they rebuilt its face using 142 individually mapped WS2812B LEDs: 38 per eye (including inner rim and lid highlights), 52 for the mouth (with gradient tooth row), and 14 for dual eyebrows.
The breakthrough came not from more pixels, but smarter grouping. They divided each eye into four concentric rings—outer socket, upper lid, iris, and pupil—allowing independent control. During their “caroling mode,” the snowman’s pupils dilated slightly when bass notes exceeded 85dB (detected via microphone input), and its mouth opened wider on sustained vowels (“Ooh,” “Aah”). Crucially, they added a 3-second “idle loop” between songs: slow breathing (subtle chest glow pulse), occasional side-eye glances, and randomized blinks—all running autonomously without audio triggers. Neighbors reported children naming the snowman “Frosty Jr.” and returning nightly to see “what he’d do next.” The O’Malleys logged 47 hours of mapping and sequencing work—but received over 200 visitor photos tagged on local social media.
“Pixel mapping for inflatables isn’t about technical prowess—it’s about empathy for perception. Every pixel must serve the illusion of life. If the viewer pauses and thinks, ‘That blink felt human,’ you’ve succeeded.” — Derek Lin, Lead Designer at Lumina Displays (commercial inflatable lighting studio since 2012)
Step-by-Step Workflow: From Unboxing to First Animation
Follow this verified 7-stage sequence to avoid common pitfalls:
- Hardware Audit (Day 1): Count all LEDs, verify data direction arrows, test continuity with multimeter. Note voltage drop per segment—critical for 5V strips over 2 meters.
- Reference Imaging (Day 1): Photograph inflatable fully inflated, front-on, under neutral light. Capture close-ups of eye/mouth zones. Print at 1:1 scale if possible.
- Initial Mapping (Day 2–3): In xLights, import image → set canvas size → place 10–15 anchor points → assign first 20 pixels manually. Export test map.
- Validation & Refinement (Day 3–4): Load test map → run “Pixel Number” sequence → photograph result → compare against printout. Adjust coordinates until alignment is within ±0.25 inch.
- Expression Design (Day 4–5): Sketch 3 core expressions (happy, curious, sleepy) on paper. Define which pixel groups activate, their target colors, and transition curves.
- Sequencing (Day 5–7): Build one expression at a time. Start with blink (simplest). Use “Frame Stepping” mode to preview each millisecond. Export to SD card.
- Field Calibration (Day 7): Mount inflatable outdoors at dusk. Observe animations from 15+ feet—the viewing distance matters more than close-up precision. Tweak brightness balance (eyes often need 20% less intensity than mouth to avoid glare).
Frequently Asked Questions
Can I use pixel mapping on inflatables with non-rectangular shapes—like a reindeer with antlers?
Absolutely—and antlers are ideal for creative mapping. Treat each tine as a separate branch in your coordinate system. Map pixels along their natural curve, then use “path animation” features to simulate growing light (e.g., tip-to-base glow for “antler energy”). Just ensure your controller supports path-based effects (xLights and Vixen 3 do; basic Light-O-Rama does not).
My inflatable’s face has visible seams where panels join. How do I prevent animations from “breaking” across them?
Seams aren’t obstacles—they’re design cues. Map pixels on either side of a seam as distinct groups, then animate them with intentional delay (e.g., left cheek lights up 0.1s before right cheek to imply turning motion). Alternatively, use a subtle “seam filler” pixel (1–2 LEDs per seam) set to ambient skin tone at 5% brightness—visually bridging the gap without drawing attention.
Do I need audio synchronization for facial animations?
No—but it dramatically increases perceived intelligence. Lip-syncing requires audio analysis (FFT) to detect phonemes. For beginners, start with beat-triggered expressions (e.g., smile on kick drum, blink on snare). Tools like xLights’ Audio Reactive Sequencer auto-generate basic mouth shapes from waveform data—though manual refinement is always needed for natural flow.
Conclusion: Your Inflatable Isn’t Just Lit—It’s Alive
Pixel mapping transforms holiday inflatables from passive decorations into characters with presence, personality, and quiet charm. It asks you to think like a lighting designer, an animator, and a storyteller—all at once. You’ll wrestle with coordinate drift on windy nights, debug flickering due to power fluctuations, and spend hours perfecting the arc of an eyebrow lift. But when a child points and says, “Look—he’s smiling *at me*,” you’ll understand why this craft matters. It’s not about dazzling specs or pixel counts. It’s about creating moments of shared wonder in the ordinary space between porch and sidewalk. Start small: map one eye. Animate one blink. Then build outward—not just in complexity, but in intention. Your neighborhood’s joy is waiting for its first expressive glance.


 浙公网安备
33010002000092号
浙公网安备
33010002000092号 浙B2-20120091-4
Comments
No comments yet. Why don't you start the discussion?